




Contents: Removal ↓ Installation ↓
The work on replacing the chain on a carburetor and injection engine is performed almost identically. On an injection engine, it is necessary to disconnect the wiring block from the crankshaft position sensor (see "Crankshaft Position Sensor - Checking and Replacing").
For ease of work, it is recommended to remove the cooling system radiator (see "Radiator - removal and installation").
We demonstrate the work using a carburetor engine as an example.
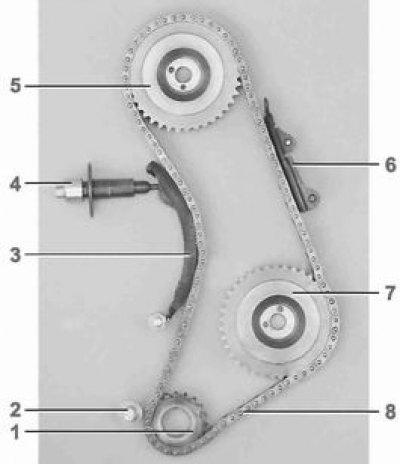
Gas distribution mechanism Drive Details: 1 - crankshaft sprocket (2101-1005030); 2 - chain limiting pin (2101-1006050); 3 - tensioner shoe (2103-1006090-02); 4 - chain tensioner (21213-1006060); 5 - camshaft sprocket (2101-1006020); 6 - chain tensioner (2101-1006100); 7 - auxiliary drive shaft sprocket (2101-1006020); 8 - chain (2103-1006040)
Removal
1. Prepare the vehicle for operations (see "Preparing a car for maintenance and repair").
2. Remove the alternator belt (see "Generator Drive Belt - Tension Adjustment and Replacement").
3. Remove the cylinder head cover (see "Cylinder Head Cover Gasket - Replacement").
4. Align the mark on the camshaft sprocket with the protrusion on the bearing housing (see "Clearance between valve levers and camshaft cams - adjustment").
5. Remove the crankshaft pulley (see "Front Crankshaft Oil Seal - Replacement").
6. Using a chisel, bend back the tab of the lock washer on the camshaft sprocket mounting bolt and unscrew the bolt (see "Camshaft and valve levers - replacement").
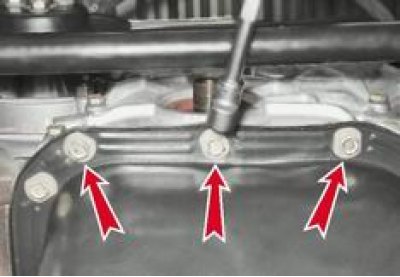
7. With a socket wrench by 10 mm using an extension, unscrew the three bolts securing the crankcase to the camshaft drive cover and loosen the two bolts adjacent to them.
The material is posted on the online resource: VazBook.ru
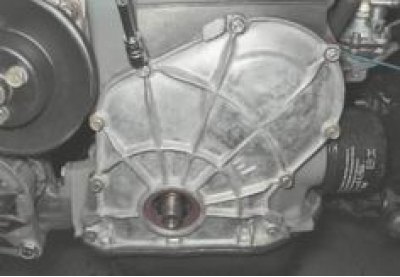
8. Using the same tool, unscrew the three nuts and six bolts securing the camshaft drive cover to the cylinder block.
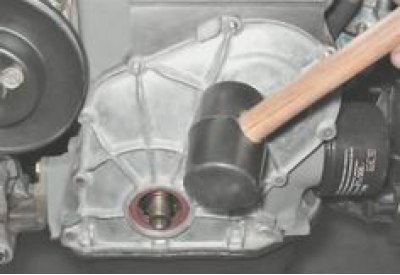
9. Tap the cover with a hammer with a plastic striker to better separate it from the gasket.
10. Remove the camshaft drive cover and sealing gasket. If there are traces of the gasket left on the surfaces of the cover or block, carefully remove them with a knife or other suitable tool.
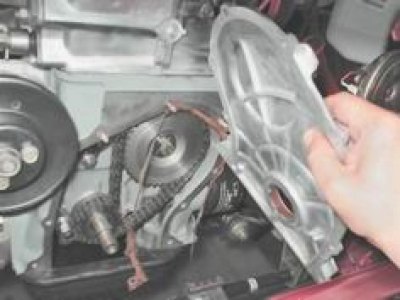
11. On a carburetor engine, we apply marks to the relative positions of the auxiliary drive shaft sprocket relative to the cylinder block. This will avoid reinstalling the ignition distributor.
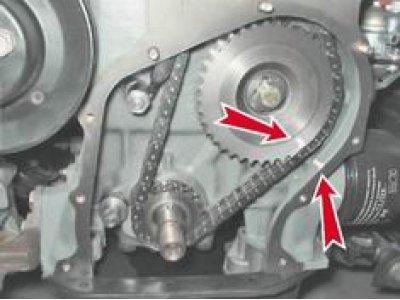
12. Remove the sprocket and chain from the camshaft (see "Camshaft and valve levers - replacement").
13. Remove the timing chain tensioner (see "Timing Chain Tensioner - Replacement").
14. Using a chisel, bend back the tab of the lock washer on the bolt securing the auxiliary drive shaft sprocket.
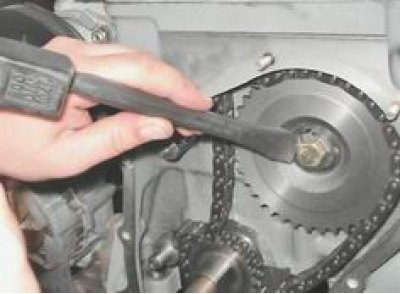
15. With a socket wrench by 17 mm unscrew the bolt securing the sprocket. Remove the sprocket and the timing chain.
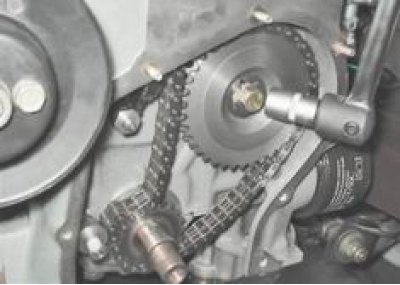
When replacing the chain, it is recommended to replace the sprockets and tensioner shoe.
16. To remove the tensioner shoe, use a socket wrench by 17 mm we unscrew the shoe mounting bolt.
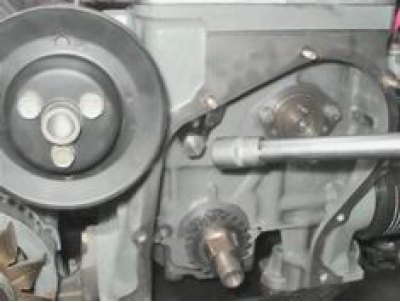
17. Remove the bolt from the cylinder block hole and remove the tensioner shoe.
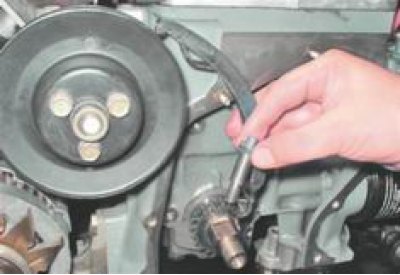
18. Key by 10 mm we unscrew the limiting pin and remove the timing chain.
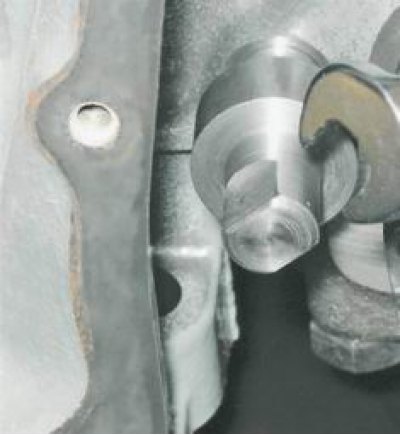
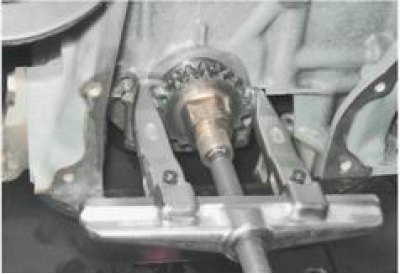
19. Using a puller, press the sprocket off the nose of the crankshaft.
20. Check the condition of the chain links. There should be no chips, cracks or other mechanical damage on the rollers.
Installation
1. Install the sprocket onto the crankshaft nose.
2. Check the alignment of the marks on the cylinder block and the crankshaft sprocket.
3. Lubricate the new chain with engine oil and put it on the crankshaft sprocket.
4. Install the chain limiter pin.
5. Install the sprocket with the chain on the auxiliary drive shaft according to the previously applied marks, tensioning the leading branch of the chain.
6. Holding the sprocket from turning, without tightening it, tighten the mounting bolt.
7. We hook the chain with a wire hook and lift it towards the camshaft.
8. Place the chain on the camshaft sprocket and the sprocket on the shaft, ensuring that the marks match.
9. Without tightening, tighten the camshaft sprocket mounting bolt.
10. "Charge" the chain tensioner and, having installed it in its original place, "discharge" it (see "Timing Chain Tensioner - Replacement").
11. Turn off the gear and turn the crankshaft two or three times, paying attention to the coincidence of the marks. Otherwise, repeat the installation of the chain.
12. When the marks match, engage first gear, tighten the sprocket mounting bolts and lock them by bending the petals of the lock washers.
13. Tighten the tensioner cap nut (see "Timing Chain Tensioner - Replacement").
14. Installation of all removed parts is carried out in reverse order.
15. On a carburetor engine, check and, if necessary, adjust the ignition timing (see "Ignition timing - checking and adjustment").