




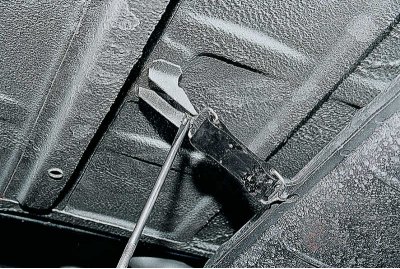
Using a screwdriver, unbend the hooks of the rubber straps that secure the main muffler.
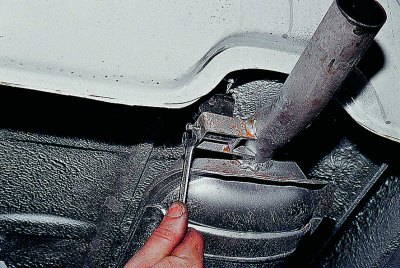
Using a 7 mm spanner, unscrew the bolt securing the main muffler to the rubber cushion. To replace the cushion itself, unscrew the second bolt securing it to the bottom of the trunk.
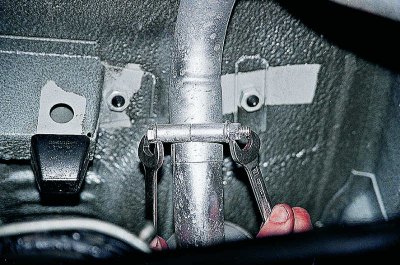
Using two 13 mm wrenches, unscrew the nut of the clamp at the junction of the main and additional muffler pipes, move the clamp away from the junction and remove the main muffler.
The same connection at the junction of the inlet pipe with the additional muffler.
Attention! The diameters of the clamps for these two joints are different:
- 46 mm – for connection with the inlet pipe;
- 44 mm – for connection with the main muffler.
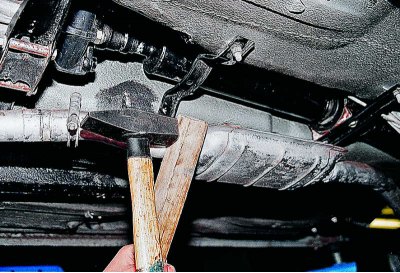
Having loosened the connection with the inlet pipe, we remove the section of the additional muffler, moving it back by hitting the muffler body with a hammer through a wooden block.
At the same time, the assistant pulls the section back, simultaneously rotating it along the axis of the joint.
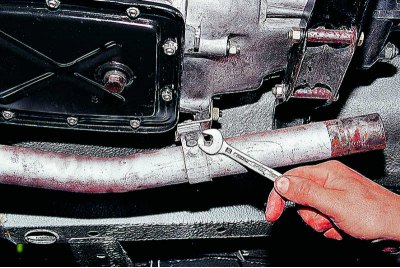
Using a 13 mm spanner, unscrew the bolt securing the intake pipe to the bracket on the rear cover of the gearbox.
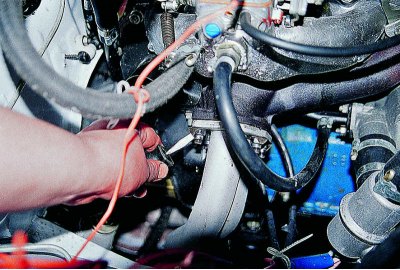
Using a screwdriver, bend back the edges of the locking plates of the nuts securing the intake pipe to the manifold.
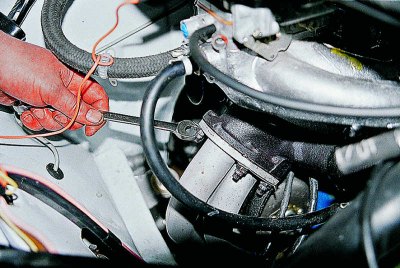
Using a 13 mm wrench, unscrew the four nuts and…
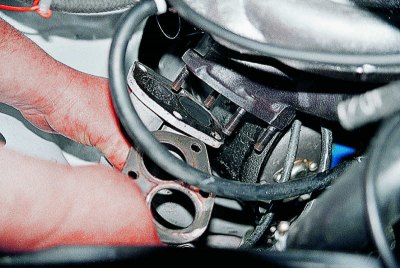
…we remove the intake pipe and gasket from the manifold studs.
The intake pipe is pulled out downwards. When assembling the system, we install a new gasket.
We assemble the exhaust system in the reverse order of removal. The section pipes must fit tightly into each other during assembly; it is recommended to coat the connection with graphite grease.
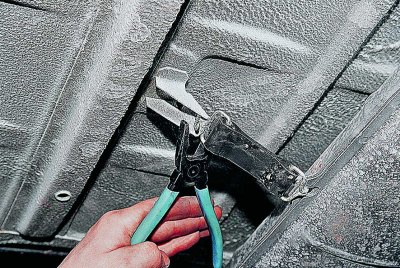
After replacing the muffler, bend the hooks of the rubber fastening straps.