
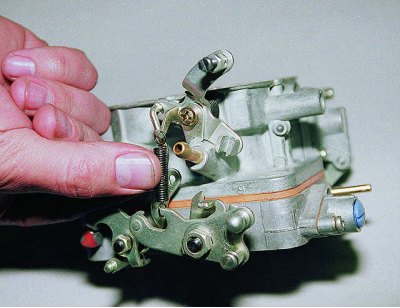
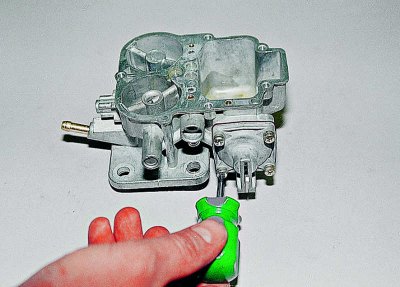
Remove return spring.
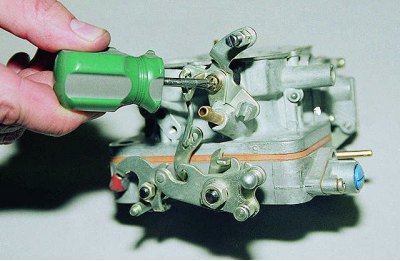
Using a Phillips screwdriver, unscrew the screw securing the three-arm lever..
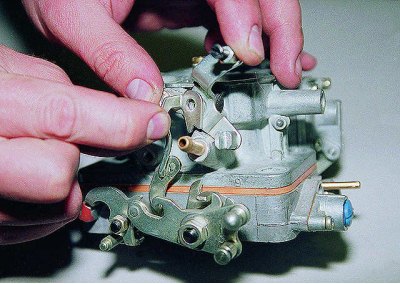
... and, holding it, remove the spring mounting bracket.
We remove the lever together with the thrust.
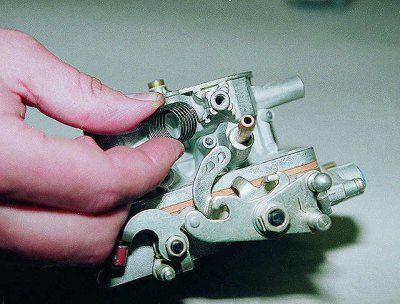
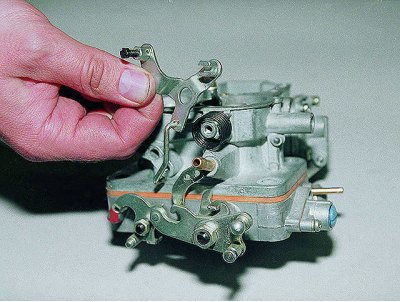
Remove the lever spring.
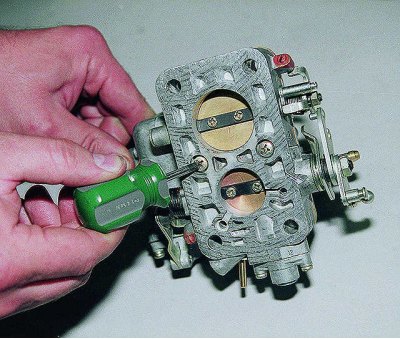
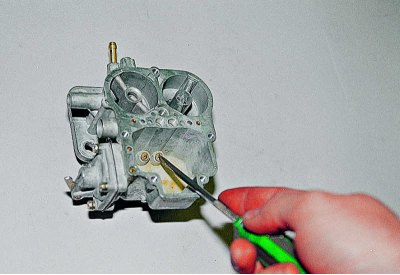
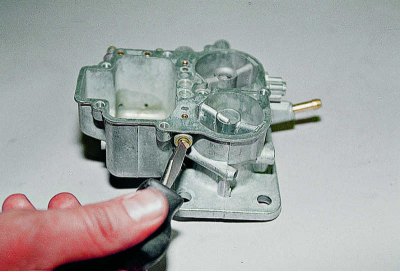
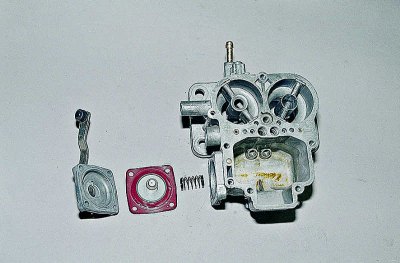
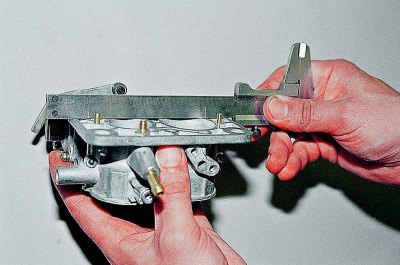
Loosen the two screws holding the throttle body...
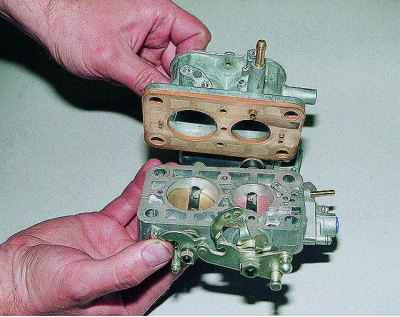
...and take it off.
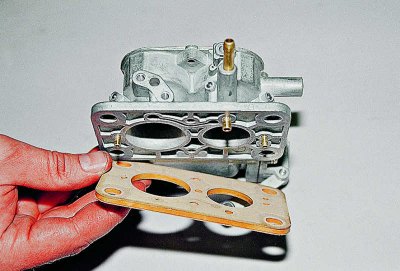
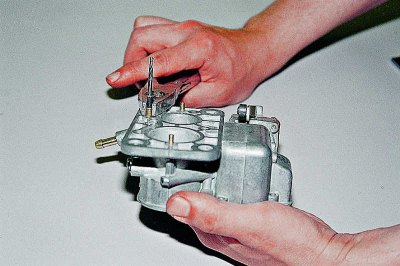
Remove the thermal insulation.
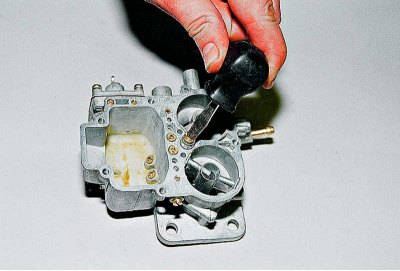
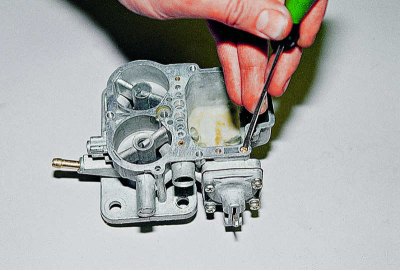
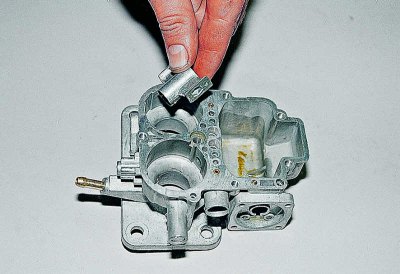
Open the accelerator pump valve.
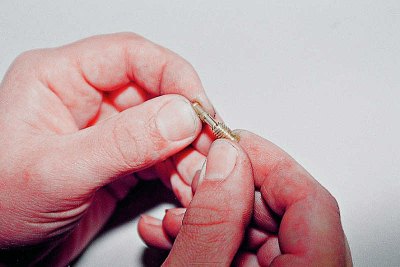
We remove the atomizer with a valve and sealing gaskets made of soft metal.
We wash them in acetone and blow them with compressed air.
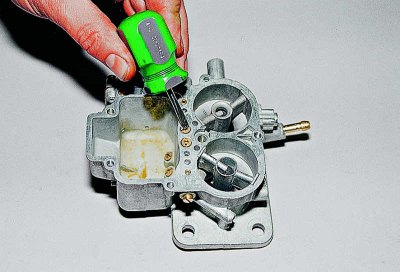
We turn off the air jets.
We remove the emulsion tubes of the main dosing system from the channels. If they do not fall out of the channels themselves, we screw the M4 tap into their holes and remove them.
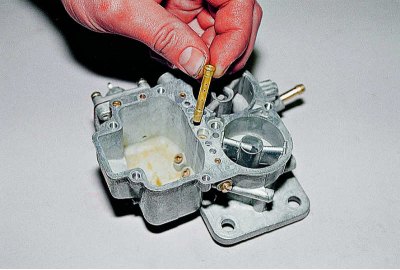
We turn off the main fuel jets.
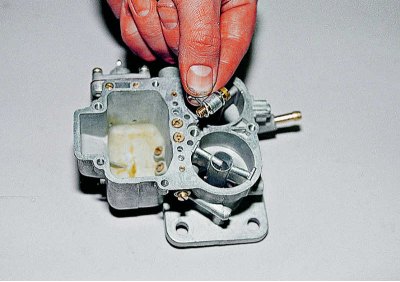
We turn off the body of the fuel jet of the transition system.
We take out the fuel jet from the housing.
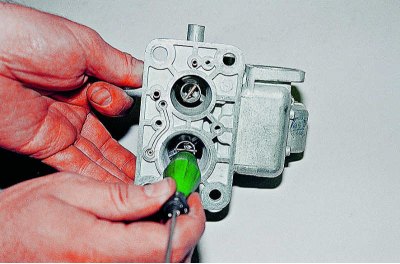
Loosen the accelerator pump adjusting screw.
Using a Phillips screwdriver, unscrew the four screws securing the accelerator pump cover.
Remove the cover, diaphragm and take out the spring.
Turning the case over, carefully knock out the diffusers with the handle of a screwdriver..
... and take them out.
Jets, emulsion tubes and other removed parts, except for gaskets, are washed in acetone and blown with compressed air.
With a ruler against the light, we check the base of the case for curvature.
The base must be flat. If a curvature of the plane is found, we take out the adapter tubes, for which we select drills of a slightly smaller diameter than their holes. Insert the drill into the tube. To make it fit tightly, you can wrap a fine-grained sandpaper on it.
We take out the tubes with pliers.
If the deformation is small (gap less than a millimeter), align the base, squeezing the body in the jaws of a powerful vice. In order not to damage the upper surface of the carburetor, we put a sheet of plywood or a wooden block under the sponges. We preliminarily straighten a strongly deformed surface, lightly hitting the bent corners of the base with a wooden mallet. This must be done carefully, as you can easily break off a piece from the body. After rough editing with a wide velvet file, we level the surface. At the same time, the file is kept parallel to the plane of the base, not «filling up» on the edges. We constantly control the process by applying a ruler to the surface.
Before assembly, we wash the case in acetone and blow through all channels (holes) compressed air. We assemble the carburetor body in the reverse order of disassembly.
Attention! The jets of the first and second chambers have different throughput and must be installed each in its place (see table Carburetor calibration data).