




Contents: Removal ↓ Installation ↓
Removal
1. Place the vehicle on an inspection pit or overpass (see "Preparing a car for maintenance and repair").
2. Drain the fluid from the clutch hydraulic drive (see "Clutch release hydraulic drive - fluid replacement and bleeding").
3. Using pliers, remove the cotter pin from the opening of the working cylinder pusher.
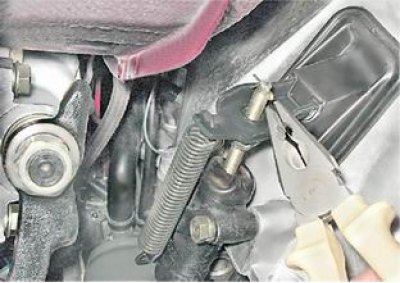
4. Using pliers, remove the release fork release spring.
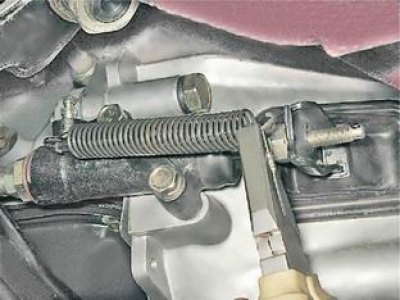
5. With an open-end wrench by 17 mm loosen the hose fitting.
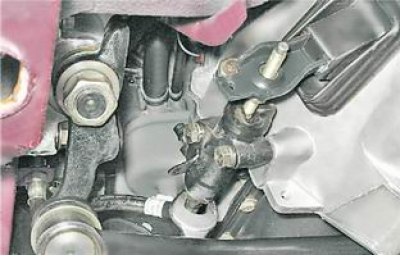
6. With a socket wrench by 13 mm we unscrew the two bolts securing the working cylinder to the clutch housing, remove the pusher from the hole in the clutch release fork and remove the working cylinder.
The information is posted on the portal [VAZBOOK.ru]
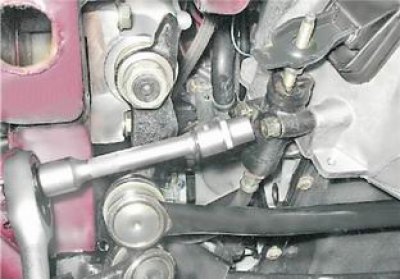
7. Remove the bolts from the cylinder and remove the return spring bracket.
8. Holding with an open-end wrench by 17 mm brake hose tip, unscrew the cylinder by hand.
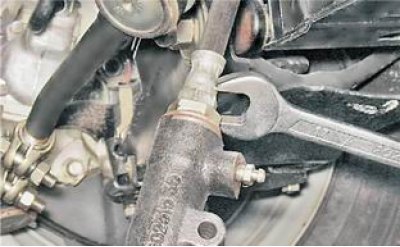
Warning! There is a sealing ring installed at the connection between the hose tip and the working cylinder, do not lose it.
Installation
1. Install the cylinder in reverse order.
If the hydraulic hose gets twisted during installation, loosen the fitting at the point where it connects to the pipeline and turn the hose to avoid twisting.
2. Fill the tank with fluid to the required level and bleed the hydraulic drive (see "Clutch release hydraulic drive - fluid replacement and bleeding").
3. Adjust the gap between the pusher of the working cylinder and the fork (see "Clutch release hydraulic drive - checking and adjustment").