




1. Place the vehicle on an inspection pit or overpass (see "Preparing a car for maintenance and repair").
2. Clean the tank from dirt and open the lid.
3. On a vehicle with an injection system, remove the additional mudguard (see "Mudguard - Removal and Installation").
4. Clean the protective cap and the bleed nipple of the working cylinder from dirt. Remove the cap and put a hose on the nipple, the other end of which we lower into the prepared container. With a key on 8 mm unscrew the nipple by 3/4 of a turn. Press the clutch pedal repeatedly until all the fluid is removed from the system. Screw the nipple back in.
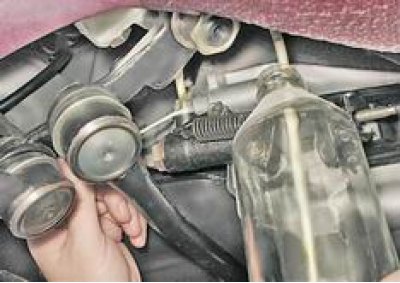
5. If the pedal has sunk, lift it with your hand.
6. Fill the working fluid into the hydraulic drive of the system through the tank.
Note: The fluid can be replaced by gradually displacing the old one. To do this, add fluid to the tank as needed and unscrew the bleed nipple, press and release the clutch pedal. When clean fluid starts to come out of the working cylinder, screw the nipple back on.
Pumping
1. Dip the free end of the hose into a container with working fluid. Using a wrench on 8 mm unscrew the bleed nipple by 3/4 of a turn.
2. The assistant sharply presses and smoothly releases the clutch pedal. In this case, the fluid with air bubbles will begin to be forced out of the hydraulic drive into the container. If the release of air bubbles does not stop and the pedal has reached the extreme lower position, tighten the nipple. Check the fluid level in the tank and add it if necessary.
3. Repeat steps 1 and 2 again until the bubbles stop appearing.
4. When the release of air bubbles from the system stops, sharply press the pedal and hold it, tighten the fitting.
Caution! If air bubbles continue to be released, check the tightness of the system connections. If leaks are detected, repair the system.
[The article is taken from the website: vazbook.ru]