




- assistant;
- aluminum or copper wire one meter long.
Removal
1. Prepare the car for work.
2. Remove the internal rear lights installed on the trunk lid.
3. Disconnect the additional brake light wire connectors.
4. Using a 6 mm socket wrench, disconnect the wire harness holders from the trunk lid.
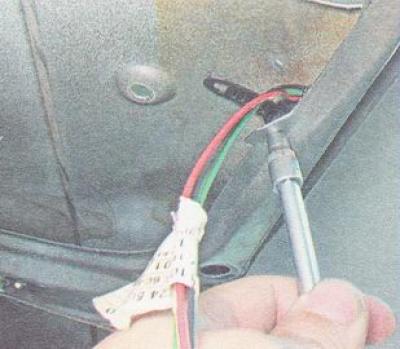
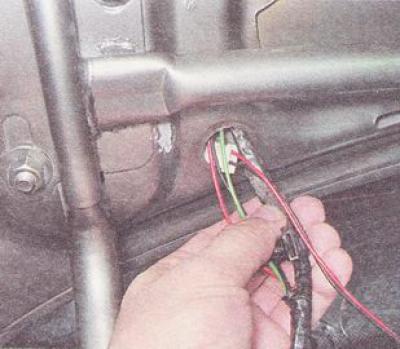
5. Remove the wiring harness from the rear edge of the trunk lid reinforcement.
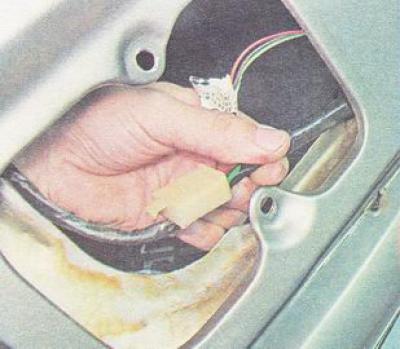
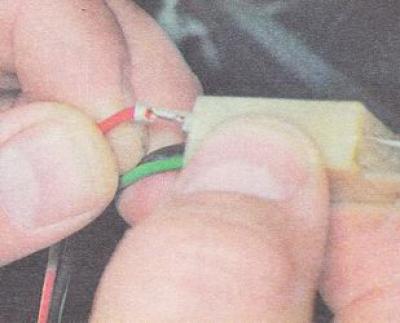
6. Using a thin-bladed screwdriver or a large paper clip, press the locking tabs on the wire tips of the taillight section connectors. Mark the color of the wires on the connector and remove the tips from the trunk lid connectors.
7. Remove the rubber seal of the wiring harness from the hole in the trunk lid amplifier.
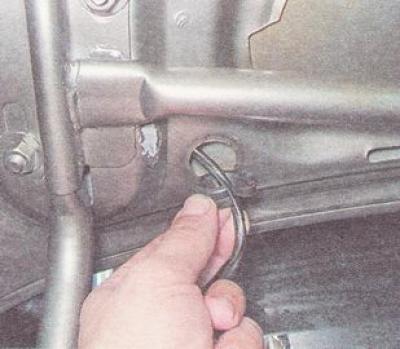
8. Pull the wire harness out of the hole.
9. Together with an assistant, holding the trunk lid in the air, use a 13 mm wrench to unscrew the four nuts securing the lid to the hinges.
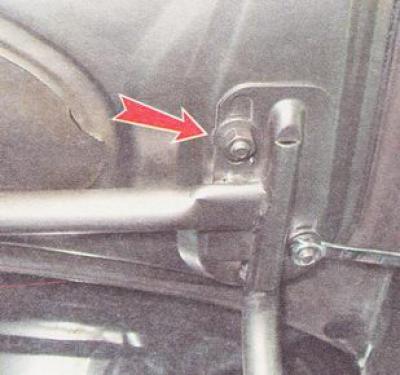
10. Remove the trunk lid from the car.
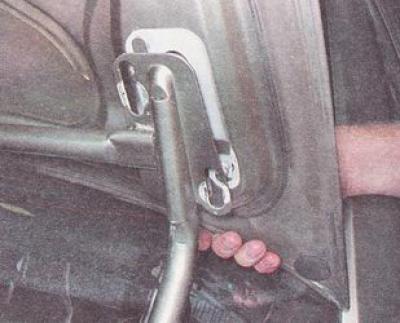
Installation
We install the trunk lid on the car in the reverse order, focusing on the traces of the hinges left on the inner surface of the lid.
Using a piece of copper or aluminum wire, pull the wire harness through the lid amplifier.
We install all the elements removed from the trunk lid in the reverse order of their removal.
Adjustment
1. Remove the trunk lid lock retainer.
2. Slightly loosen the nuts securing the trunk lid.
3. Close the lid and, moving it slightly, adjust the position of the lid in the opening. The gap along the front edge of the trunk lid should be uniform along its entire length, and the gaps at the side edges of the lid should be the same along the entire length.
4. Having installed the trunk lid in the required position, carefully open it at a small angle and tighten the nuts securing the lid to the hinges.
5. Lower the lid again and make sure that it has not changed its position in the opening. If necessary, repeat the adjustment of the trunk lid.
6. Install the trunk lid lock retainer in place.