




Contents: Removal ↓ Installation ↓
Note: The steering column switches can be removed and installed either individually or as a complete assembly with a connector (the central part of the switches). Depending on the purpose of the work, the number and order of operations shown in the section should be changed. For example, you can replace any of the steering column switches without removing the steering wheel.
Removal
1. Disconnect the wire terminal from the negative terminal of the battery.
2. Remove the decorative steering column trims.
3. If you need to remove the steering column switch connector, remove the steering wheel.
4. By squeezing the spring clips of the right steering column switch, we remove it from the connector together with the connected wiring harness connector.
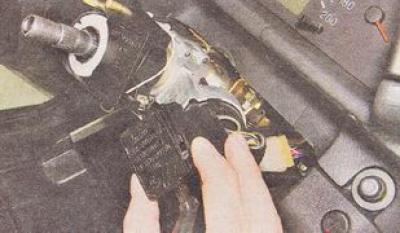
5. Disconnect the wiring harness connector from the steering column switch.
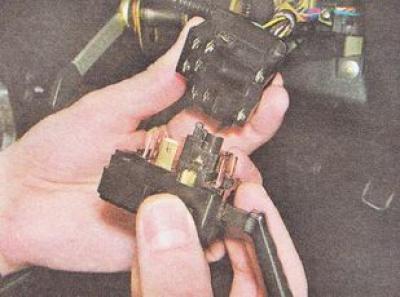
6. Remove the left steering column switch in the same way.
7. Using an 8 mm socket wrench, loosen the tie bolt securing the steering column switch connector by several turns.
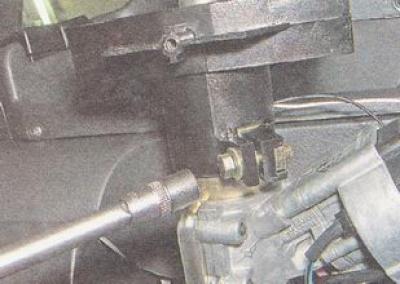
8. Remove the connector from the steering column.
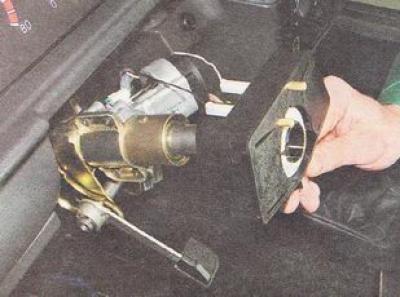
9. Disconnect the connectors of the two wires from the contacts of the horn switch.
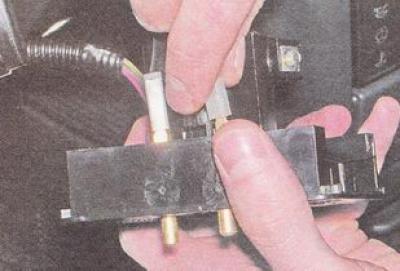
10. Defective or broken steering column switches must be replaced.
Installation
1. Connect the connectors of the two horn wires to the steering column switch connector in random order.
2. Place the connector on the steering column.
3. Lightly tighten the connector mounting bolt (so that the position of the steering column switch can be changed by hand).
Note: It is necessary to install the steering column paddle connector in such a position that the central screw of the lower steering column cover can be screwed into the corresponding hole of the connector.
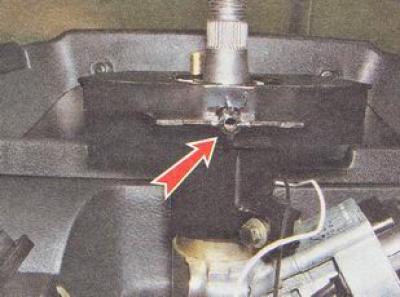
4. Install the lower steering column trim in place and use a Phillips screwdriver to tighten the two screws securing the trim to the instrument panel crossbar.
5. Adjust the position of the connector on the steering column, achieving the ability to screw the central screw for fastening the steering column trim into the corresponding hole in the connector.
6. Having found the optimal position of the connector, unscrew the two screws and remove the lower steering column cover.
7. Without moving the connector, tighten its mounting bolt.
8. Further work on installing the steering column switches is carried out in the reverse order of removal.