
Warning! It is impossible to remove the separator when the tank is full, so to perform the work it will be necessary to remove the fuel tank filler neck.
Removing
1. We prepare the car for work (see "Preparing the car for maintenance and repair").
2. Remove the rear bumper (see "Rear bumper - removal and installation").
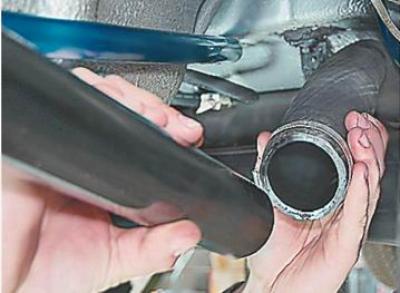
3. Use a Phillips screwdriver to loosen the clamp that secures the plastic tube to the filler pipe.
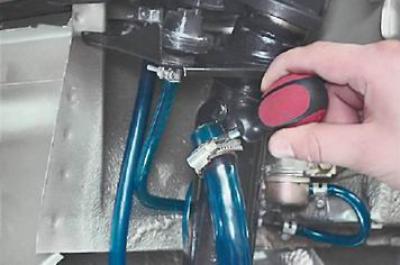
4. Remove the tube from the filler pipe.
5. Use a Phillips screwdriver to loosen the filler hose clamp.
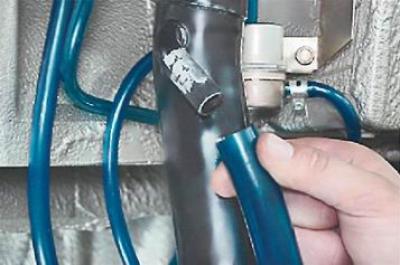
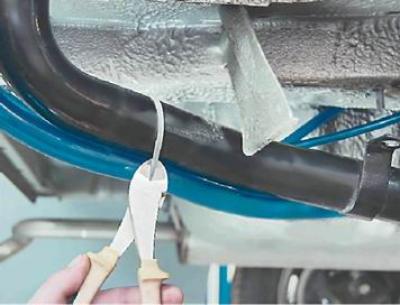
6. Key by 10 mm unscrew the two nuts securing the filler pipe to the body and cut the clamp securing the plastic tube to the filler pipe.
7. Remove the hose from the filler pipe.
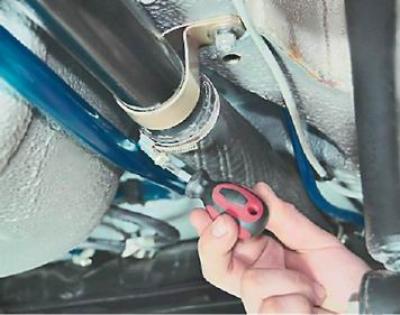
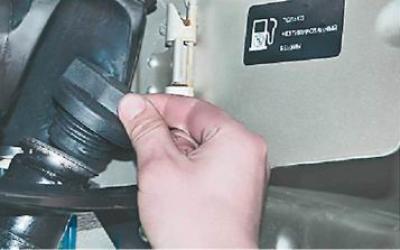
8. Unscrew and remove the filler cap.
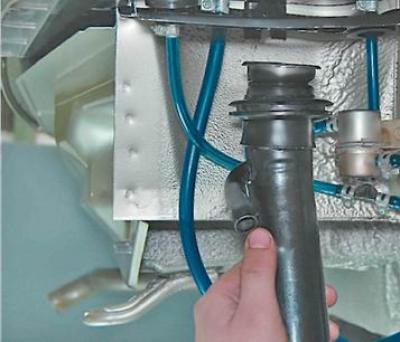
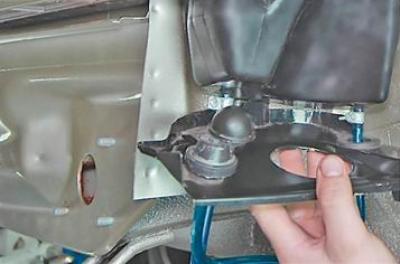
9. Remove the filler pipe from the separator shield.
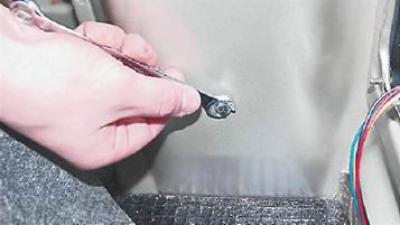
10. Key by 10 mm unscrew the bolt securing the separator shield.
Note: The bolt also secures the gravity valve bracket.
11. Remove the bracket from under the separator shield.
12. We bend the right upholstery of the luggage compartment.
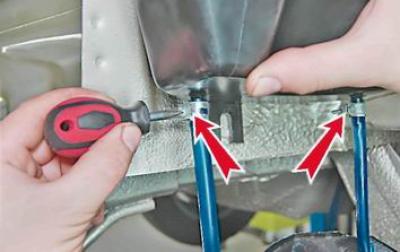
13. Key by 10 mm unscrew the nut of the stud securing the separator shield.
14. We remove the pin of the separator shield from the hole and remove the separator from the body niche.
15. Loosen the two clamps with a Phillips screwdriver and disconnect the two tubes from the separator and remove the separator.
Installation
Install the separator and removed parts in reverse order.