




Helpful Hint: Before bleeding the brakes, inspect the brake system to make sure it is tight. Have an assistant do this work.
Warning! Only add brake fluid of the same grade as the fluid that was poured into the system.
The order of bleeding the brake mechanisms:
- rear right;
- front left;
- rear left;
- front right.
1. Check the level and, if necessary, add brake fluid to the reservoir up to the "MAX" mark.
2. If the rear wheels are lifted, first unlock the rear brake pressure regulator by inserting a screwdriver between the plate and the piston. Do not forget to remove it after finishing the work.
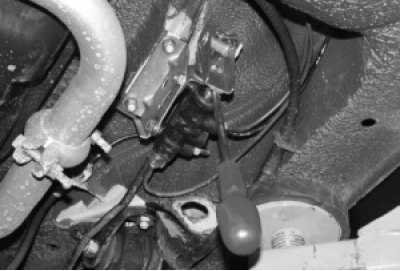
3. Clean the air release valve on the brake mechanism from dirt and dust.
4. Remove the protective cap from the air release valve. Place a rubber hose on the valve head and immerse the end of the hose in a clean, transparent container partially filled with brake fluid (the end of the hose must be immersed in the liquid).
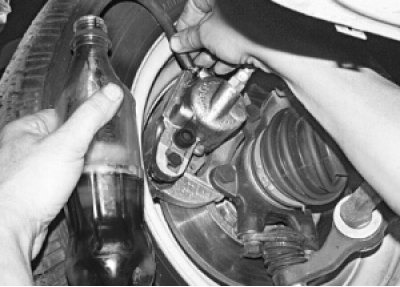
5. The assistant should press the brake pedal sharply four to five times (with an interval of 1–2 seconds between presses). After the last pump, the pedal should be kept pressed.
6. Loosen the air bleed valve 1/2 to 3/4 of a turn. You will see air bubbles in the fluid flowing out of the hose. When fluid stops flowing out of the hose, close the air bleed valve completely, after which the assistant should release the brake pedal.
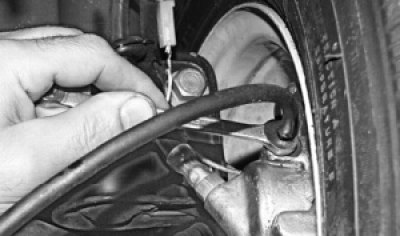
7. Repeat steps 5 and 6 until there are no bubbles in the flowing liquid.
Check the brake fluid level in the reservoir and add fluid if necessary, without allowing the level to drop below the "MIN" mark.
8. Remove the hose, wipe the air release valve nipple dry and put the protective cap on it.
9. Bleed the brakes of the remaining wheels if necessary.