




- keys "8" and "10"
- screwdriver
Remove the fuel pump (see subsection 10.10.3.).
Recommendation. Before disassembling the pump, check the tightness of its valves. To do this, pump the fuel pump manual drive lever, alternately closing the suction and discharge (in the photo) nipples with your finger. A vacuum should be created in the suction valve, and pressure in the discharge valve (see subsection 10.10.2, operation 4).
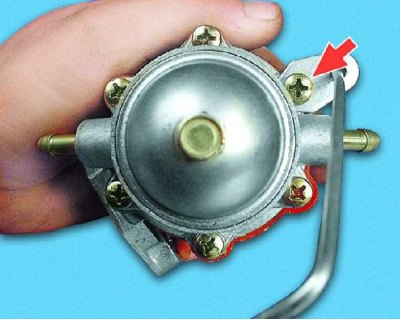
1. Loosen the mounting screw and...
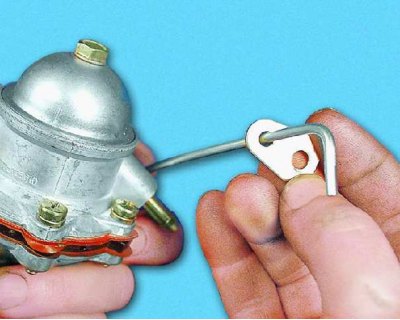
2....remove the traction bracket.
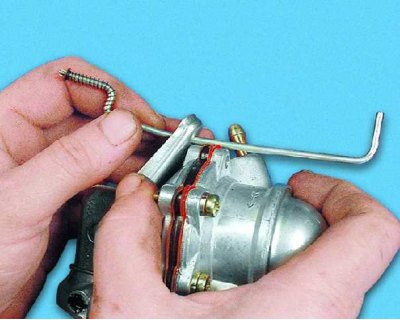
3. Remove the manual fuel priming lever rod by pulling it out of the hole in the lever.
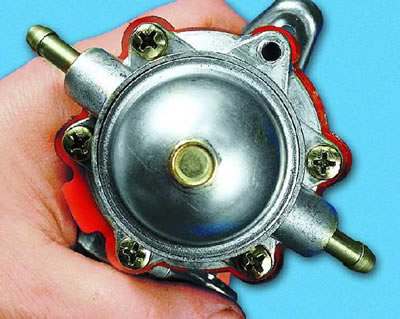
4. Remove the remaining five mounting screws and...
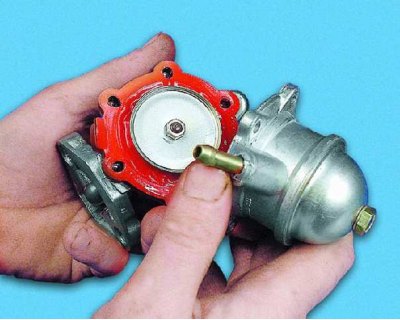
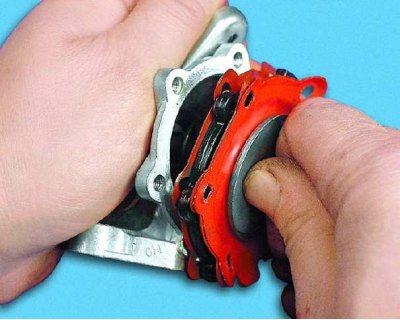
5....disconnect the pump housing and bottom cover.
The original source is located on the website: vazbook.ru
6. Remove the diaphragm assembly from the bottom cover and...
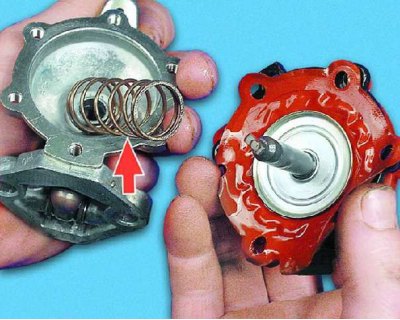
7....a spring.
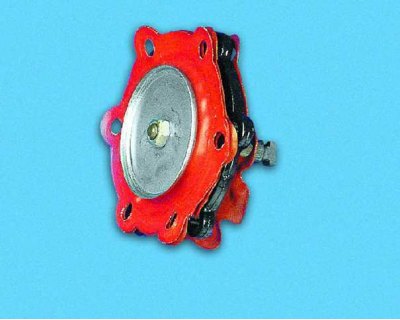
8. Replace torn, worn or hardened diaphragms. To do this...
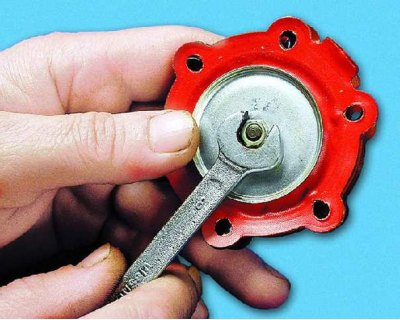
9....unscrew the fastening nut and...
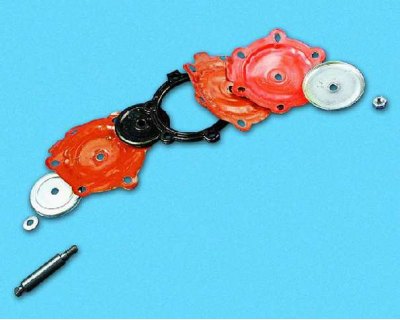
10....disassemble the diaphragm unit. Assemble the diaphragm unit with new diaphragms in the reverse order of disassembly.
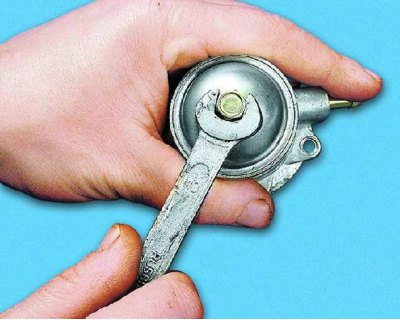
11. Unscrew the mounting nut and...
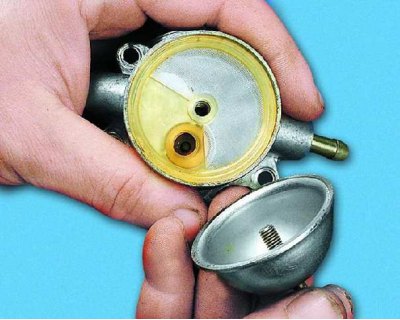
12....remove the top cover of the pump.
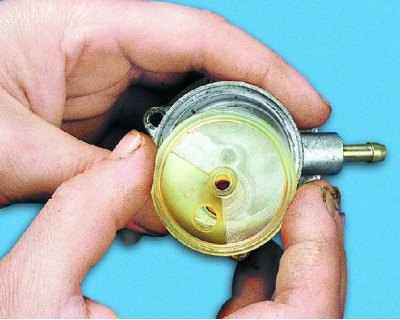
13. Replace a torn or warped mesh filter.
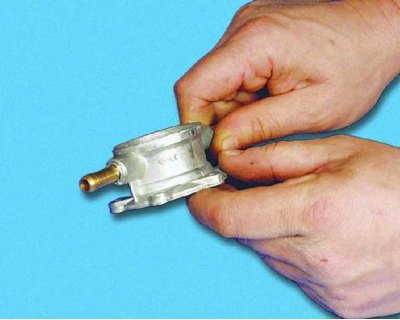
14. If the suction or discharge fitting does not fit tightly in the pump housing, replace the housing.
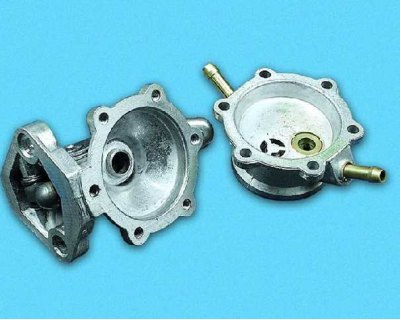
15. Replace body parts with cracks and chips.
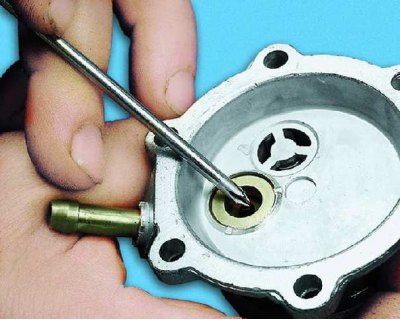
16. The pump valves must operate without sticking and be tight. Replace the lower cover of the pump with defective valves or just the valves. To replace the valve...
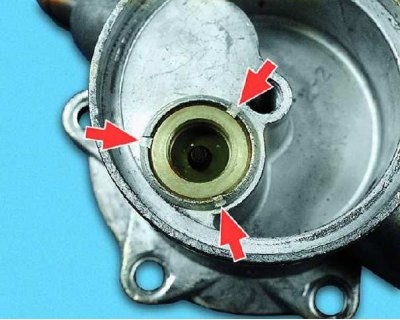
17....press it out, having first removed the punch marks. After pressing in the new valve, punch its seat in three places.
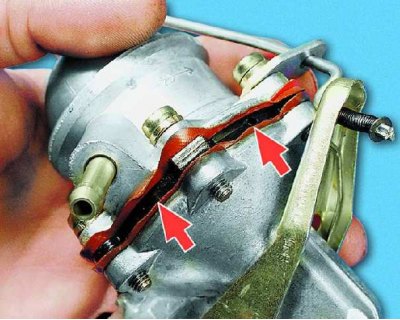
18. Wash all parts with gasoline and blow them with compressed air. Assemble the fuel pump in the reverse order of removal. The diaphragm spacer gasket has holes for fuel drainage in case of damage to the diaphragm. When assembling, install the diaphragm unit so that the holes in its gasket are located as far as possible from the muffler inlet pipe.