




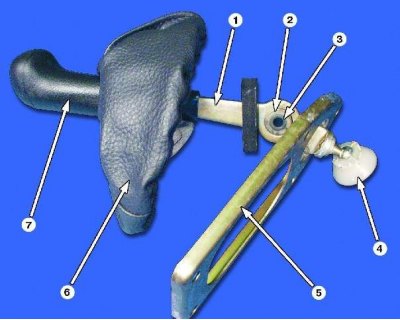
Gear Shift Lever: 1 - gear shift lever; 2 - bushing; 3 - lever axis; 4 - lever support; 5 - base; 6 - leather case; 7 - handle
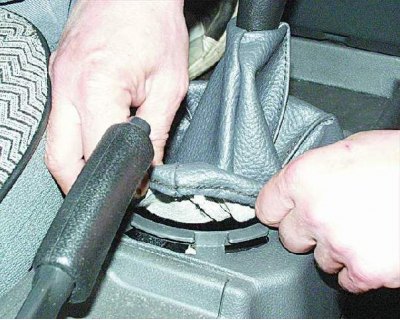
1. Remove the gearshift lever protective boot from the floor tunnel trim.
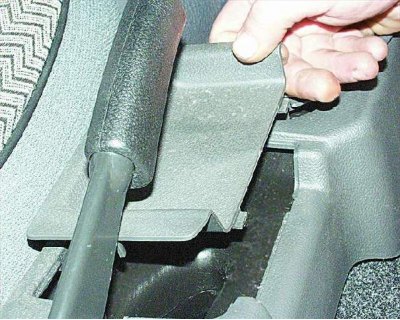
2. Remove the floor tunnel trim panel.
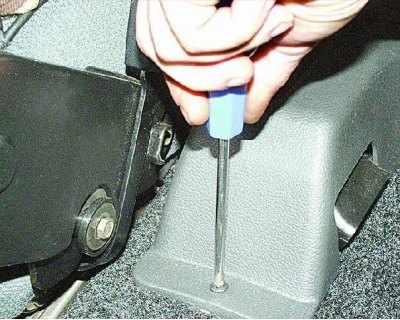
3. Remove the screw securing the floor tunnel trim at the rear.
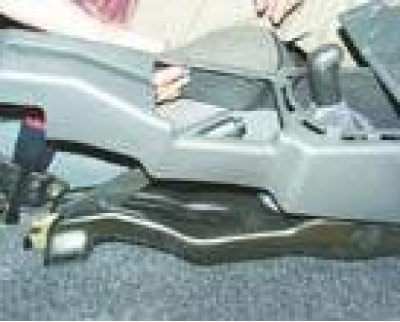
4. Remove the floor tunnel trim by sliding it back.
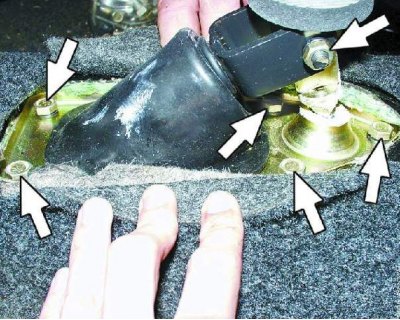
5. Loosen the lever axle mounting nut, then the five bolts that secure the lever base to the floor.
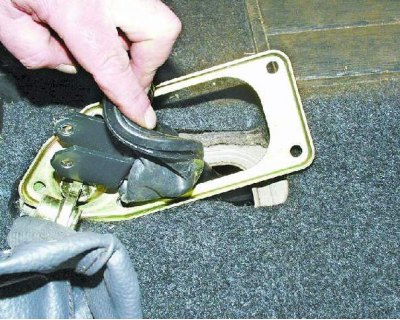
6. Remove the lever from the base, removing the rubber protective cover from the base.
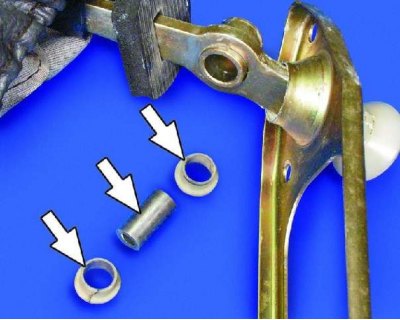
7. Remove the lever axle with two plastic bushings. If the axle dangles freely in the bushings installed in the lever, the bushings are worn and need to be replaced. When installing the bushings, lubricate them with consistent grease.
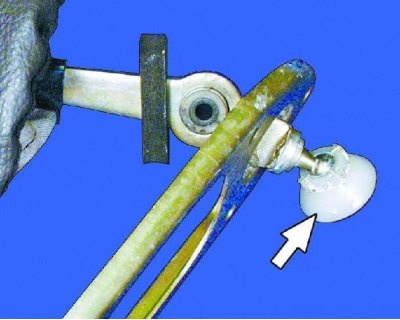
8. To replace the plastic lever support, remove it from the spherical lever pin, put some grease into the hole in the new support and place the support on the pin.
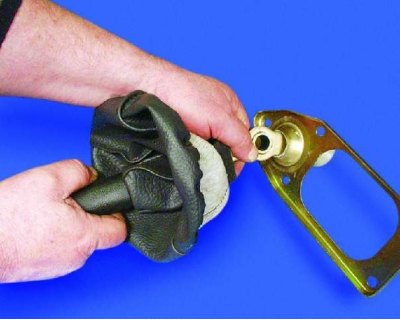
9. To replace the leather cover, remove the handle by pulling it off the lever.
10. Install the gearshift lever in the reverse order. Tighten all threaded connections to a torque of 16-26 N·m (1.6-2.6 kgf·m).
A bent gear shift rod must be replaced or straightened.
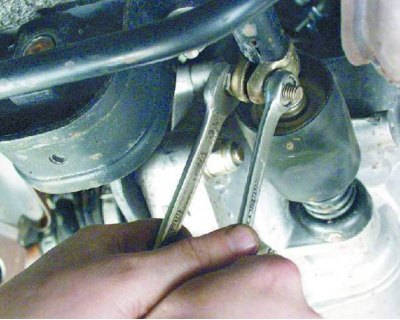
11. To replace the shift linkage from underneath the vehicle, loosen the clamp and disconnect the linkage from the ball joint end.
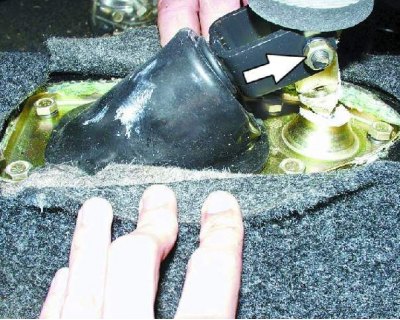
12. Loosen the gear shift lever axle mounting nut and remove the rod into the passenger compartment.