




It is recommended that two people remove the gearbox.
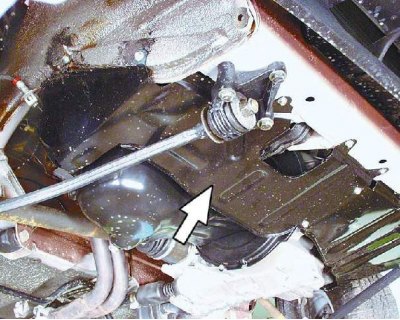
1. Loosen the mounting bolts and remove the crankcase guard.
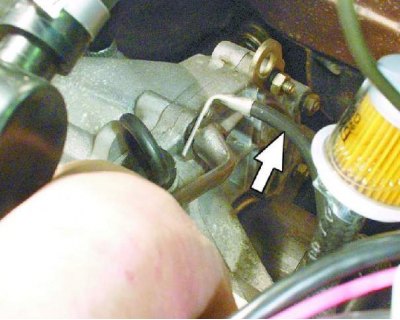
2. Loosen the bolt and disconnect the ground wire from the clutch housing.
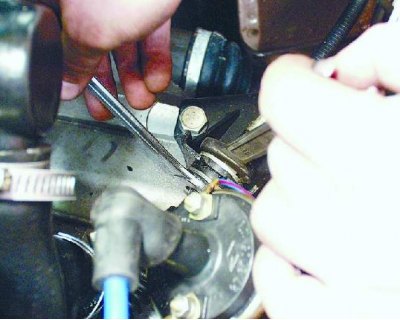
3. Loosen the nuts on the clutch cable end.
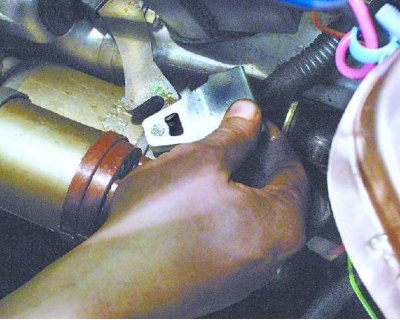
4. Remove the cable end from the clutch lever.
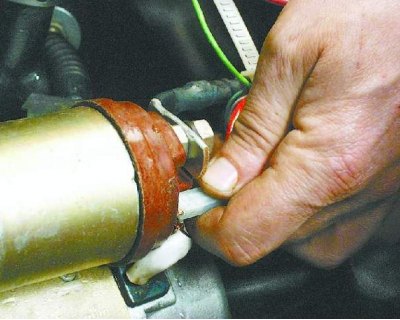
5. Disconnect the connector with the wire from the starter solenoid relay terminal.
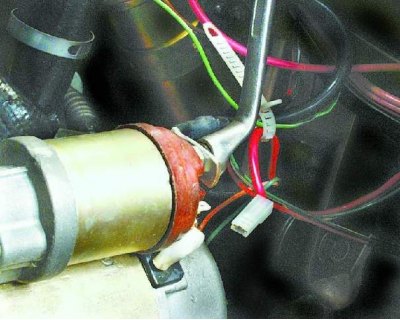
6. Loosen the fastening nut and disconnect the wire from the contact bolt of the starter traction relay.
(The original can be seen on the website: «www.VAZbook.ru»)
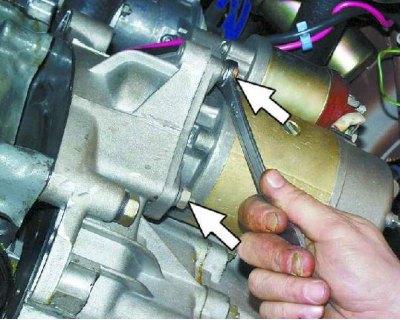
7. Unscrew the three nuts (the third one on the other side of the starter) fasteners and remove the starter.
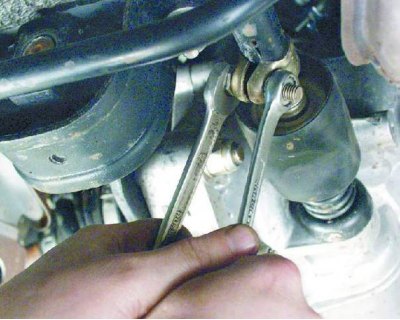
8. Loosen the clamp and disconnect the gear shift rod from the joint end.
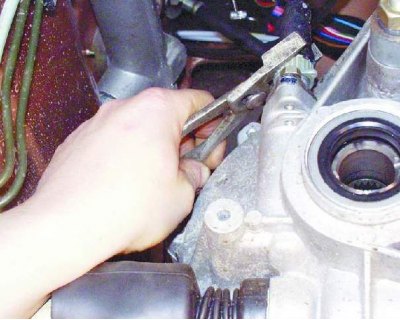
9. Loosen the fastening nut and disconnect the cable from the speedometer drive.
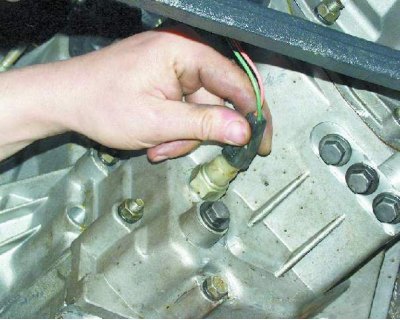
10. Disconnect the connector with the wire from the reverse light switch.
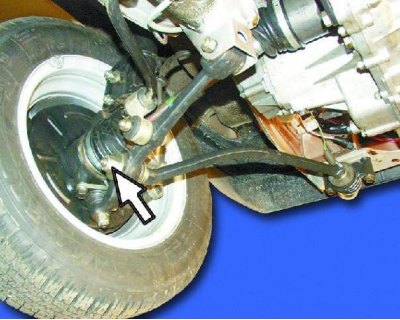
11. Loosen the nut securing the tie rod to the suspension arm.
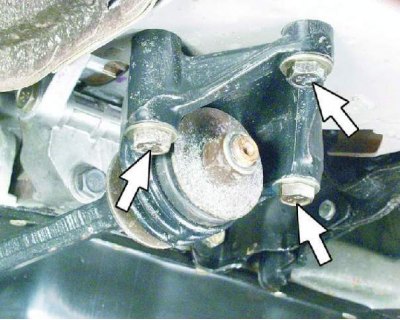
12. Unscrew the nut securing the strut to the bracket or the three bolts securing the bracket to the body and move the left and right struts apart.
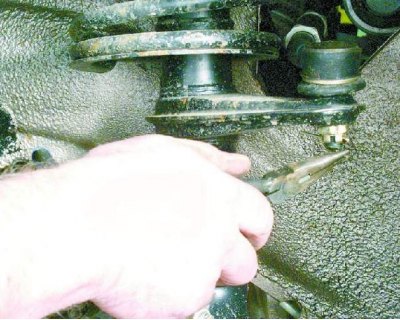
13. Remove the cotter pin from the nut securing the ball joint of the steering rod to the steering arm.
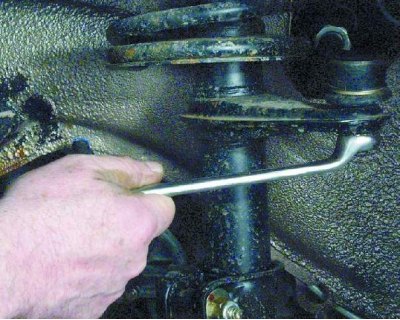
14. Loosen the nut securing the ball joint of the steering rod.
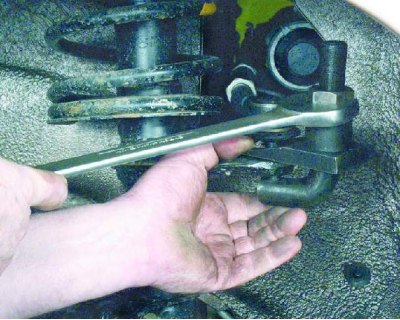
15. Using a puller, press the ball joint pin of the steering rod out of the steering column pivot arm.
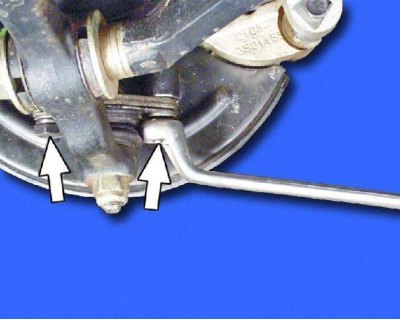
16. Remove the two bolts and disconnect the suspension arm ball joint from the steering knuckle.
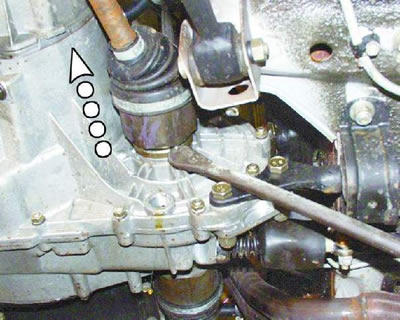
17. Use a crowbar to push the tail of one of the inner CV joints of the front wheel drive out of the gearbox and move it to the side.
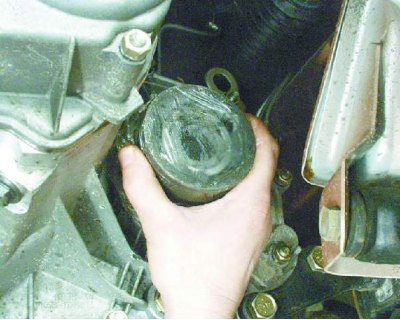
18. Insert a technological plug instead (for example, an old inner CV joint). After this, disconnect the second CV joint.
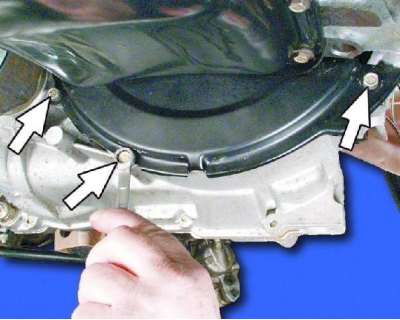
19. Unscrew the three mounting bolts and remove the clutch housing shield.
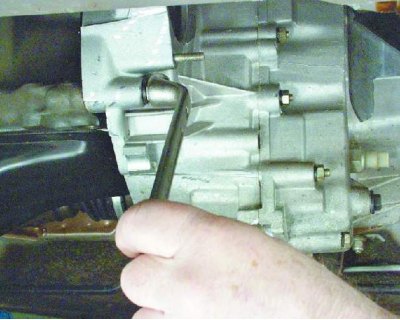
20. Loosen the three bolts and nut securing the clutch housing to the cylinder block.
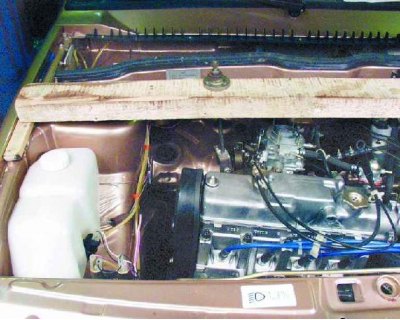
21. Place suitable wooden support blocks on the wing flanges in the area of the front strut supports and install the engine support beam on them. The beam should rest only on the wing flanges!
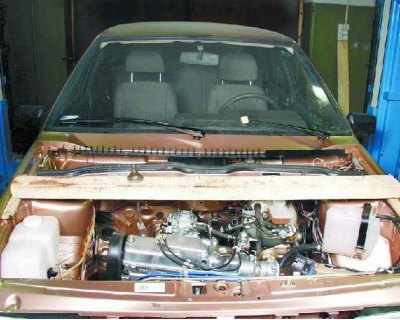
22. Attach the engine to the beam by the eye with a long bolt and hook. You can also use a strong rope or wire for this. (For ease of photographing, the hood has been removed).
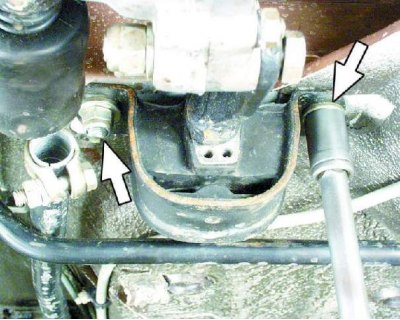
23. Unscrew the two nuts securing the rear support of the power unit to the body.
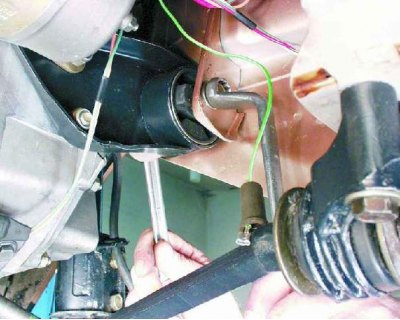
24. Loosen the nut and remove the bolt from the left support of the power unit.
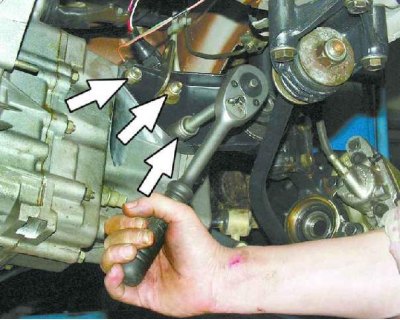
25. Unscrew the three nuts securing the left support of the power unit to the gearbox and remove the support.
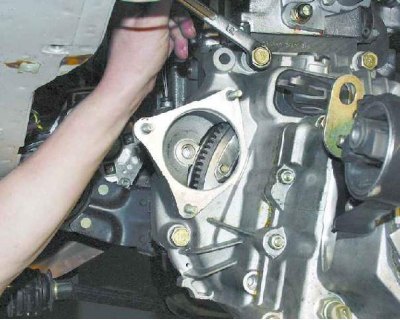
26. Finally, unscrew the three bolts and nut (on the other side of the gearbox). When removing the gearbox, first move it away from the engine in a horizontal plane to remove the primary shaft from the clutch. Do not damage the petals of the clutch diaphragm spring when removing.