




Contents: Removal ↓ Installation ↓
Removal
1. Prepare the car for work and disconnect the terminal from the negative terminal of the battery (see "Preparing the car for maintenance and repair").
2. Disconnect the windshield wiper wiring harness connector from the vehicle's electrical system.
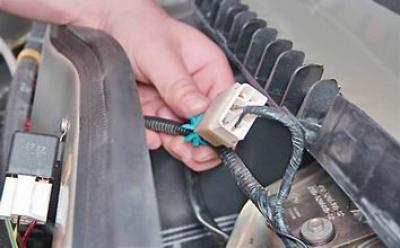
3. Remove the heater fan casing (see "Electric heater fan - removal and installation").
4. Unscrew the two nuts securing the mounting block and, without disconnecting the wiring blocks, move it towards the left front wing (see "Mounting block - removal and installation").
5. Open the decorative cover on the left wiper arm.
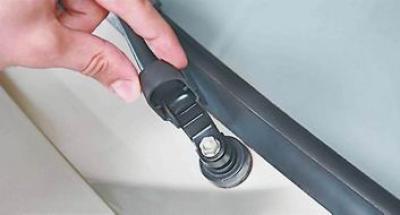
6. With a spanner by 10 mm unscrew the lever mounting nut.
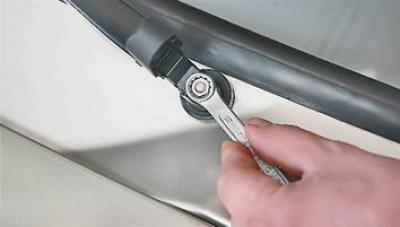
7. By rocking the lever, we remove it from the shaft.
Advice: If the lever fits tightly on the shaft, then we screw the nut onto the shaft thread and press the lever using sliding pliers.
8. Using a slotted screwdriver, remove the protective cover of the windshield wiper mounting nut.
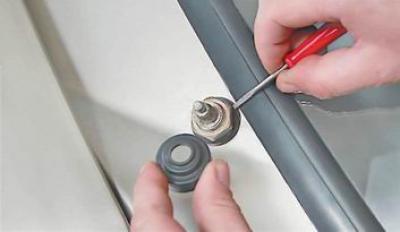
9. Key by 24 mm unscrew the windshield wiper mounting nut.
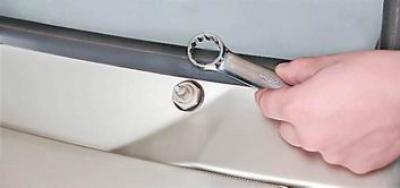
10. Remove the washer and sealing gasket from the windshield wiper shaft.
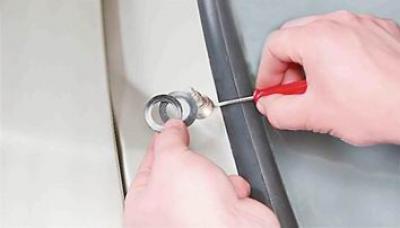
11. Remove the right lever in the same way.
12. With a socket wrench by 10 mm unscrew the bolt that secures the windshield wiper to the body (the bolt also secures the tip of the ground wire).
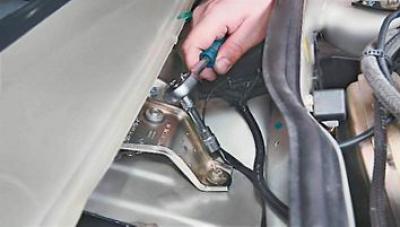
13. Carefully remove the windshield wiper from the air intake box.
Installation
We install the windshield wiper in the reverse order.
Recommendation: If the windshield wiper is new or has been repaired, the arms should be installed last. Before installing the arms, connect the windshield wiper to the vehicle's electrical system and switch it to intermittent mode. As soon as
the windshield wiper will work a full cycle and stop, turn it off. And only after that set the levers in the lower position of the glass. If you cannot set the levers so that the windshield wiper works correctly, then you should rearrange the crank on the motor-reducer shaft (see below, "Windscreen wiper - motor-reducer replacement").