




Contents: Sequence of execution ↓ Installation ↓
Note: If the coolant level in the reservoir has dropped to the "MIN" mark or below, then when the ignition is on, the corresponding indicator lamp in the on-board control system indicator unit should light. Otherwise, the indicator unit is faulty (see "On-board control system indicator unit - removal and installation") or the coolant level sensor, or their circuit is faulty. The terminals in the sensor wiring harness block may have oxidized.
To complete the work you will need a multimeter (in voltmeter and ohmmeter mode).
Sequence of execution
1. Prepare the car for work (see "Preparing the car for maintenance and repair")
2. Disconnect the wiring harness connector from the sensor.
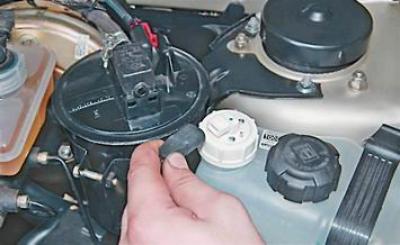
3. Using a piece of wire or a metal paper clip, short-circuit the terminals of the junction block. If the low coolant level indicator lamp lights up, the sensor is faulty. If the lamp does not light, measure the voltage at the terminals of the junction block with a voltmeter when the ignition is on. The voltage should be about 12 V. If voltage does not reach the block, there may be poor contact or a broken wire in the sensor circuit, or the light indicator unit is faulty.
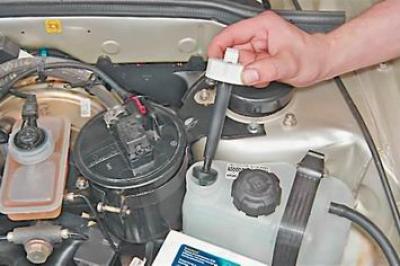
4. Unscrew the sensor cover. Remove the sensor float from the tank and remove the sensor.
(Information taken from the website: «www.VazBook.ru»)
5. Connect the multimeter (in ohmmeter mode) to the sensor terminals.
6. By moving the float from one extreme position to another, we check the readings of the device. The electrical resistance of a working sensor in the upper position of the float should be infinitely large, and in the others - close to zero.
Recommendation: Oxidized terminals in the socket should be cleaned with an awl or a thin file. Damaged sections of wires should be restored. The faulty sensor and indicator unit are replaced (see "On-board control system indicator unit - removal and installation").
Installation
We install the new sensor in the reverse order.