

Attention! To avoid burns, start work only after the engine has cooled down.
Removing
1. We prepare the car for operations (see "Vehicle preparation for maintenance and repair").
2. Disconnect the wire from the negative battery terminal (see "Battery - removal and installation").
Attention! When replacing only the sealing gasket of the throttle body, there is no need to disconnect hoses, pads and air duct from it - just follow steps 70 and 77 (see below). In other cases, we perform all the following operations.
3. Disconnect the throttle cable from the sector (see "Throttle cable - replacement").
4. Disconnect the wiring harness from the throttle position sensor (see "Throttle Position Sensor - Check and Replace").
5. Having pressed the latch, disconnect the block of wires from the idle speed controller (see "Idling regulator - check, removal and installation").
Attention! When performing the following operation, a small amount of coolant will flow out of the fittings and hoses.
6. After loosening the clamp, remove the coolant outlet hose from the fitting A of the throttle body. Similarly, disconnect the fluid supply hose from fitting B.
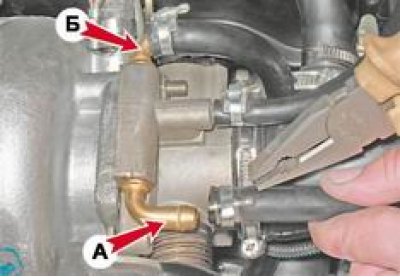
7. After loosening the clamp, remove the crankcase ventilation hose from the housing fitting.
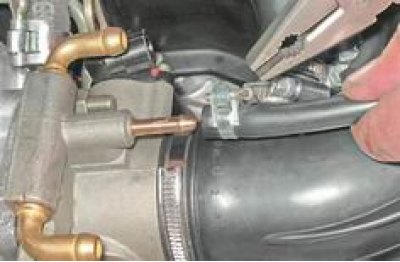
8. Having loosened the worm-drive clamp of the air supply hose to the throttle body with a Phillips screwdriver, remove it from the pipe.
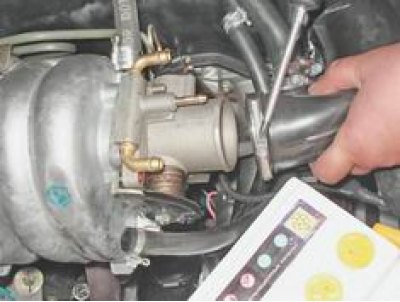
9. Using the same tool, loosen the worm-drive hose clamp for supplying fuel vapor to the throttle body fitting and remove the hose.
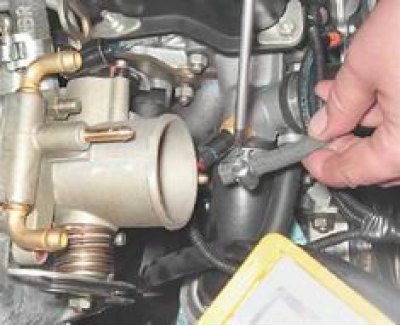
10. socket wrench at 13 mm unscrew the two nuts securing the throttle body.
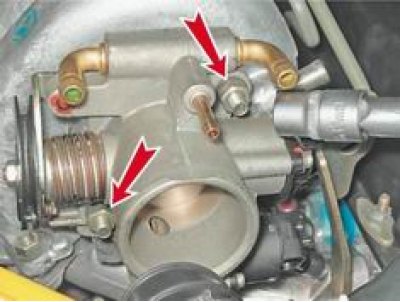
11. Remove the housing and sealing gasket from the receiver studs.
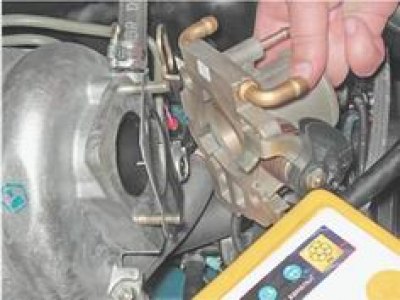
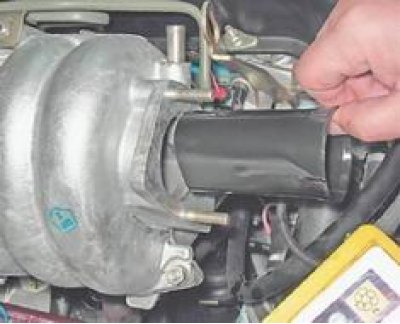
12. The air flow configuration in the receiver is formed by a plastic sleeve. If necessary, remove the bushing.
Installation
1. Install all removed parts in reverse order.
2. Check the coolant level in the expansion tank and top up if necessary (see "Coolant - level check and replacement").