
Disconnect the linkage from the carburetor choke lever and the speedometer cable from the gearbox.
Ignition switch cover.
1. Remove a decorative overlay of a steering wheel.
2. Loosen the steering wheel nut so that the end of the nut is flush with the end of the steering column shaft.

The steering wheel sits very tightly on the splines of the shaft, so do not immediately unscrew the wheel fastening nut: in case of a sharp impact, the steering wheel, jumping off the splines, can cause injury. Mark position of a steering wheel concerning a shaft.
3. With sharp blows of the hand, knock the steering wheel off the splines of the steering shaft.
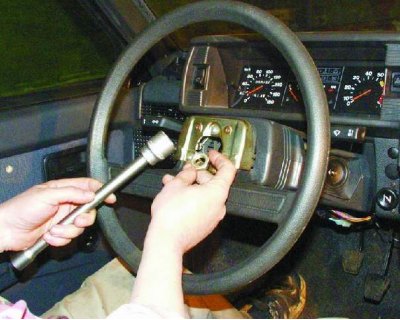
4. Completely unscrew the nut and remove the steering wheel.

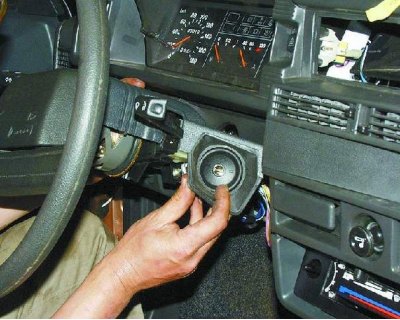
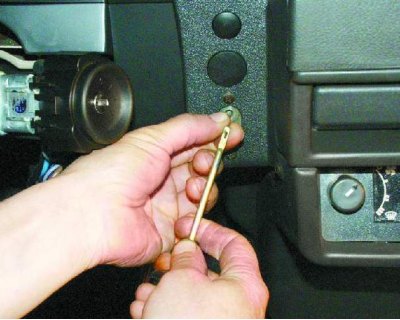
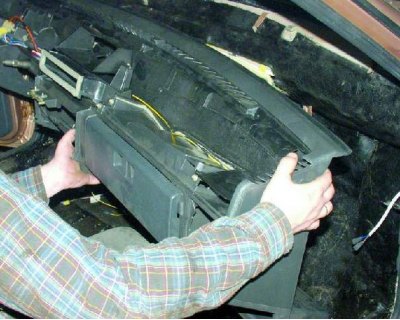
5. Remove the six screws securing the lower steering column cover.
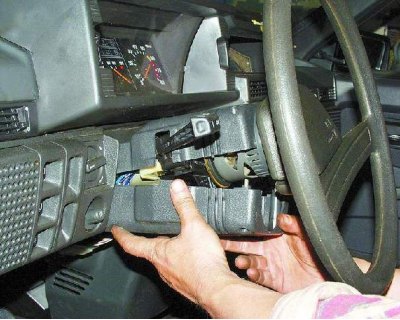
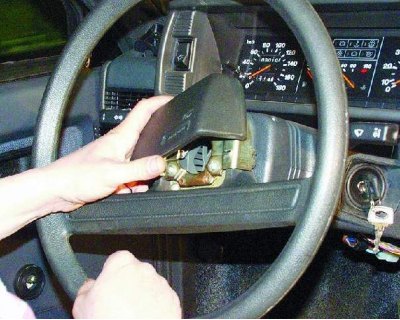
6. Remove the lower casing of a steering column and facing of the switch of ignition.
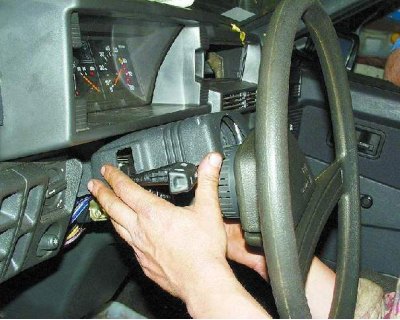
7. Remove the upper casing of the steering column.
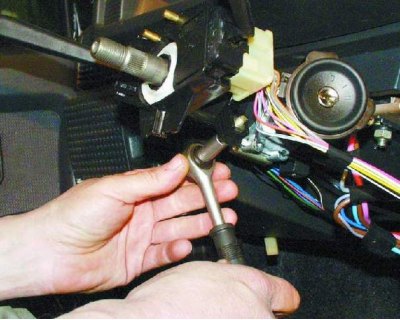
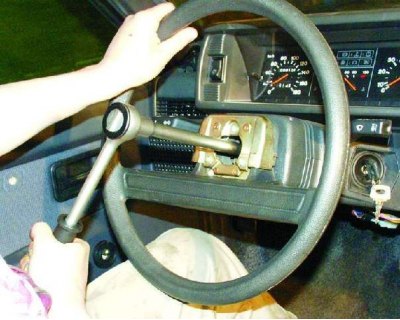
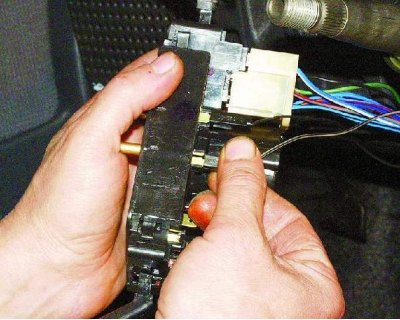
8. Loosen the bolt securing the base of the steering column switches.
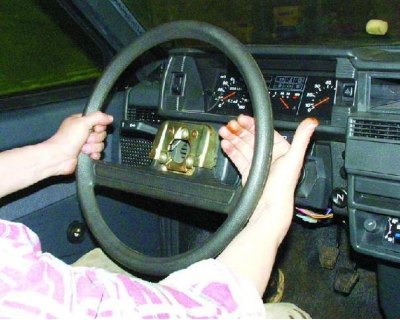
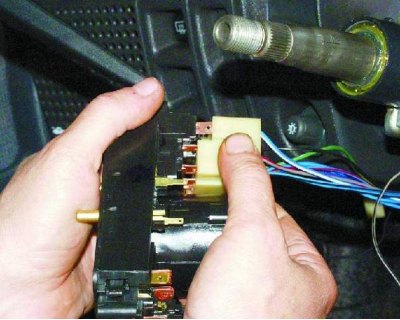
9. Remove the base from the shaft and disconnect the two pads with wires from the horn contacts.
10. Disconnect the wiring harness from the wiper and washer switch lever.

When disconnecting blocks with wires, we recommend marking them. This will avoid confusion during assembly and save you time.
11. Disconnect the wiring harness from the turn signal and headlight switch lever.
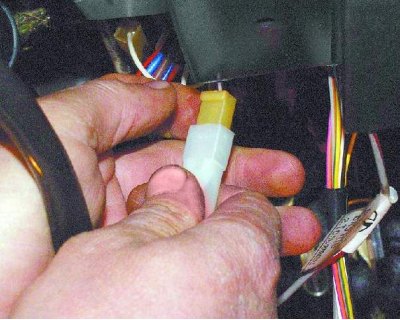
12. Pull out the carburetor choke knob (suction) so that there is a pull, and remove the handle from it.
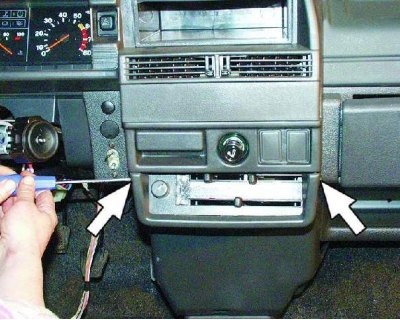
13. Turn out two screws of fastening of an overlay of the console of the panel of devices.
14. Remove the trim from the console.
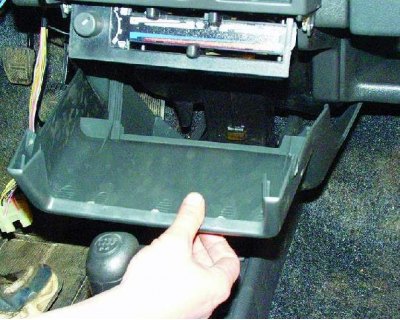
15. Remove the cigarette lighter cartridge from the socket.
16. Remove the ashtray from the slot by pressing on the cigarette extinguishing plate.

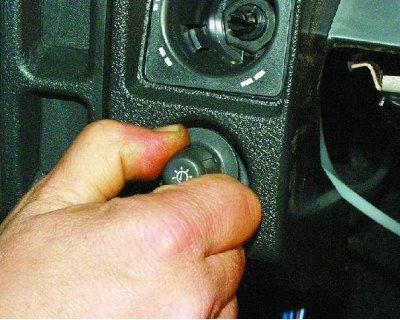
17. Remove the heater fan switch knob.
18. Remove the three heater control knobs by prying them out with a screwdriver.
19. Disconnect the wiring harness from the heater fan switch under the heater control panel.
20. Disconnect the two wires from the heater control panel backlight contacts.
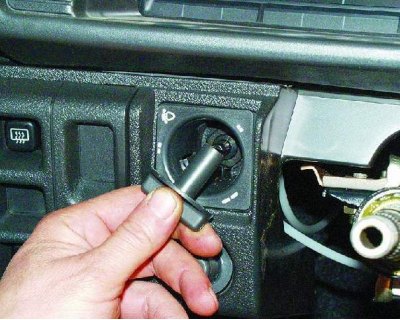
21. Remove the headlight adjustment knob by pulling it towards you.
22. Remove the handle of the switch of illumination of a combination of devices.
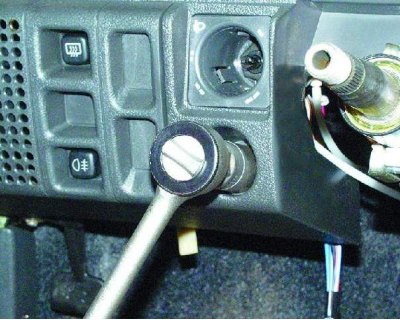
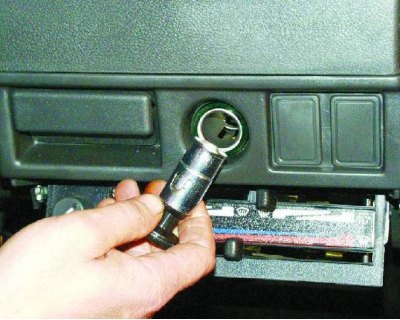
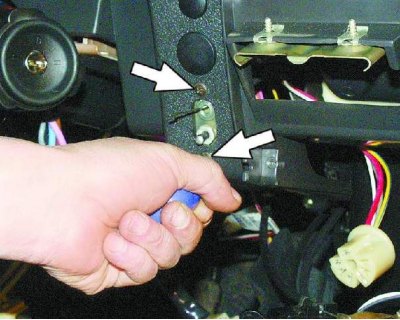
23. Loosen the nut on the instrument cluster light switch.
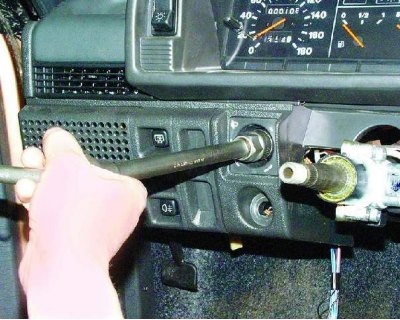
24. Loosen the headlight adjuster nut.
25. Push the instrument cluster lighting switch and the headlight hydrocorrector into the panel.
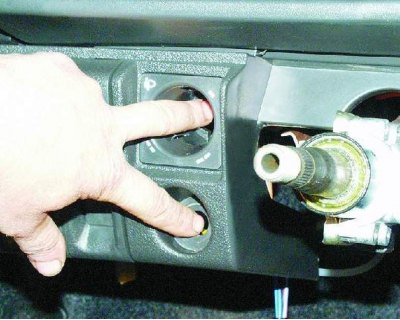
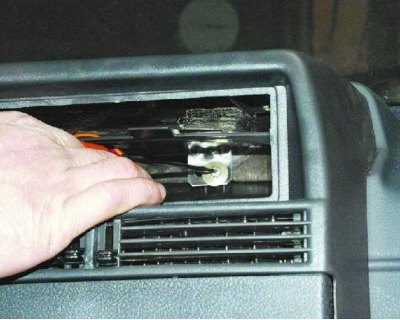
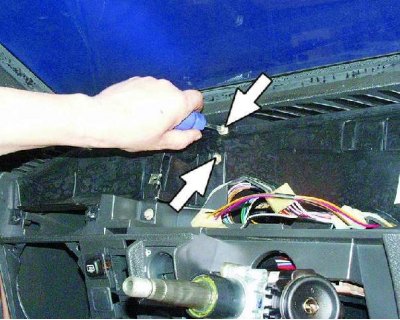
26. Remove the side nozzles from both sides of the instrument panel with a screwdriver.
27. Loosen one screw securing the trim on both sides of the instrument panel.
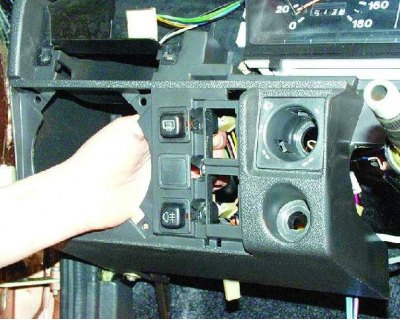
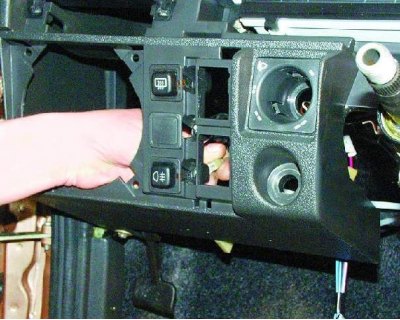
28. Pry with a screwdriver and remove the outdoor lighting switch from the panel.
29. Disconnect from the switch of external illumination a block with wires. Push the block inside the instrument panel.

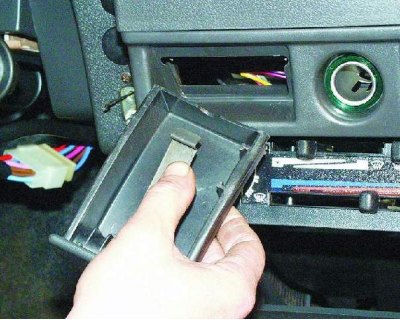
30. Pry with a screwdriver and remove the radio socket. If the car has radio equipment, first remove it.
Remove the radio equipment in accordance with the manufacturer's instructions.
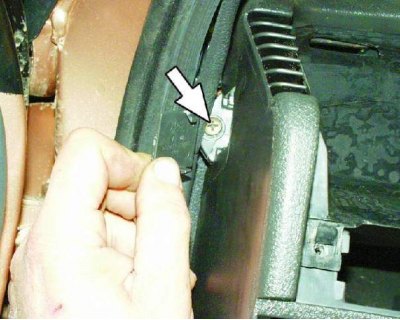
31. Turn away the screw of fastening of an overlay of the panel of devices.
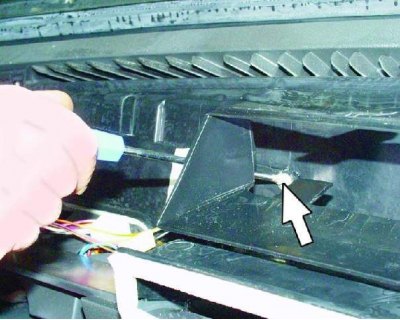
32. Insert two screwdrivers to pry up the plastic tabs.
33. Raise the instrument panel trim.
34. Disconnect the block with wires from the cigarette lighter block.
35. Disconnect the block with wires from the cigarette lighter backlight block.
36. Disconnect the block with wires from the backlight of the alarm switch.
37. Disconnect the block with wires from the alarm switch and finally remove the instrument panel overlay.

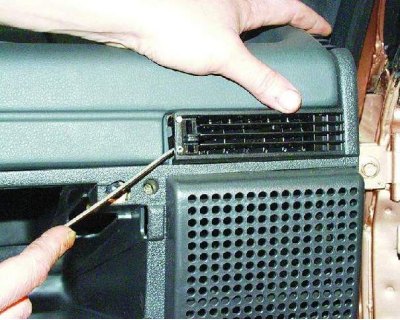
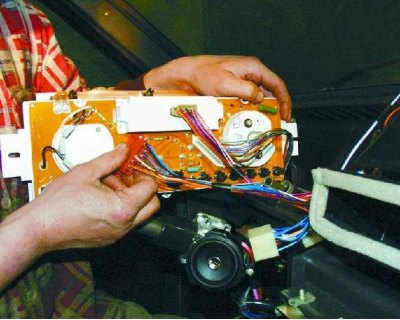
38. Gently press down and remove the loudspeaker trim from the left side of the instrument panel. Be careful - the latches break off easily.
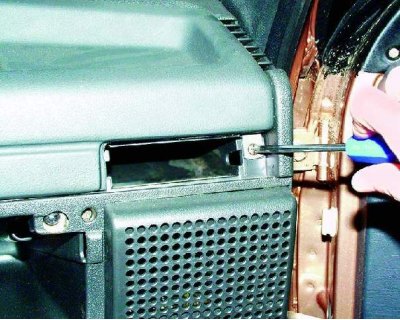
39. Disconnect the wiring harness from the tailgate glass heating switch.
40. Remove the block from the rear fog light switch.
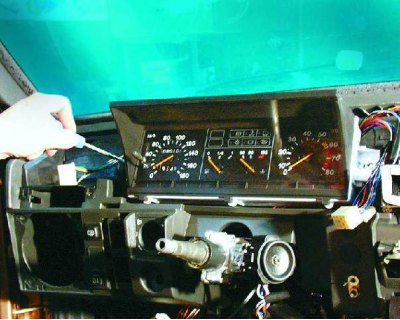
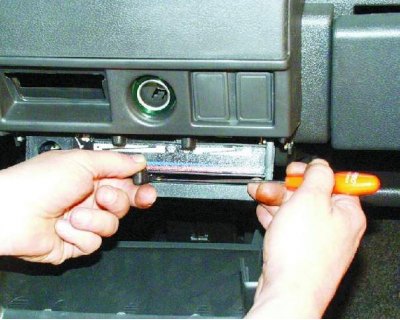
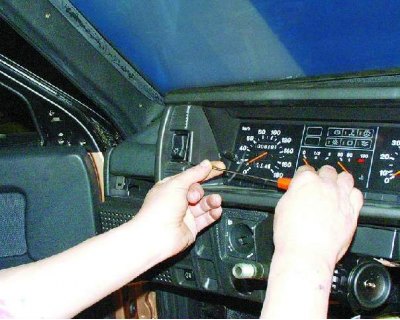
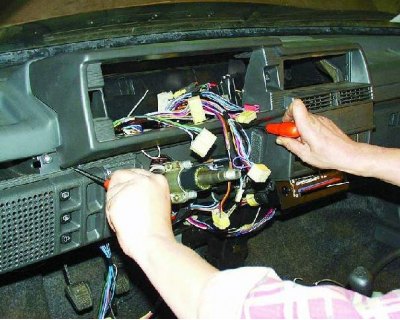
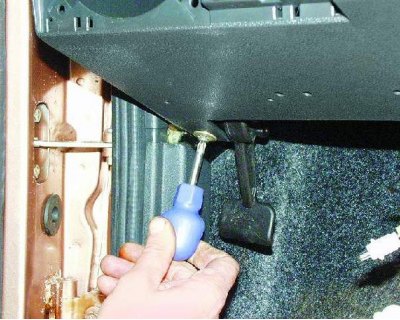
41. Remove the two screws securing the instrument cluster.
42. Remove the instrument cluster from the panel, unscrew the fastening nut and disconnect the cable from the speedometer.
Warning! Separate blocks with wires of the additional equipment if it is installed on your car.
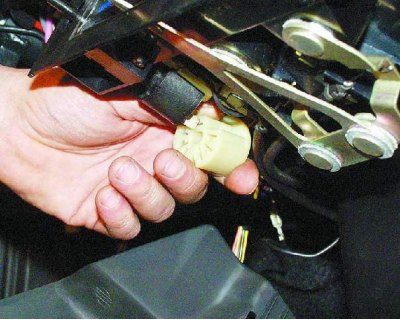
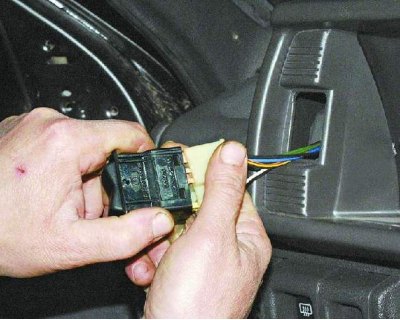
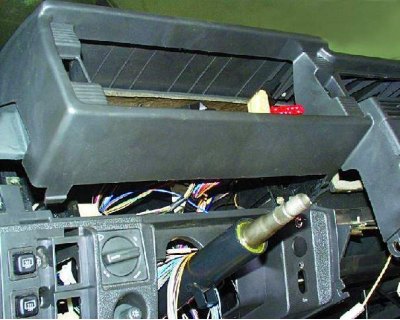
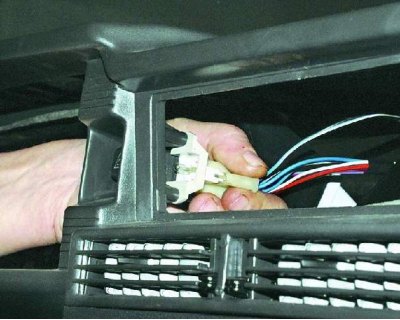
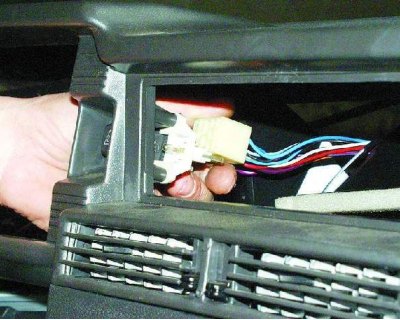
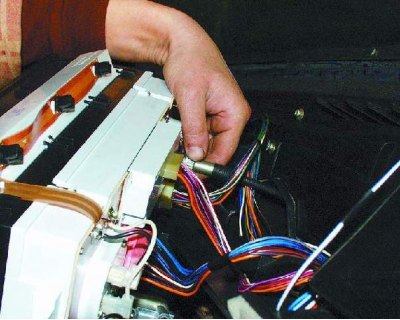
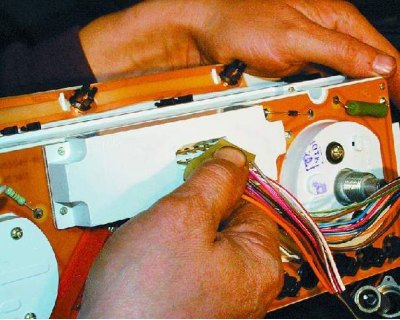
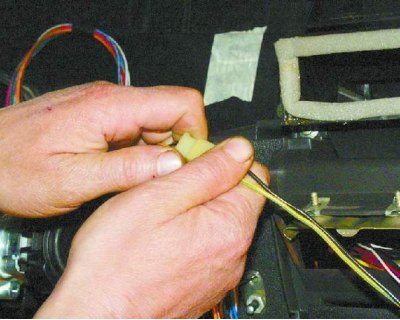
43. Disconnect the red block with wires from the instrument cluster.
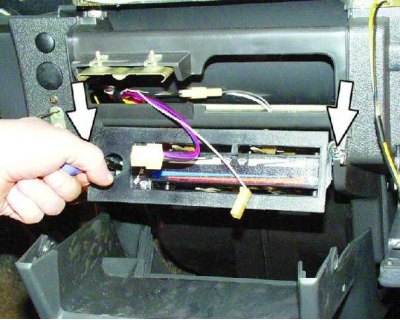
44. Disconnect the block with wires from the on-board control system.

45. Disconnect the white block with wires from the instrument cluster.
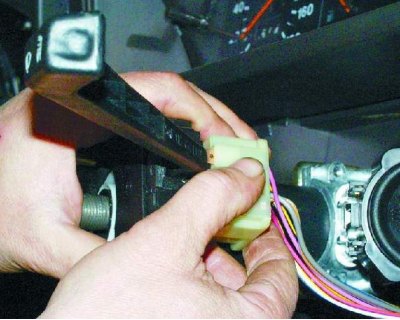
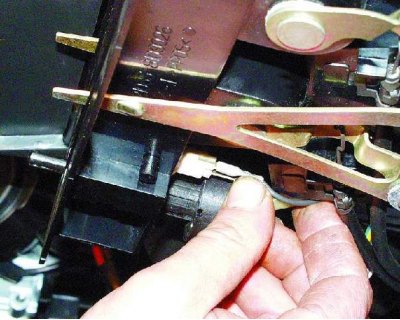
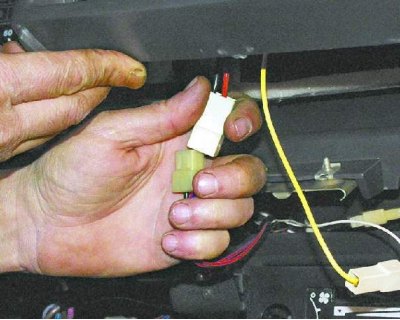
46. Disconnect the ignition switch connector with wires from the ignition relay.
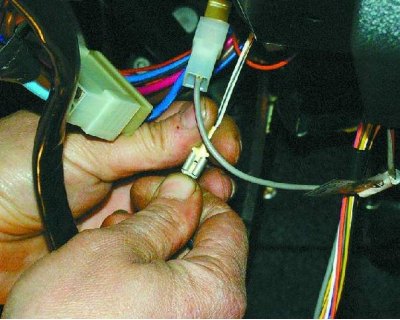
47. Disconnect the wire "masses" ignition relay.
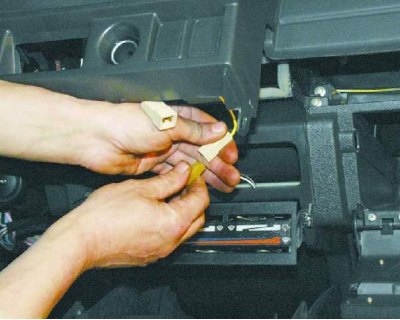
48. Disconnect the block with the wires of the control lamp for opening the air damper.
49. Remove one screw each from the lower instrument panel mounting on both sides.
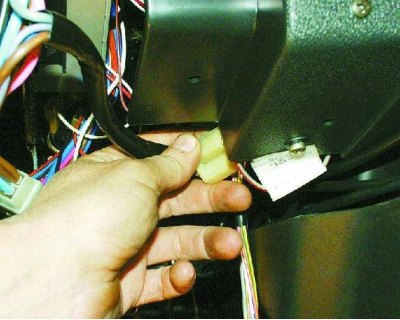
50. Disconnect the block with the wires of the glove box illumination lamp.
51. Loosen the two fixing screws and lower the heater control panel down.
52. Remove the two screws securing the air damper guide rod to the instrument panel.
53. Unscrew the two screws on the upper fastening of the instrument panel on both sides of it.
54. Pry with a screwdriver and remove one plug from both sides of the instrument panel. Remove one screw from each side of the instrument panel on both sides of the panel.
55. Turn away the screw of the central fastening of the panel of devices.
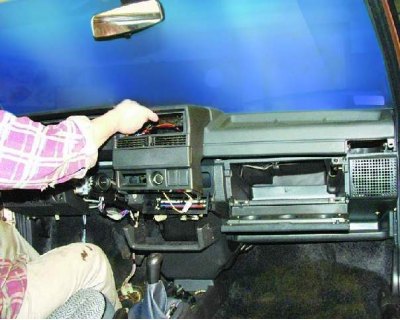
56. Remove the instrument panel.
Install the panel in reverse order.
After installation, check the operation of the switches and appliances to make sure they are connected correctly.