




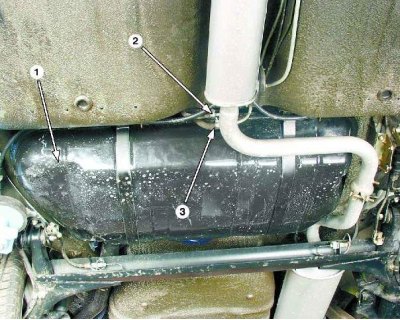
1 - fuel tank
2 - fuel drain line
3 - fuel supply line
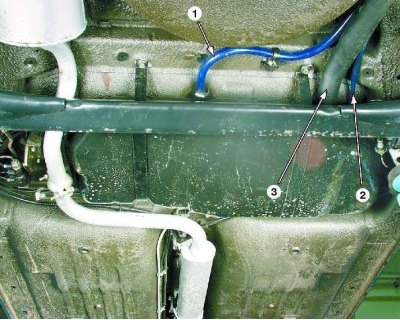
1 - air release hose
2 - separator hose
3 - filler pipe hose
Caution! Before starting work, disconnect the wire from the "–" terminal of the battery.
Note: It is recommended to remove the fuel tank with an assistant.
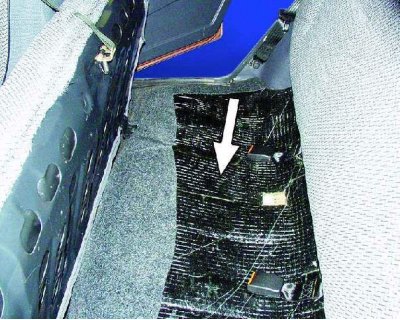
1. Fold back the rear seat cushion and unscrew the cut out part of the sound insulation.
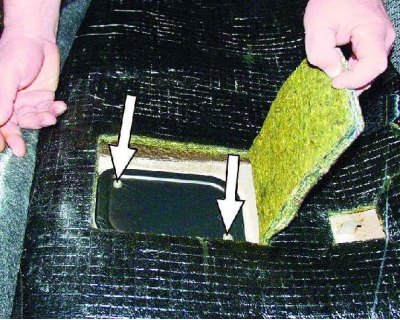
2. Remove the two screws securing the hatch cover.
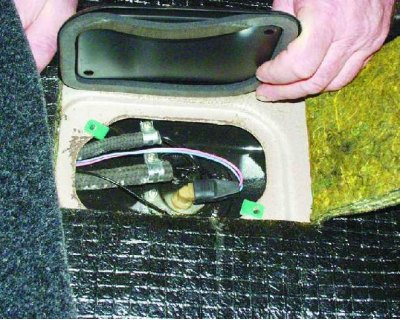
3. Remove the hatch cover with the rubber gasket.
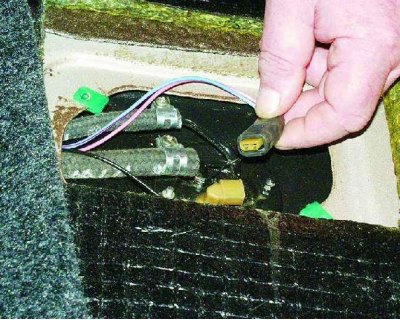
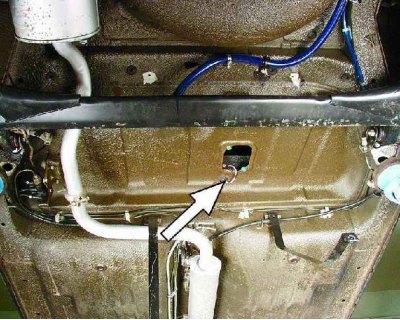
4. Disconnect the wiring harness from the fuel level sensor.
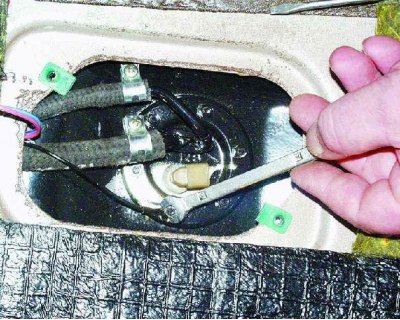
5. Unscrew the sensor mounting nut, under which the ground wire is secured.
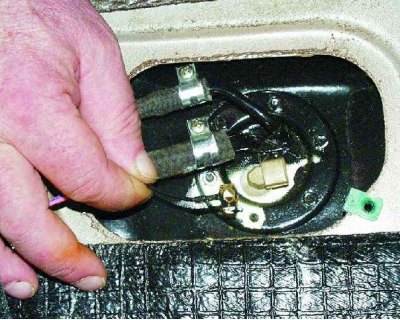
6. Remove the wire from the stud. The remaining operations are carried out under the bottom of the car.
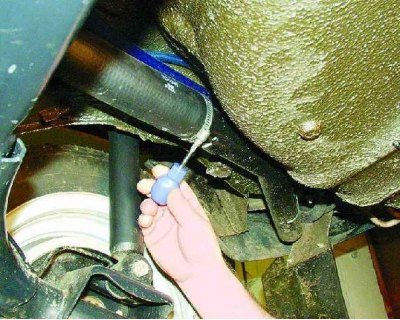
7. Loosen the clamp.
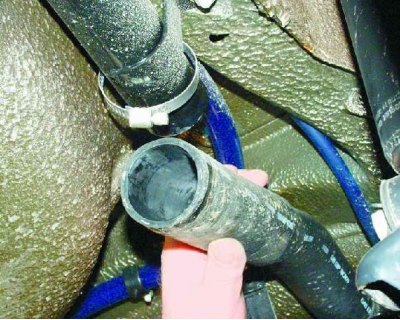
8. Disconnect the hose from the filler pipe.
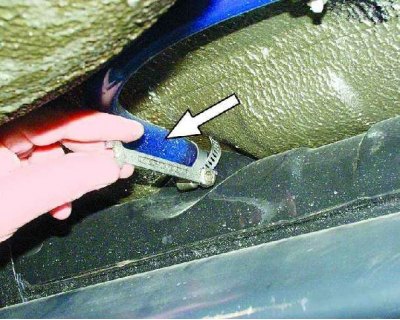
9. Loosen the clamp and disconnect the air bleed hose from the fitting on the fuel tank.
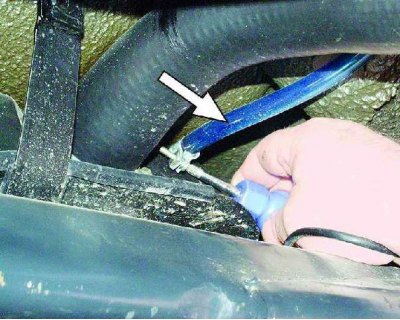
10. Loosen the clamp and disconnect the separator hose from the fitting on the fuel tank.
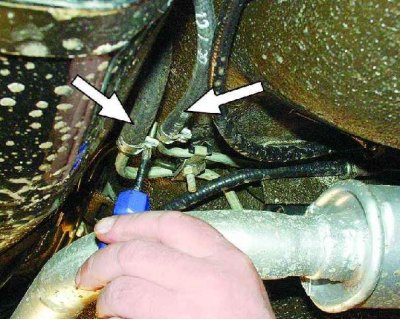
11. Loosen the clamps and disconnect the hoses from the fuel lines.
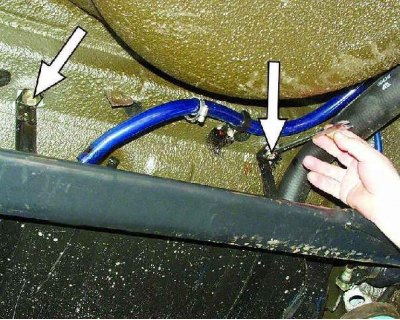
12. While holding the tank, unscrew the two bolts holding the tank clamps.
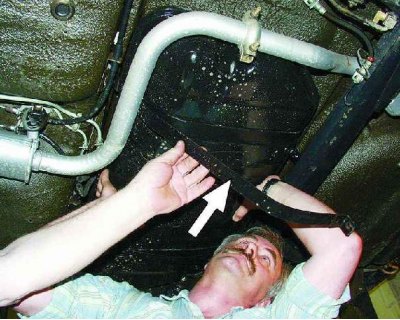
13. Move the clamps down, supporting the tank. Bend the clamp on the left side behind the resonator pipe.
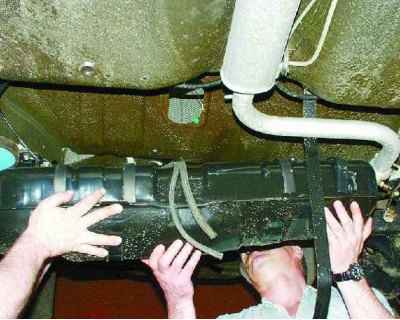
14. Lower the front end of the tank and remove it from the car. Drain any remaining gasoline from the tank.
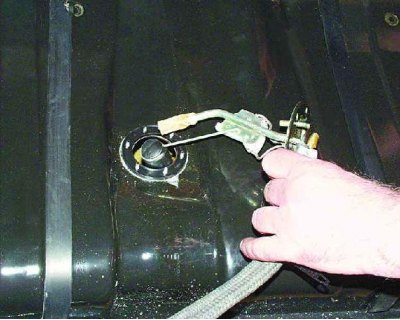
15. Remove the five remaining sensor mounting nuts and remove the fuel level indicator sensor from the tank.
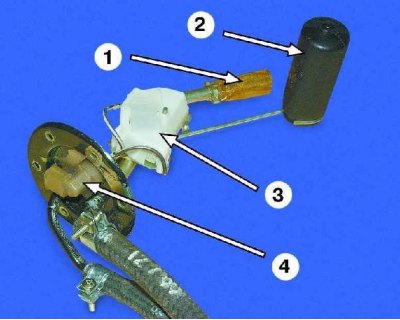
Fuel level indicator sensor: 1 – mesh filter; 2 – float; 3– sensor body; 4 – connecting block
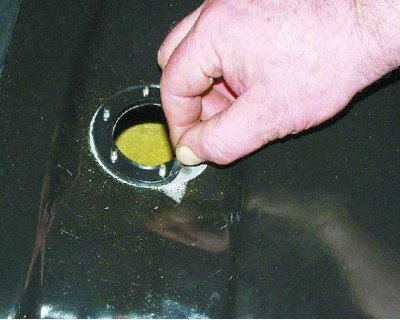
16. Remove the sensor gasket.
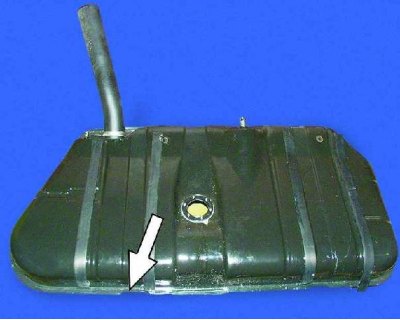
17. Inspect the tank along the line where the upper and lower parts meet. If you find a leak, pour out the remaining gasoline, rinse and dry the tank thoroughly. Then solder the leak with soft solder. If necessary, glue the torn rubber gaskets on the tank.
Warnings:
- You can only solder a thoroughly washed tank that does not contain gasoline vapors. Otherwise, the vapors may ignite during soldering.
- To wash the fuel tank, use detergents: "Labomid", "MS" or "ML". To remove the remains of the detergent, rinse and steam the tank with a stream of hot water. Dry the tank thoroughly.
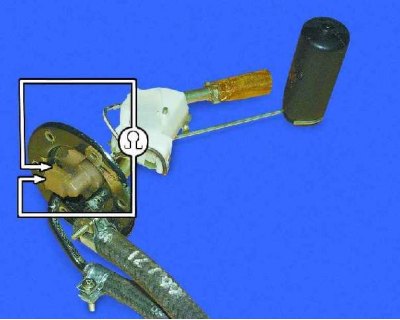
18. Connect an ohmmeter to the sensor contacts and check the sensor resistance at three float positions. In the extreme lower position (empty tank) resistance should be 315-345 ohms, in the middle position (the tank is half full) – 108–128 Ohm, in the extreme upper position (full tank) – no more than 7 Ohm. If the resistance differs from the specified one, replace the sensor.
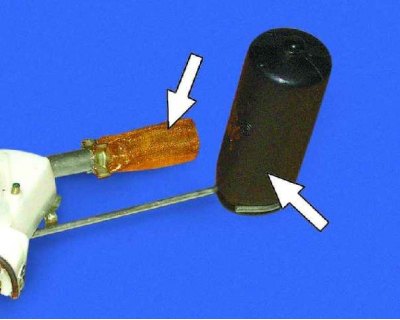
19. Wash the dirty filter. Shake the float. If there is gasoline in it, the float is not sealed. We recommend replacing the float.
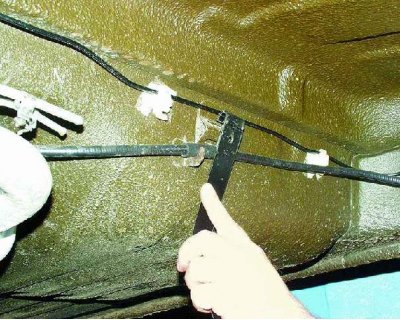
20. To replace the tank mounting clamps, remove them from the brackets on the body and install new ones.
The material is posted on the website [VAZbook.ru]
21. Assemble and install the fuel tank in reverse order. Before installing the tank, remove the fuel level sensor wires inside the body.