Contents: Removal ↓ Installation ↓
Removing the adsorber may be necessary for ease of repair of the engine and its systems.
Removal
1. Preparing the vehicle for work (see point 2a "Preparing a car for maintenance and repair").
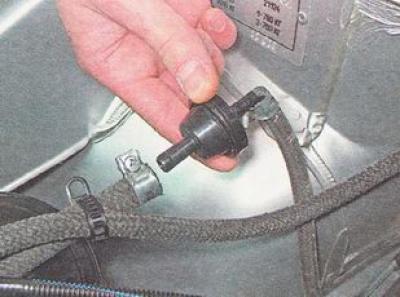
2. Remove the purge valve from the adsorber (see "Evaporative Canister Purge Valve - Checking and Replacing").
Recommendation: If necessary, the purge valve can be removed from the canister without disconnecting the hose and the wiring harness connector. To prevent sand from getting into the purge valve, wrap it in a plastic bag and set it aside.
Warning: Do not lose the canister purge valve O-ring (see "Evaporative Canister Purge Valve - Checking and Replacing")
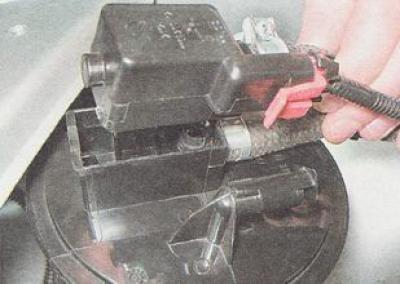
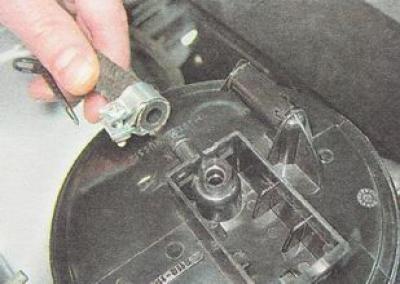
3. Loosen the clamp and remove the hose from the adsorber pipe. The hoses of the valve and the adsorber itself are of different diameters and cannot be mixed up during installation.
4. Using a 10 mm socket wrench, unscrew the clamp bolt securing the adsorber.
The information is published on the website: VazBook.ru
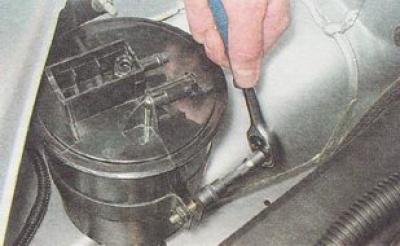
5. Remove the adsorber.
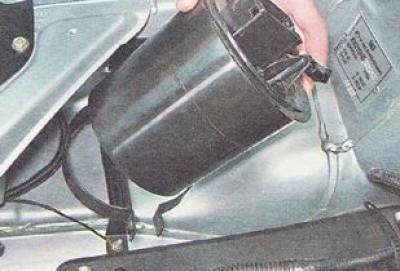
6. If necessary, use a 10 mm wrench to unscrew the three nuts securing the canister bracket and remove the bracket. One of the nuts secures the tip of the ground wire.
Installation
We install the adsorber and all removed parts on the car in the reverse order.
Note: If necessary, you can remove the adsorber check valve by loosening its mounting clamps. The check valve pipes have different diameters. The pipe with a larger diameter should face the adsorber.