




Contents: Removal and inspection ↓ Installation ↓
Warning: Before performing repair work to check and replace the purge valve of the adsorber on a VAZ 2110 vehicle, read the precautions for repairing the engine management system (see "Precautions when repairing the engine management system").
To perform repair work on checking and replacing the purge valve of the adsorber, you will need:
- multimeter (in voltmeter and ohmmeter mode);
- pieces of wire.
Removal and inspection
1. Preparing the vehicle for work (see points 1 and 2 "Preparing a car for maintenance and repair").
2. Having released the retainer, disconnect the wiring harness connector from the valve.
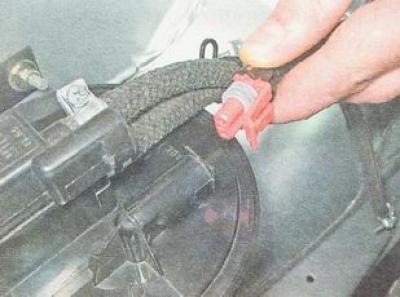
3. Connect the "negative" probe of the voltmeter to the "mass" (to the car body).
Information copied from the portal (VAZBOOK.RU)
4. Turn on the ignition and use a voltmeter to measure the supply voltage at terminal A of the purge valve wiring harness connector (the terminal designation is made on the connector).
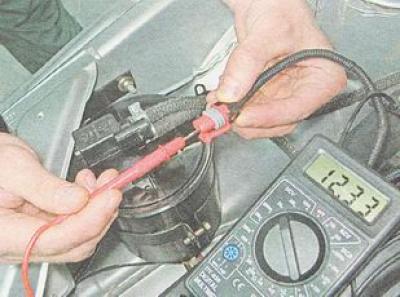
Note: The voltage at the terminal must be at least 12 V. If the voltage does not reach the connector or is less than 12 V, then the battery is discharged, the power supply circuit is faulty, or the ECU is faulty.
5. Using a Phillips screwdriver, loosen the clamp securing the hose to the valve.
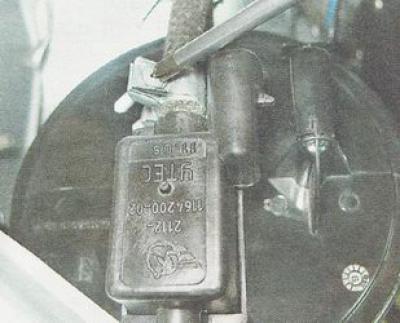
6. Remove the hose from the valve branch.
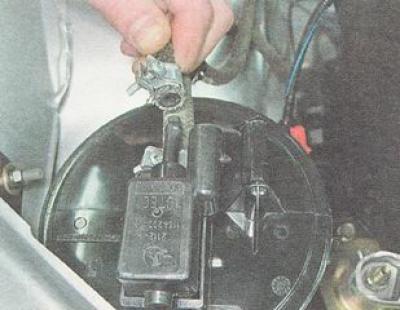
Recommendation: If the hose is tightly seated on the branch pipe and it is not possible to disconnect it, then you can remove the valve from the adsorber and, by rotating the valve, remove the hose from it.
7. Using a screwdriver, remove the valve from the adsorber.
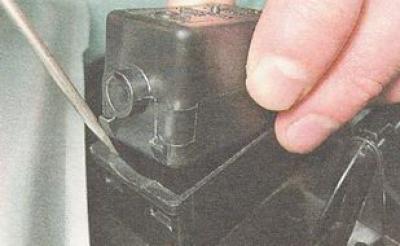
8. Apply 12 V voltage from the battery to the valve terminals (+ to terminal A, - to terminal B).
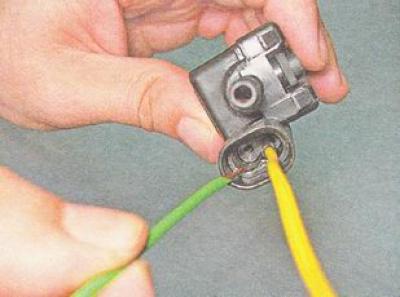
Note: When voltage is applied to the terminals, the valve should open with a characteristic click. A faulty valve must be replaced.
Installation
If the new valve does not have a sealing ring, remove it from the old valve.
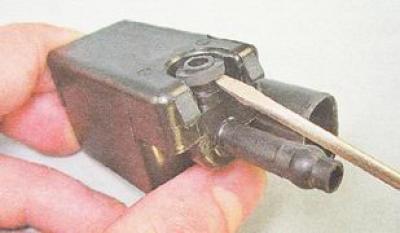
Note: A damaged sealing ring must be replaced.
We install all removed parts on the car in the reverse order of removal.