1. Remove the ignition switch (see «Removal and installation of the ignition lock»).
2. Disconnect the wiring harness from the backlight socket.

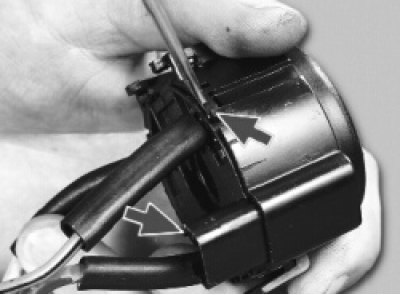
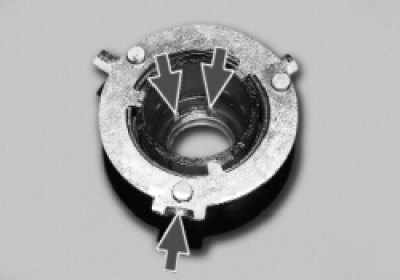
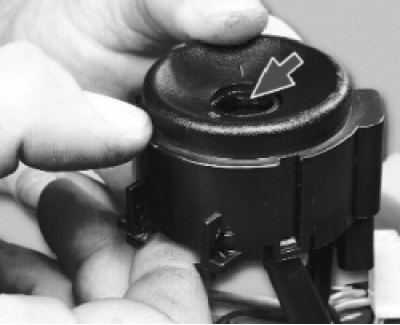
3. Using a screwdriver, unfasten the latch on one side.
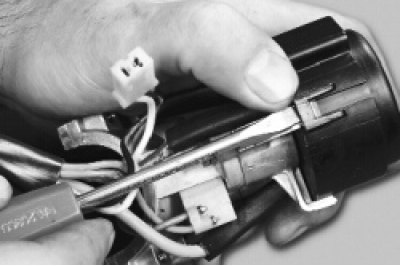
4. Then unfasten the two latches on the other side..
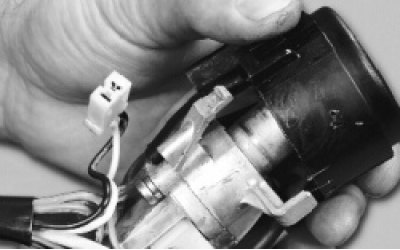
5.... and remove the plastic cover from the lock body.
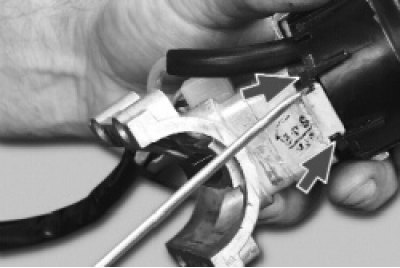
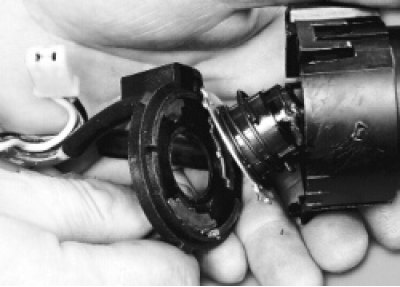
6. Prying off with a screwdriver, unfasten the two latches on both sides of the cover..
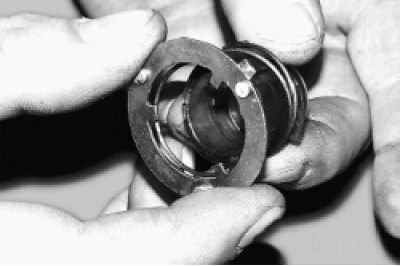
7.... and remove the contact group and the light guide from the cover.
8. Clean the oxidized or burnt contacts of the plate on the light guide with fine-grained sanding paper.
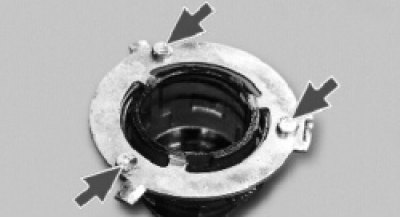
9. If the contacts are severely damaged, replace the contact plate on the fiber. To do this, turn the contact plate so that its internal protrusions fall into the slots of the light guide..
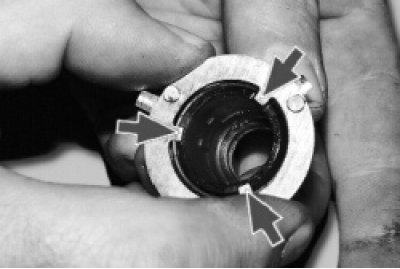
10.... and remove the plate along with the return spring. Replace broken or cracked return spring.
11. Install the spring and slip ring onto the light guide in the reverse order of removal. At the same time, pay attention to the fact that the protrusions on the inner surface of the light guide should be opposite the wide outer protrusion of the plate.
12. Clean oxidized or burnt contacts with fine sandpaper. If the contacts are severely damaged, replace the contact group. To do this, you need to unsolder three wires from the contacts.
13. When assembling the lock, first install the light guide with the contact plate on the base of the contact group so that the long protrusion of the plate is opposite the stop on the base.
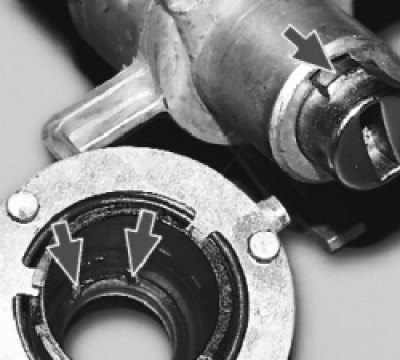
14. Place the cover on the base so that the top of the light guide fits into the hole in the cover. Secure the base to the lid with the latches.
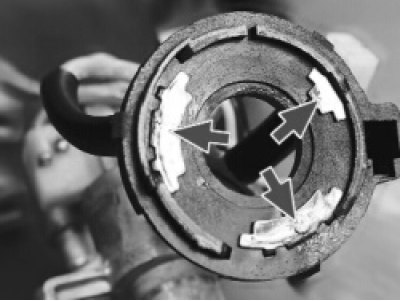
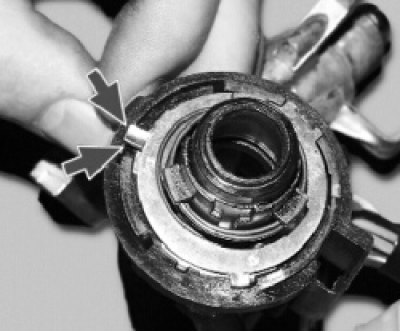
15. Install the cover with the contact group on the lock body in the reverse order of removal. Note that the tab on the lock cylinder must be between the two tabs on the inner surface of the light guide.