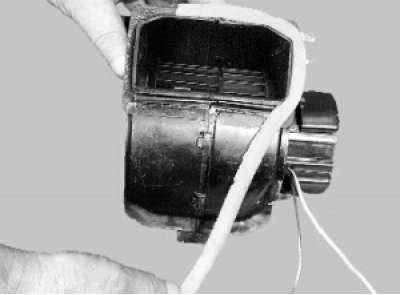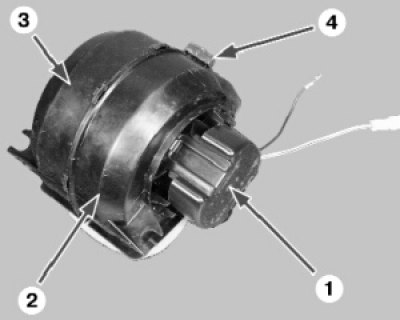
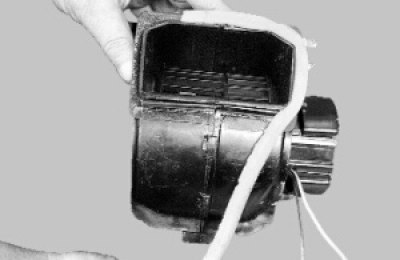
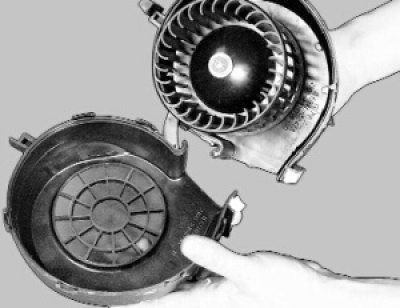
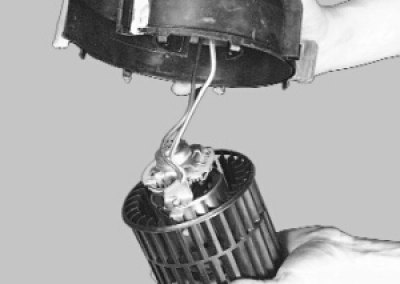
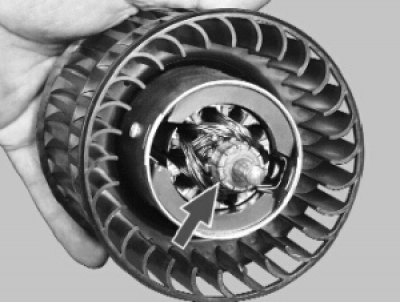
This is how the removed heater fan looks like: 1 - protective cover of the electric motor; 2 – right fan casing; 3 - left fan casing; 4 - fan support.
Technical characteristics of the heater fan electric motor type 45.3730:
- Consumed current at maximum speed, A, no more…..14
- Maximum fan speed, min-1…..4100
You will need a screwdriver.
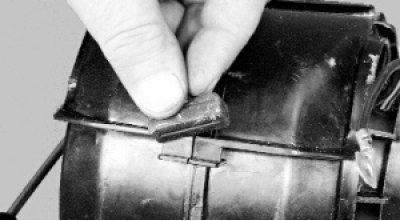
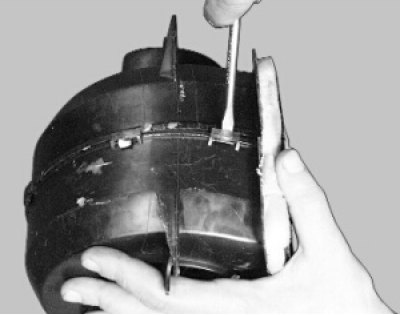
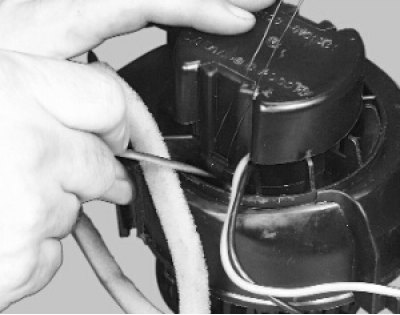
1. Peel off the foam seal from the right fan shroud.
2. Remove the support from the fan shroud.
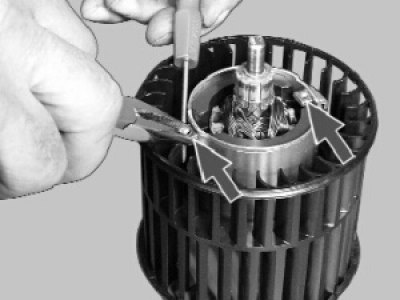
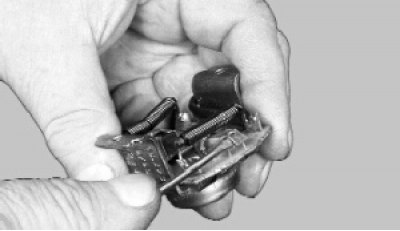
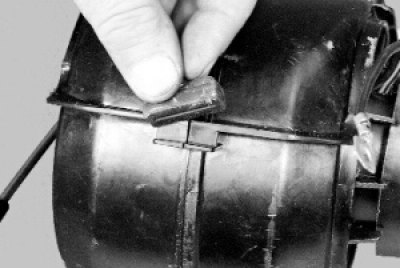
3. Prying off the plastic latches of the fan casing with a screwdriver, disengage them..
4.... and separate the parts of the casing.
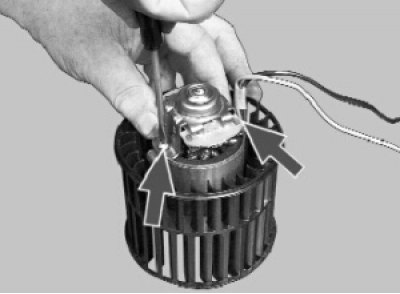
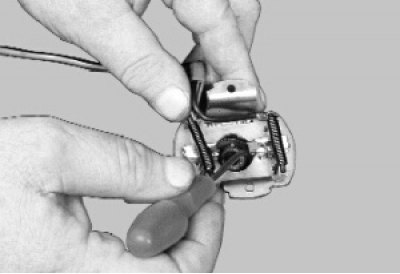
5. Unfasten the two spring latches by prying them with a screwdriver.
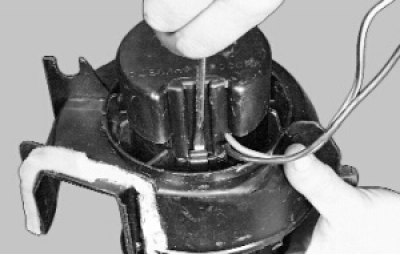
6. Remove the engine cover.
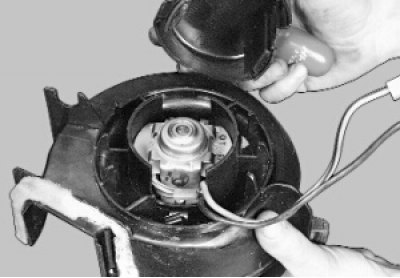
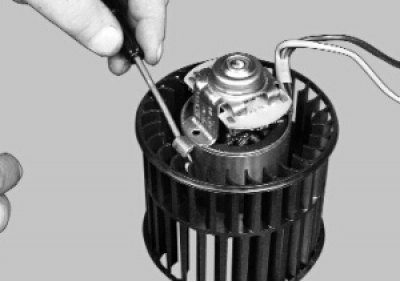
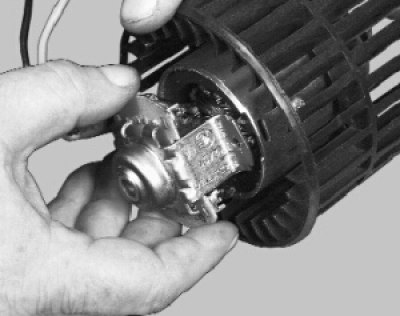
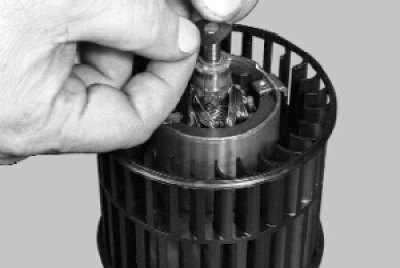
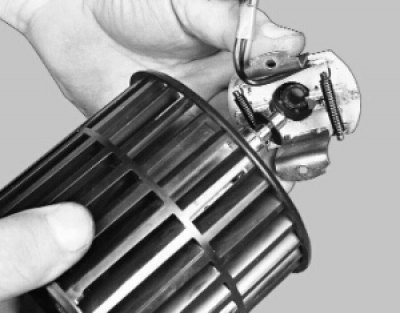
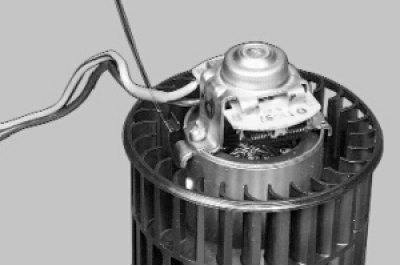
7. Remove the motor with fan impeller.
Warning! Do not remove the fan impeller from the motor shaft, so as not to disturb the balance.
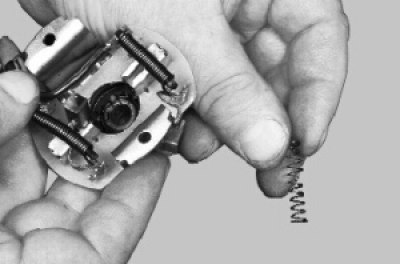
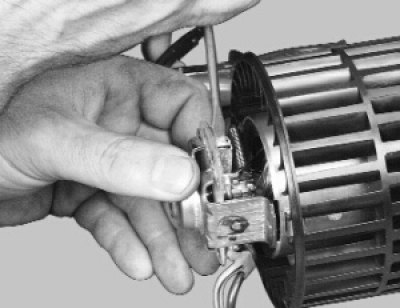
8. Turn out two screws of fastening of a brush holder..
9.... remove the two cage nuts..
10.... and remove the brush holder.
11. Inspect the manifold. If it is heavily soiled or has scratches, marks, spots
burning, clean the collector with fine-grained sandpaper. For other faults
electric motor, the manufacturer recommends replacing the heater motor.
12. Remove the springs from the guide brushes.
13. To reassemble the fan, insert two cage nuts.
14. Put the insulating washer on the shaft.
15. Carefully bend the edges of the guides..
16.... and insert the brushes into the guides as far as they will go.
17. Install the brush holder on the motor.
18. Insert the brush springs into the guides..
19.... and bend the edges of the guides.
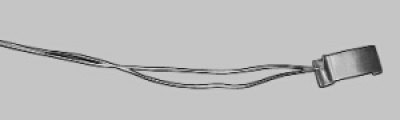
20. Slide two spring clips over the cage nuts.
Note. For ease of installation of spring clips, tie them with a thin wire, without tightening it. When installing the engine cover, hold the clamps by the wire, otherwise they will be pulled off the nuts by the stator magnet.
21. Insert the motor into the left fan shroud.
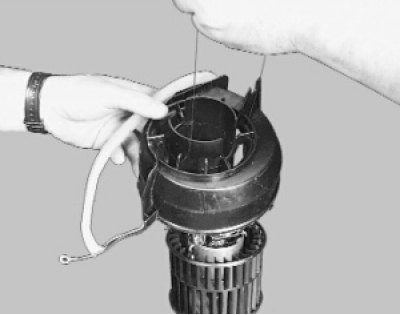
22. Install the engine cover and fix it with spring clips, holding them by the wire.
23. Connect and snap together the left and right fan shrouds. Put a plastic support on the projections of the casings.
24. Glue the foam seal to the fan shroud.