
Removing
1. We install the car on a viewing hole or overpass (see "Vehicle preparation for maintenance and repair").
2. Disconnect the wire from the negative battery terminal (see "Battery - removal and installation").
3. Special hose (see "Tools, fixtures and operating materials") pump out fuel through the filler neck of the tank.
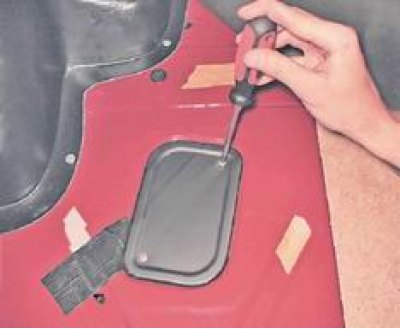
4. Having unfolded the mat on the left side of the luggage compartment, use a Phillips screwdriver to unscrew the two screws securing the hatch cover and remove it.
5. Disconnect the wire ends from the output of the fuel level sensor.
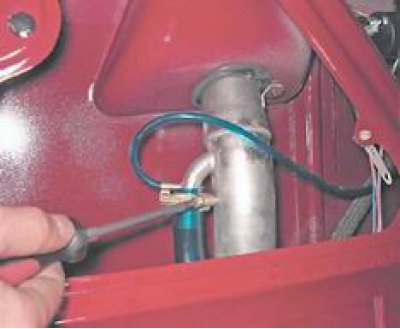
6. Loosen the clamp with a Phillips screwdriver and disconnect the fuel hose from the fitting.
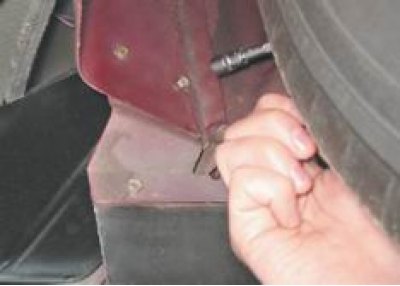
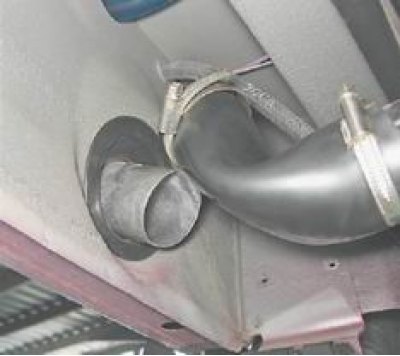
7. Unscrewing the self-tapping screw securing the luggage compartment upholstery on the left side with a Phillips screwdriver, remove the upholstery (see "Rear bumper - removal and installation"). Using the same tool, loosen the clamp on the tank ventilation hose and remove the hose from the filler pipe fitting.
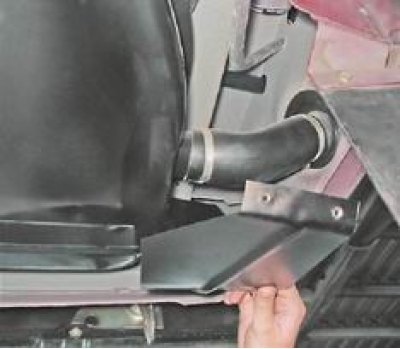
8. Under car socket wrench on 10 mm we unscrew the self-tapping screw of the rear fastening of the casing of the fuel tank pipe to the side member.
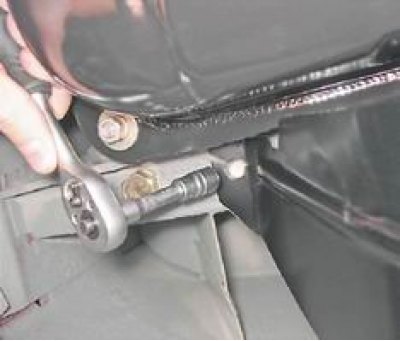
9. Using the same tool, unscrew the two bolts securing the casing to the rear wheel arch.
10. Remove the cover.
11. After loosening the clamp securing the tank pipe to the filler pipe, remove the pipe.
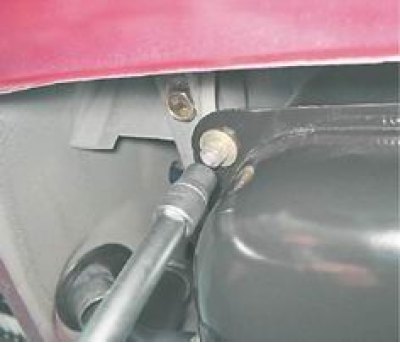
12. Substituting a jack under the tank, with a socket wrench by 13 mm with an extension, unscrew the four nuts securing the fuel tank.
13. Lowering the tank, remove the ventilation hose from the hole in the side member.

Installation
1. Installation of the fuel tank is carried out in reverse order.
2. Raise the tank with a jack, while the assistant pulls (from the luggage compartment) ventilation hose from the hole in the side member.
3. Filling the tank with fuel, turn on the ignition to create pressure in the power system and check the tightness of the connections.