




Contents: Removal ↓ Installation ↓
Removal
1. Prepare the vehicle for operations (see "Preparing a car for maintenance and repair").
2. Remove the air filter housing from the carburetor studs (see "Air filter housing - removal and installation").
3. Use a rag to clean off any dirt and wash the outer surface of the carburetor with white spirit or engine cleaner.
4. Loosen the tightening screw of the air damper drive cable (see "Air damper drive - checking and adjustment").
5. Key by 8 mm we loosen the tightening of the cable sheath fastening bolt and disconnect the cable from the carburetor.
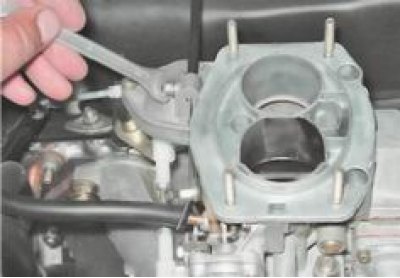
6. Remove the crankcase gas supply hose from the branch pipe.
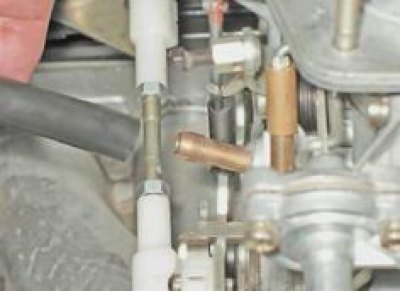
7. With a Phillips screwdriver or key by 8 mm we loosen the clamp of the fuel hose and remove it from the fitting. We plug the hole in the hose with an M8 bolt.
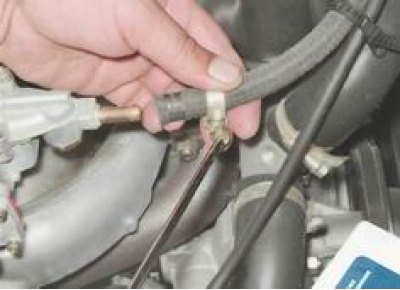
8. Disconnect the vacuum regulator hose of the ignition distributor.
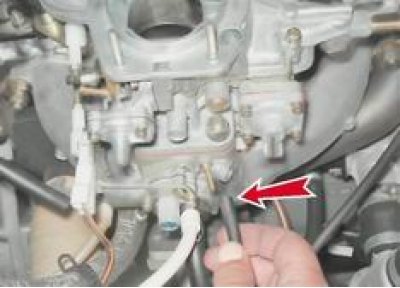
9. Disconnect the hose connecting the economizer to the pneumatic valve.
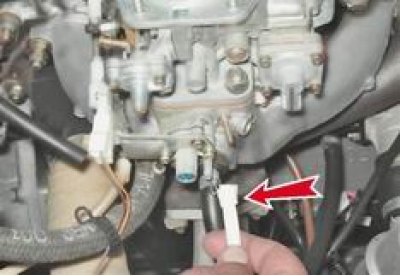
10. Disconnect the wire blocks from the microswitch.
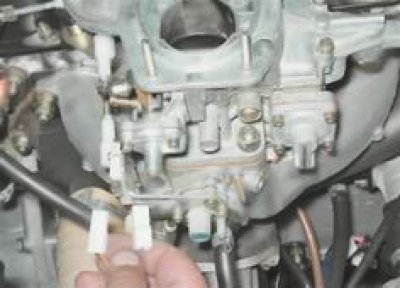
11. Using a slotted screwdriver, remove the throttle actuator rod end.
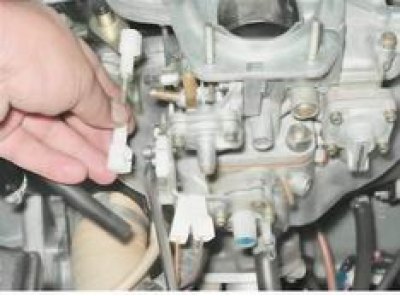
12. Remove the throttle return spring.
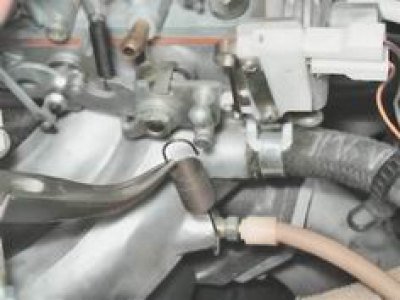
13. With a spanner by 13 mm we unscrew the three nuts that secure the carburetor to the intake manifold.
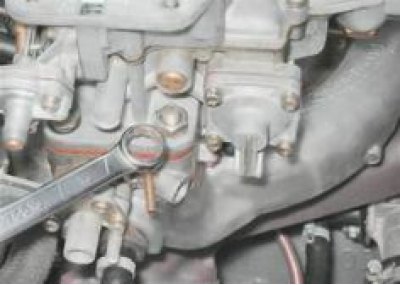
14. With an open-end wrench by 13 mm we unscrew the remaining nut.
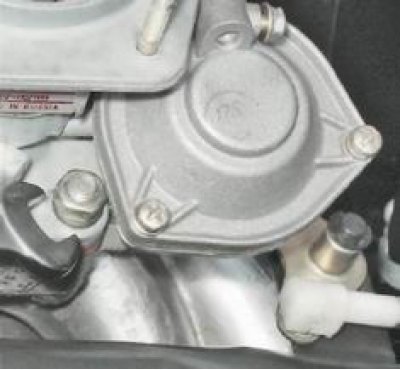
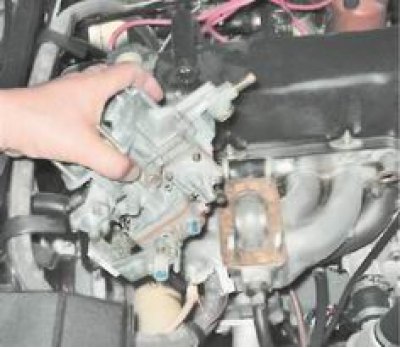
15. Remove the carburetor.
16. Remove the gasket and check its condition. Mechanical damage to the gasket is not allowed. Replace the gasket if necessary.
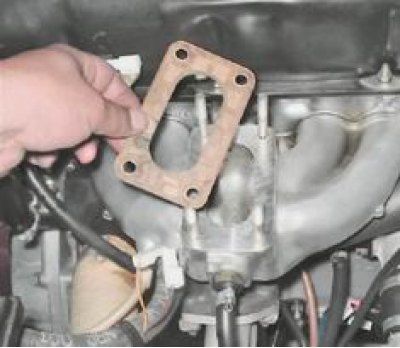
If the carburetor is removed for a long period of time, cover the opening of the intake manifold with a rag.
Installation
1. Before installation, it is recommended to check the opening of the primary chamber throttle valve (see "Starter - checking and adjustment").
2. Installation of all removed parts is performed in reverse order.