
Scheme of switching on the cleaner and washer of the windshield
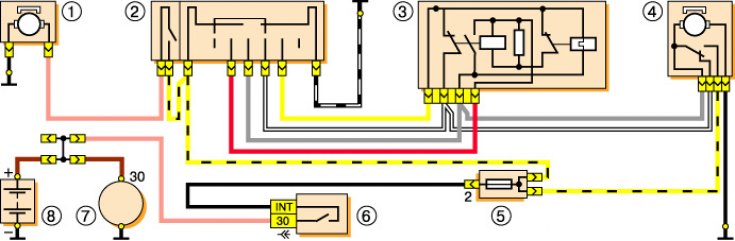
1 - washer motor; 2 – the switch of a cleaner and a washer of a windshield; 3 – the relay of a cleaner of a windshield; 4 - motor reducer cleaner; 5 - fuse block; 6 - ignition switch; 7 - generator; 8 - battery.
Repair of a windshield wiper basically boils down to editing deformed parts of the lever drive or replacing them with new ones. We recommend replacing a defective gearmotor with a new one.
To check the condition of the contacts of the gearmotor, the removal of the wiper is not required.
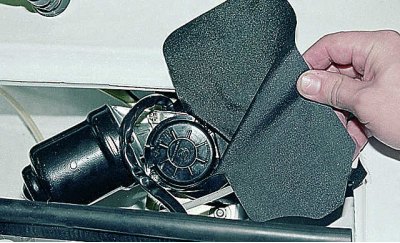
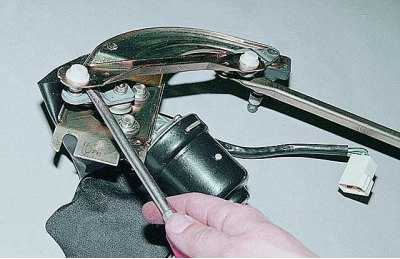
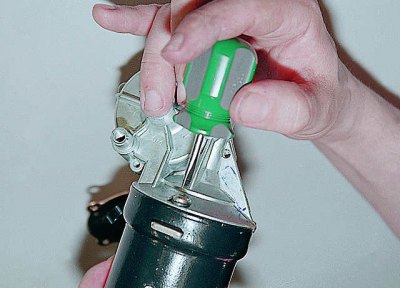
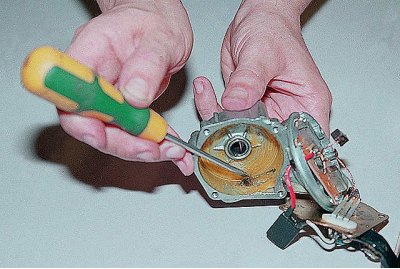
We remove the cover, opening access to the gearbox.
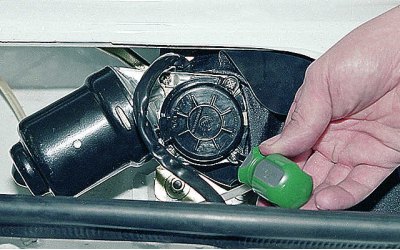
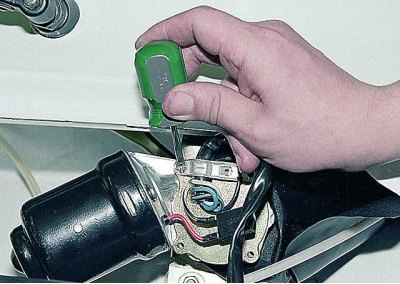
Loosen the screws..
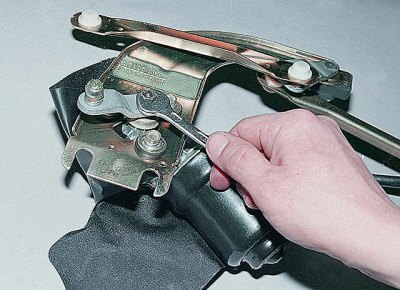
... and remove the cover.
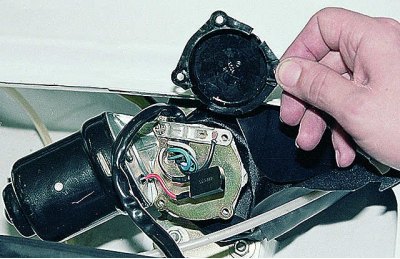
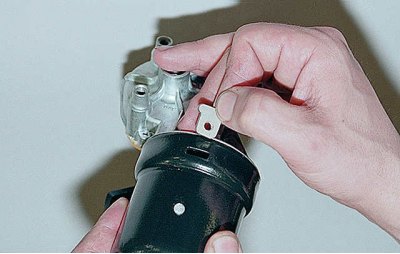
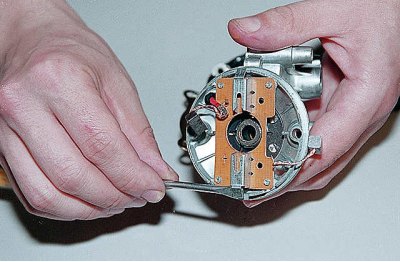
Loosen the screw on the wiring harness..
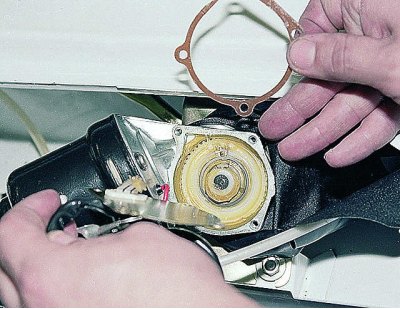
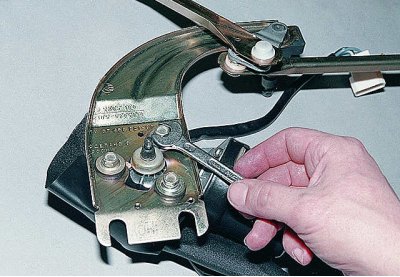
... and remove the panel with the gasket.
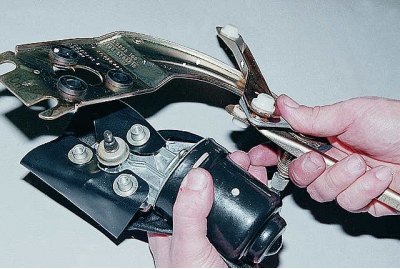
We examine the contacts and conductive paths. Broken and worn elements are replaced as an assembly.
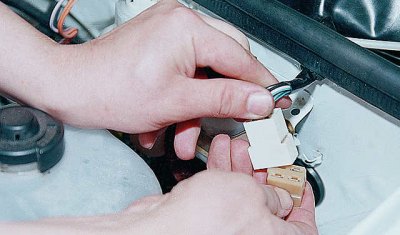
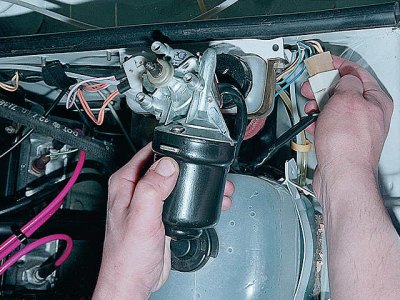
To remove the wiper, disconnect the connecting block..
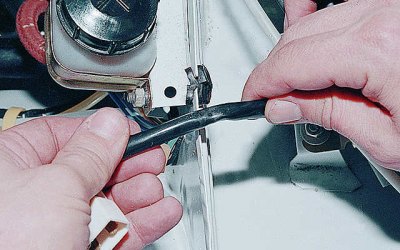
... and, having removed the left edge of the hood seal, we take out the wiring harness from the panel slot.

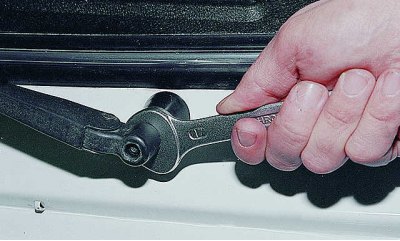
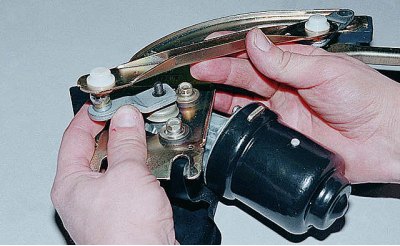
key «on 10» unscrew the nut securing the brush arm.
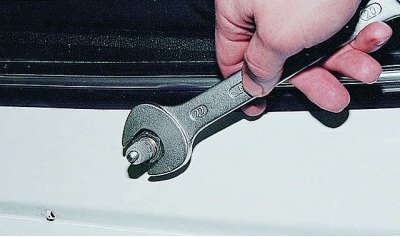
key «at 17» pull the lever off the axle splines.
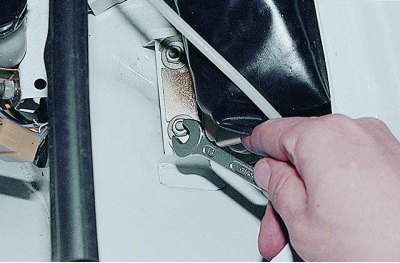
key «at 22» loosen the nut..

... and remove the bushing with a rubber gasket.
We also disassemble the drive of the second brush.
key «on 10» unscrew the two nuts securing the windshield wiper to the body.
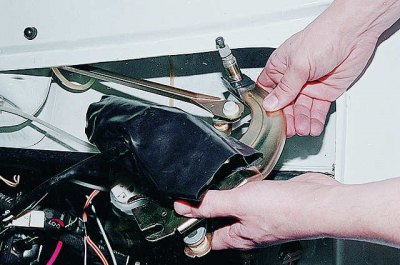
Carefully remove the cleaner, trying not to bend the drive rods.
Prying with a screwdriver, remove the short rod from the crank ball pin.
key «on 10» unscrew the nut and remove the crank.
key «on 10» remove three bolts..
... and remove the cleaner bracket.
To disassemble the motor reducer, remove the cover and panel with wires (as mentioned above).
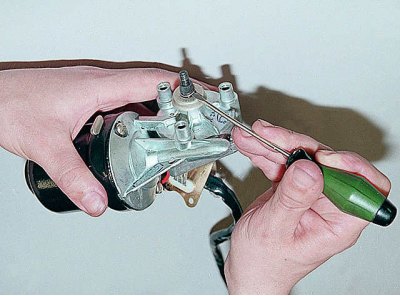
Prying off with a screwdriver, remove the retaining ring,...
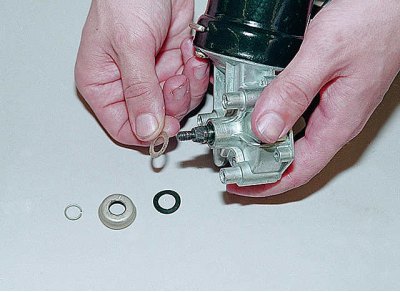
... protective cap, steel and textolite washers.
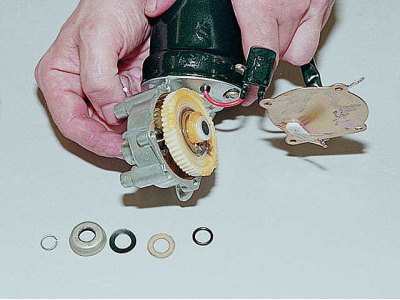
After removing the seal and pressing on the axis, we push the gear out of the gearbox.
We remove textolite and steel washers from its axis.
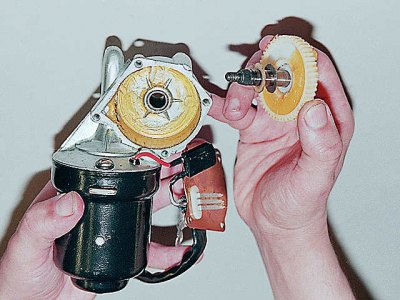
Using a screwdriver, unscrew the two screws securing the gearbox,...
... take out the plates..
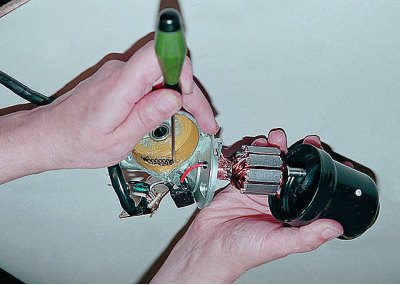
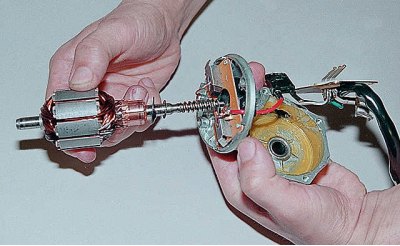
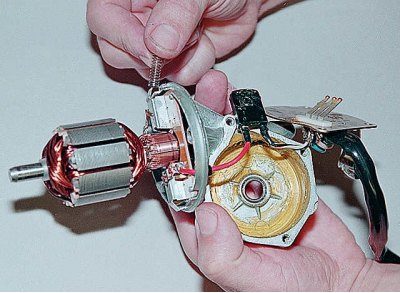
... and remove the motor housing, holding the anchor by the worm with a screwdriver.
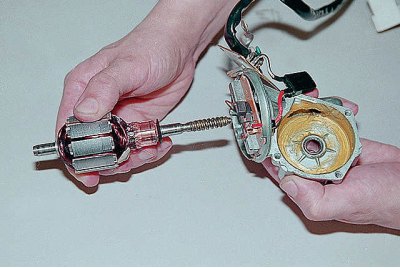
We take out the anchor from the gearbox with an adjusting washer put on its axis.
A spring and a thrust bearing remain in the cover, installed at the end of the channel.
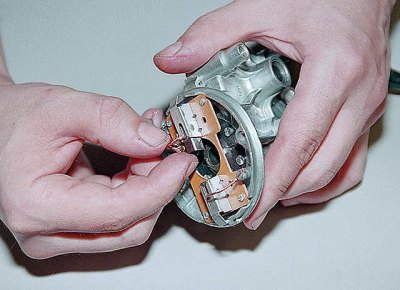
Remove the brushes from the brush holder.
To remove dust from the electric motor, blow it with compressed air. We check the condition of the brushes, the collector and the armature winding.
The brushes should move freely, without jamming, in the brush holders, and the springs should remain elastic and not be damaged. We clean the collector with a fine-grained sandpaper, then wipe it with a solvent or gasoline. If the collector is badly burned or worn out, then it is better to replace the electric motor.
We start assembling the wiper by installing the anchor in the motor cover, for which..
... with a thin screwdriver we bend the end walls of the brush holders...
... and insert the brushes into them, drowning them completely, as far as the slots for the wires allow.
We install an anchor in the lid.
From the ends of the brush holder we insert the springs into their places and bend the bent walls of the brush holders.
Having covered the gear and other rubbing joints with Litol-24 grease, we carry out further assembly in the reverse order of disassembly.
Attention! For the correct operation of the cleaner brushes (so that the wiper blades stop at the desired position):
...before installing the gearmotor on the bracket, turn it on for a short time by connecting it to the car's on-board network through the connector.
Only after the electric motor has completely stopped, we disconnect the block and continue further assembly.
The crank is installed parallel to the short drive rod.