
Recommendation. A defective wiper gear motor must be replaced as an assembly.
Disassembly
1. Remove the windshield wiper from the car.
Warning. If, before removing the wiper, its levers were raised to a vertical position, then it is necessary to connect the connector of the wiring harness of the motor-reducer to the vehicle's on-board network, turn on the wiper in intermittent mode and, after waiting for the wiper to work a full cycle, turn it off. After that, you can disassemble the windshield wiper.
Helpful advice. Before removing the rods, remember or mark their positions. This will make it easier to assemble the windshield wiper.
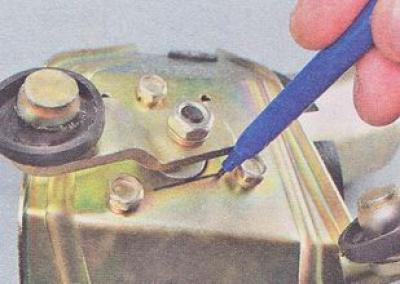
2. With a large slotted screwdriver, we disconnect all the ball joints of the wiper rods.

3. The crank of the wiper motor-reducer is mounted on the splines of the shaft and, during assembly, can be installed on the shaft in any position. Therefore, before removing the crank with a marker, we mark its position relative to the bracket of the gearmotor.
Warning. If the orientation of the crank on the shaft of the gearmotor is incorrect, it is impossible to ensure the correct operation of the wiper.
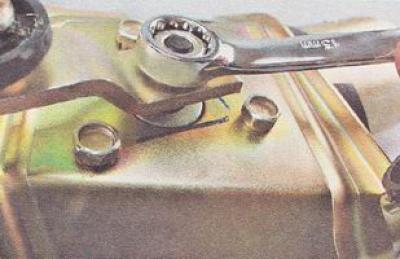
4. Using a 13 mm spanner, unscrew the crank fastening nut.
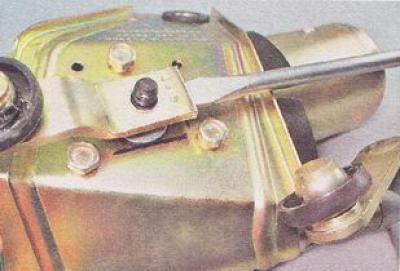
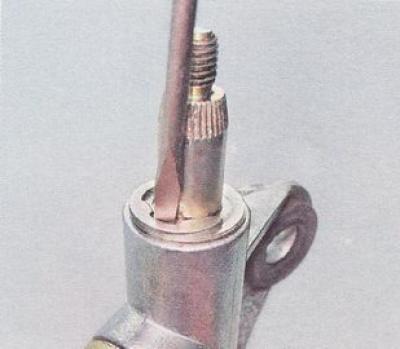
5. Prying with a screwdriver, remove the crank from the splines of the wiper motor-reducer shaft.
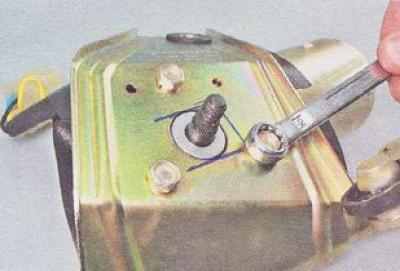
6. Using a 10 mm spanner, unscrew the three bolts securing the gearmotor to the bracket.
7. Remove the gear motor from the bracket.
Lubricant
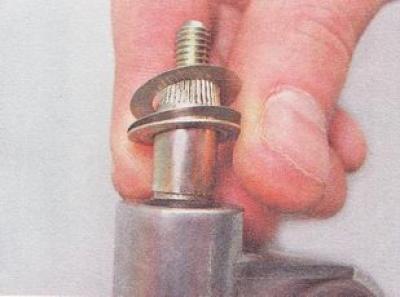
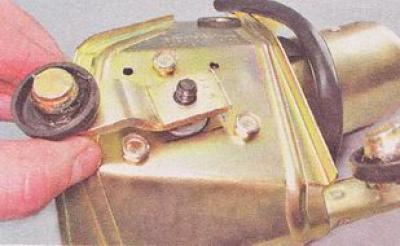
8. The shafts of the brush levers are fixed in the bracket using an E-shaped lock washer installed in the axle groove. We insert a thin slotted screwdriver into the hole in the lock washer and, turning the screwdriver around the axis, remove the lock washer.
9. Remove the upper shims from the axle.
10. Remove the shaft from the bracket and remove the lower shims. We add the upper and lower adjusting washers separately so that when assembling, install all the washers in their places.

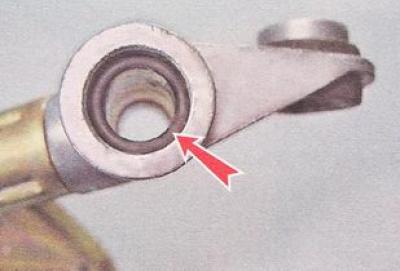
Note. Be careful not to lose the rubber o-ring located in the bracket hole. A damaged ring should be replaced.
11. With a rag moistened with white spirit, we clean the shaft from old grease, dirt and corrosion. Apply grease to the shaft (Litol-24 or equivalent).
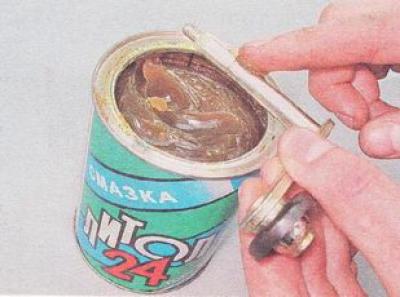
12. Similarly, lubricate the shaft of the other wiper arm.
13. With a rag moistened with white spirit, we clean the hinged joints of the wiper rods from old grease and dirt. Apply grease to the pivot joints.

Assembly
1. Insert the lever shafts into the bracket in the reverse order of disassembly (not forgetting the top and bottom shims).
2. We fix the wiper motor-reducer to the bracket.
3. If the motor-reducer motor was replaced with a new one or checked for rotation in the removed state, then before installation, its shaft must be installed in its original position. To do this, we connect the gear motor to the vehicle's on-board network through the connector. Briefly turn on the windshield wiper. After the motor-reducer, having worked out a full cycle, stops, we disconnect it from the network.
4. We install the crank on the shaft of the gearmotor in accordance with the mark applied to the bracket. Using a 13 mm spanner, tighten the nut securing the wiper arm.
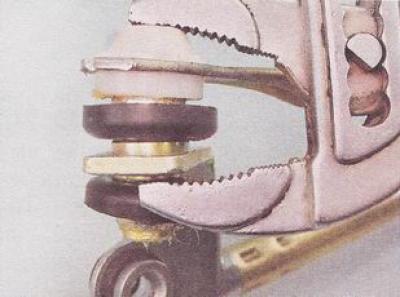
5. We assemble the hinged joints of the wiper rods with sliding pliers.
6. Install the wiper and all removed parts on the car in the reverse order of removal.