




Contents: Removal ↓ Installation ↓
Note: The work is shown on cars with engines 21114 and 21124. Features of removing the tank on cars with engines 2111 and 2112 are indicated in the text.
Advice: It is better to remove the tank after the maximum amount of fuel has been used up.
To carry out the work, an inspection pit or overpass is required.
Removal
1. Prepare the car for work (see "Preparing the car for maintenance and repair").
2. Relieve the pressure in the fuel line (see "Fuel line - pressure relief"). We do not connect the wiring harness block to the fuel module
3. On vehicles with 2111 and 2112 engines, disconnect the fuel line fittings from the fuel module (see "Fuel module of engines 2111 and 2112 (1.5i) - removal and installation").
On cars with engines 21114 and 21124
a) Disconnect the fuel lines from the fuel filter (see "Fuel filter - replacement").
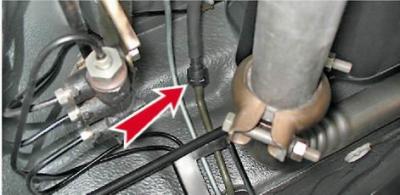
b) Disconnect the tube from the main fuel line.
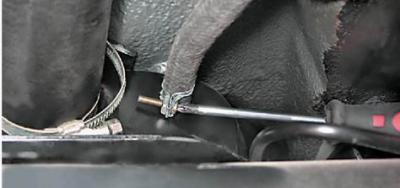
4. Using a Phillips screwdriver, loosen the clamps securing the two hoses.
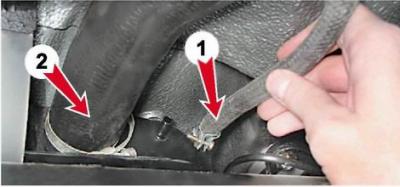
5. Disconnect the gravity valve hose (1) and the filler pipe hose (2) from the fuel tank.
6. Using a special fuel transfer hose, pump out the fuel from the tank through the filler hose.
7. Using thin pliers, loosen the fastening of the plastic hose that releases air from the tank.
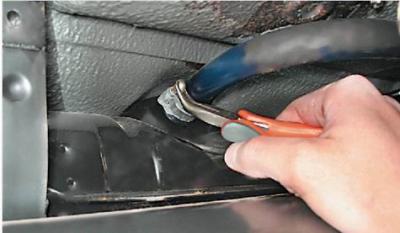
8. Remove the plastic hose from the fuel tank pipe
9. Plug the fuel tank pipes with rags
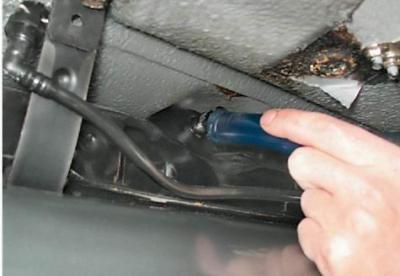
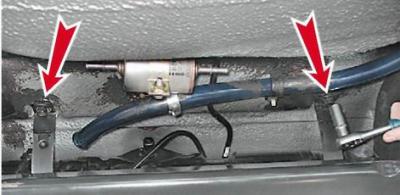
10. With a socket wrench by 13 mm we unscrew the bolts of the two fuel tank mounting clamps.
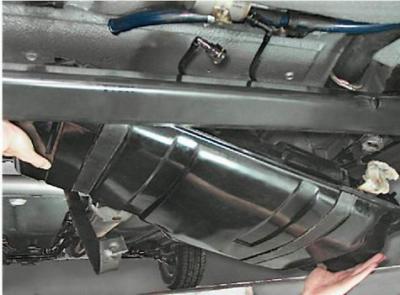
11. Remove the fuel tank.
Installation
We install the tank in the reverse order.
Advice: Before starting the engine, turn on the ignition. Wait until the fuel pump, having pumped fuel, turns off and bleed air from the fuel rail through the diagnostic nipple.