
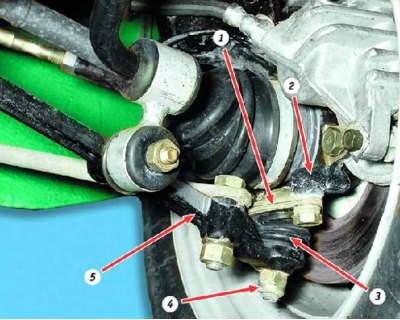
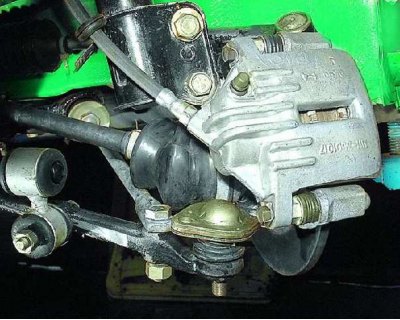
Ball joint installation: 1 - ball bearing; 2 – rotary fist; 3 - protective cover; 4 - self-locking nut of the ball joint pin; 5 – front suspension arm
You will need:
- keys "at 17" And "at 19"
- ball joint puller
Remove the corresponding wheel.
If knocks and noises are heard in the front suspension when the car is moving, check the condition of the ball joints. To do this, shake with a mounting spatula (do not damage the protective cover of the ball joint) suspension arm. If you feel play in the hinge, replace the support. Replace torn or loose protective covers, otherwise dirt and water that get into the hinges will quickly disable them.
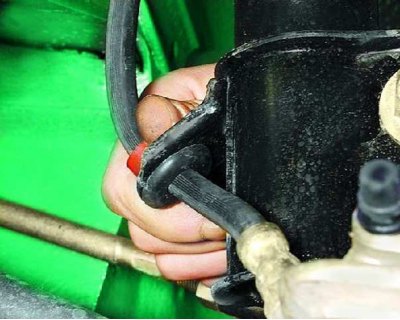
1. Remove the brake hose seal from the bracket on the strut.
2. Press the ball joint pin out of the pivot arm (see subsection 6.4.).
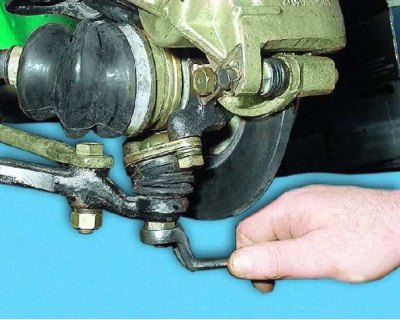
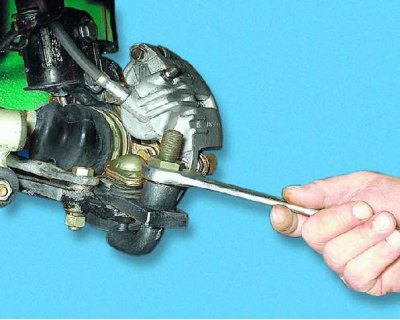
3. Loosen the nut securing the ball joint pin to the lever.
4. Loosen the two bolts securing the support to the steering knuckle and...
5....remove them with spring and flat washers.
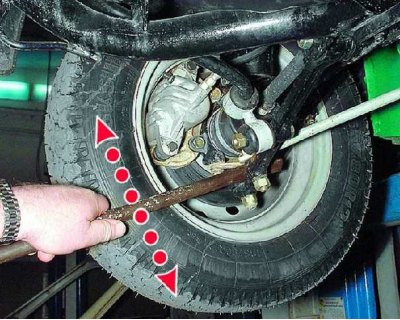
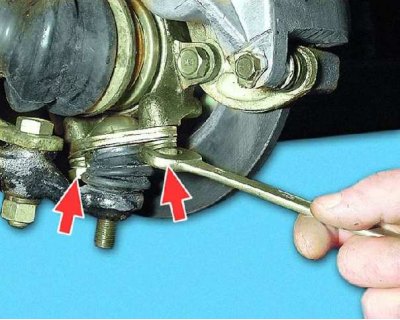
6. Move the steering knuckle to the side so...
7....so that you can install a puller to press out the support pin.
8. Install the puller and press the support pin out of the suspension arm.
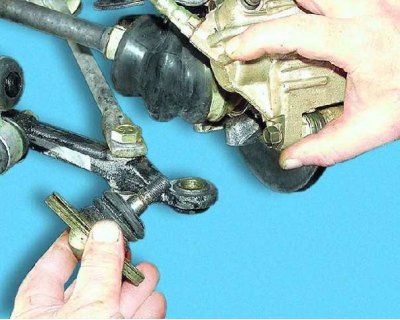
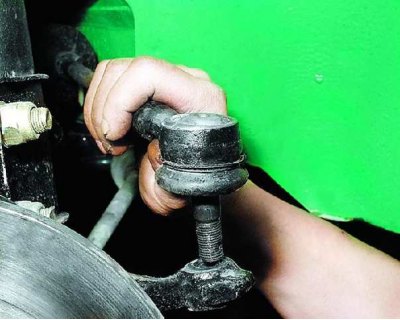
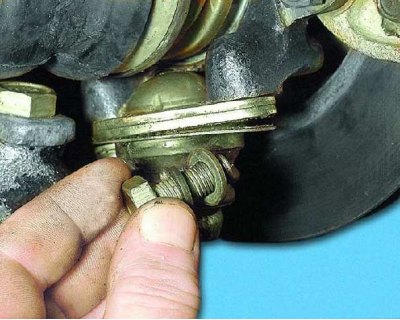
9. Remove the ball joint.
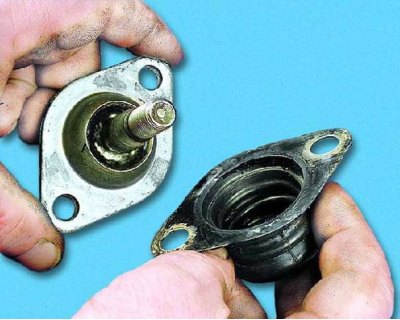
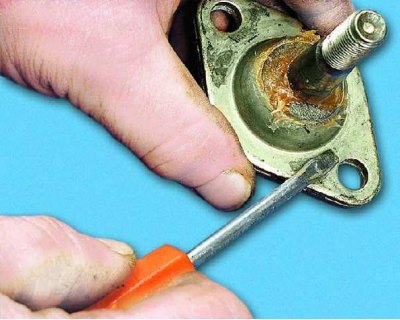
10. Remove the protective cover from the ball joint.
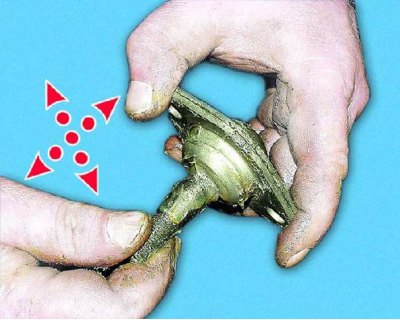
11. Swing the ball pin in the support. The finger should not move from the force of the hand (no more than 0.7 mm play is allowed, measured at the end of the threaded part of the pin).
12. If the pin moves in the bearing with little effort, replace the ball joint.
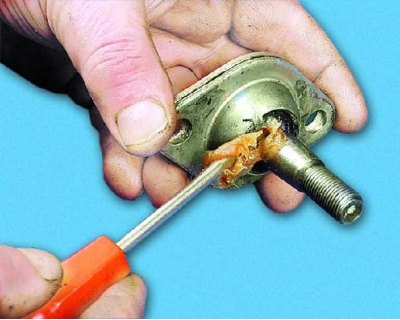
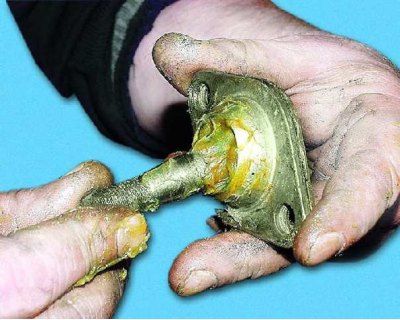
13. If the protective cover has been torn, remove the top layer of dirty grease (if it is noticeable that dirt has got inside the hinge, it will have to be replaced) and apply new grease.
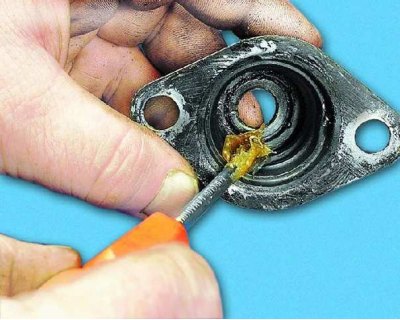
14. Fill the new protective boot half full with grease.
15. Install the ball joint in the reverse order of removal. It is recommended to apply sealant to the surface of the support before installing the mudguard.

16. The ball joint stud nut is self-locking, so it is recommended to replace it with a new one.