
- keys "at 17", "at 19" (two), "at 30"
- screwdriver
- goatee
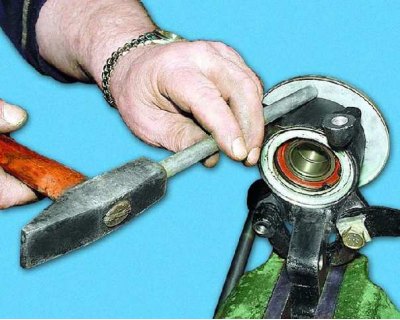
- hammer
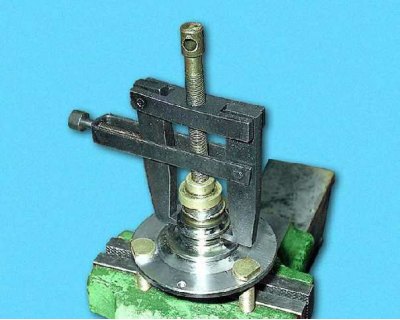
- tool with a set of mandrels for pressing bearings
- circlip pliers
- marker
Attention! If there is play or noise during movement when the wheel is suspended, it is likely that the hub bearing has failed.
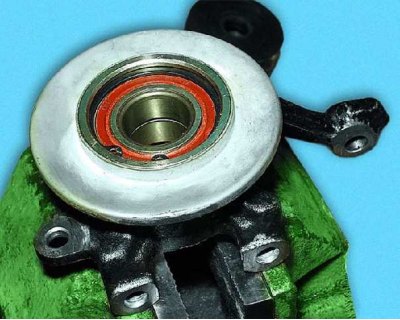
Attention! The hub has a double-row ball bearing, which does not require adjustment and lubrication during operation. When the hub is pressed out, the bearing is destroyed. Therefore, press the hub out of the steering knuckle only to replace the bearing.
Recommendation. With increased play in the wheel, unlock the hub nut and check the torque of its tightening. If the fastening is loose, try to tighten the nut to the required torque and lock it. In the absence of play, the bearing will be able to work for some more time.
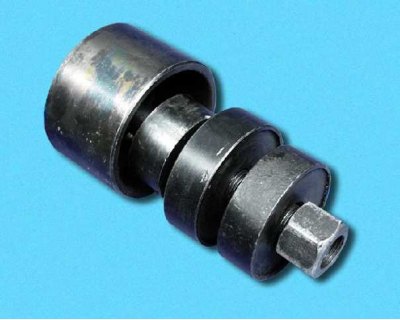
Set of mandrels for pressing bearings
To press the wheel bearing, use the appropriate size mandrels from the kit. In the absence of mandrels, you can use the rings of the old bearing.
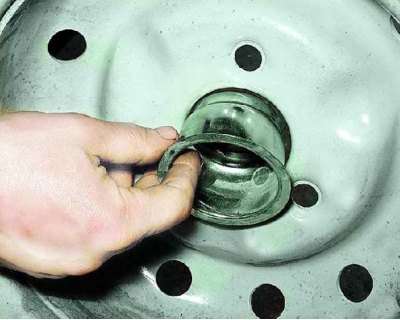
1. Remove the wheel and wheel hub nut trim cap.
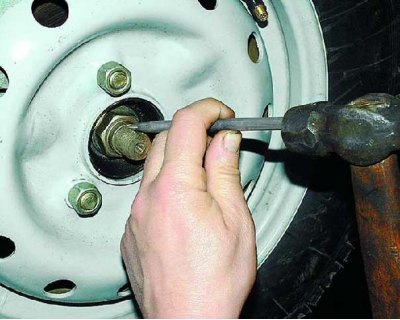
2. Reinstall the wheel and loosen the hub nut.
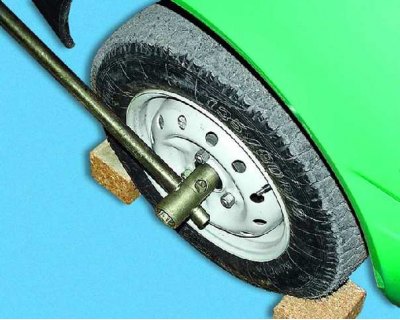
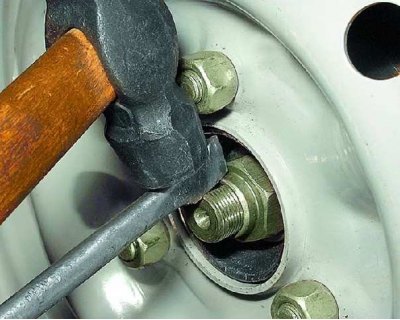
3. Loosen the hub nut. It is tightened with a large torque, so it is recommended to use an extension, such as a piece of pipe.
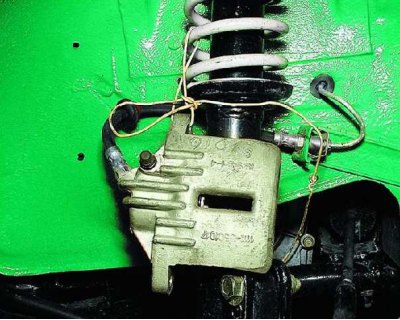
4. Remove the front wheel, brake pads and caliper by hanging it with a rope or wire from the front suspension spring (see subsection 7.1.1.).
5. Remove the brake disc (see subsection 7.1.3.).
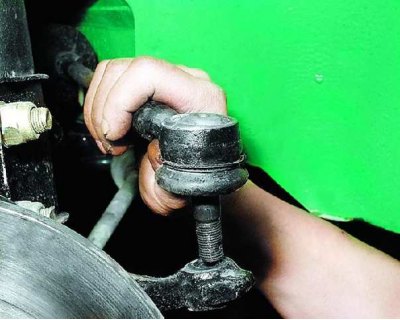
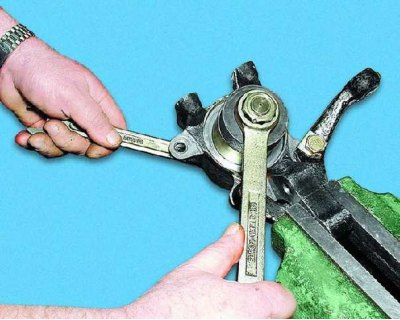
6. Press the ball joint pin out of the pivot arm (see subsection 6.4.) and take the tie rod to the side.
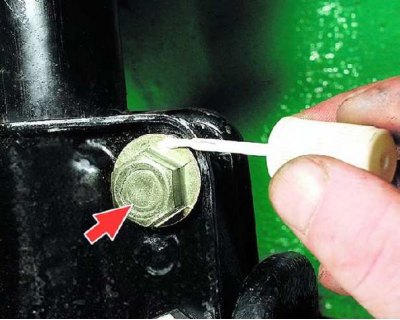
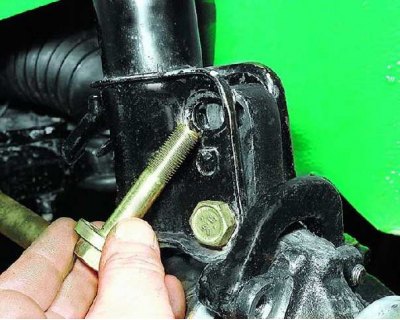
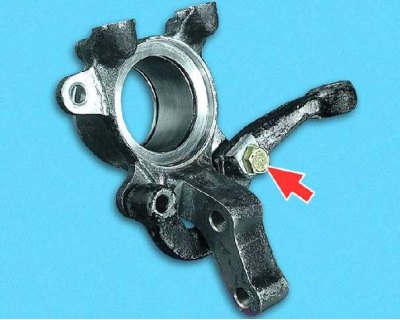
7. Mark the position of the adjusting bolt head on the strut bracket. This will help when installing the rack to approximately maintain the camber of the wheels.
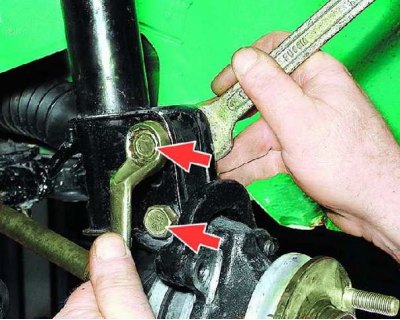
8. Loosen the nuts of the bolts securing the steering knuckle to the rack.
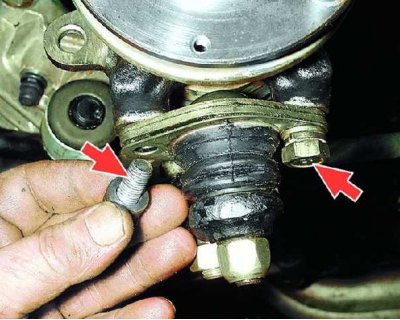
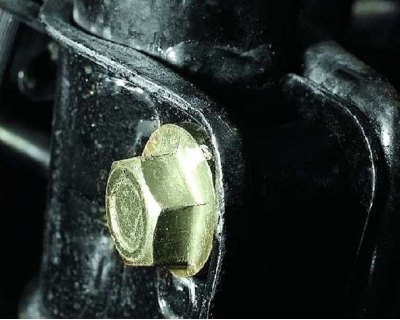
9. Remove the two bolts securing the ball joint to the steering knuckle (flat and spring washers are installed under the bolt heads).
10. Finally unscrew the two nuts securing the steering knuckle to the rack and remove the bolts.
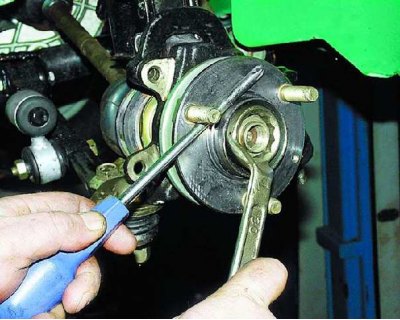
11. Finally loosen the hub nut.
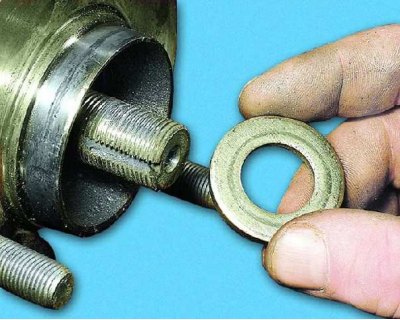
12. Remove the thrust washer.
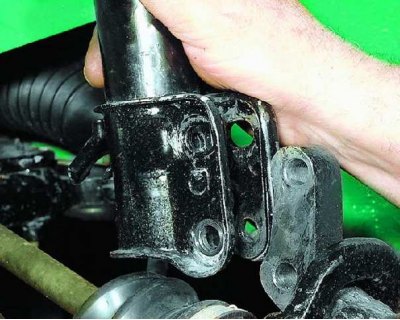
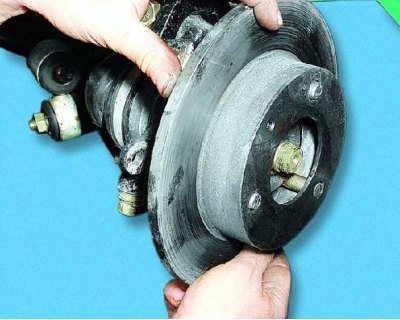
13. Pull the steering knuckle out of the strut bracket and...
14.... remove it complete with the hub from the shank of the outer CV joint.

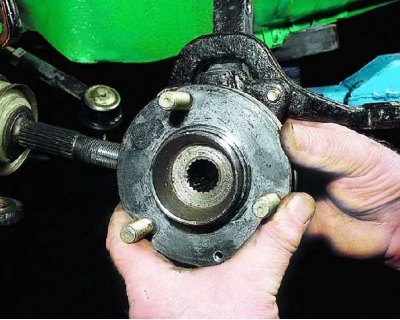
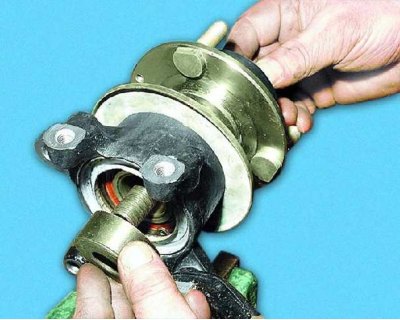
15. Clamping the steering knuckle in a vise, press it out with a suitable drift...
16.... the hub from the steering knuckle.
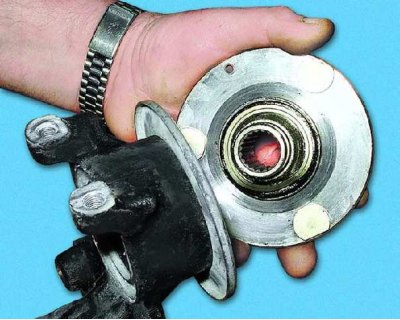
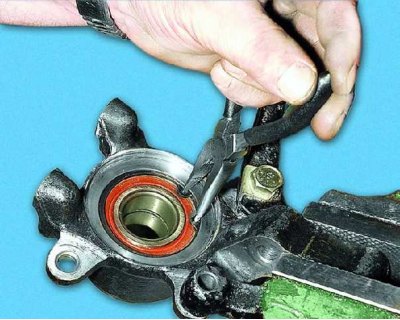
17. If the outer part of the bearing inner race remains on the hub, compress it with a puller. For ease of dismantling, there are two special recesses on the hub.
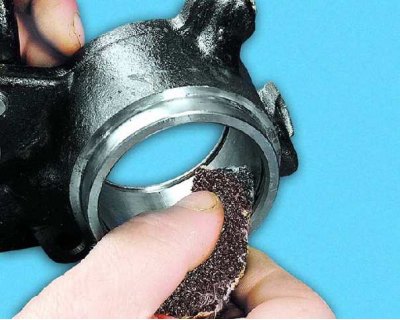
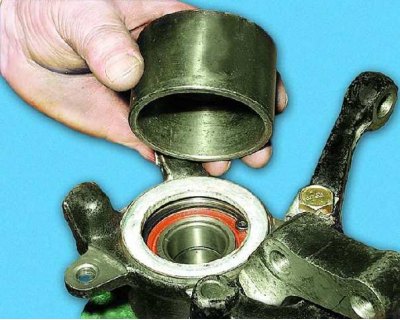
18. If it is necessary to replace the outer dirt ring, knock it off the steering knuckle with a drift (to replace the bearing, this can not be done).
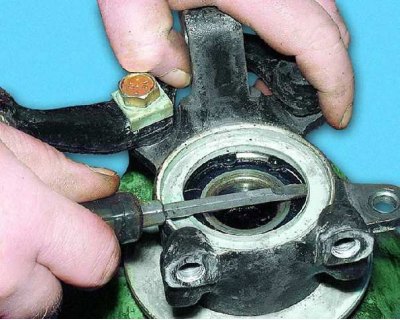
19. Carefully prying off with a screwdriver, remove the inner dirt ring.
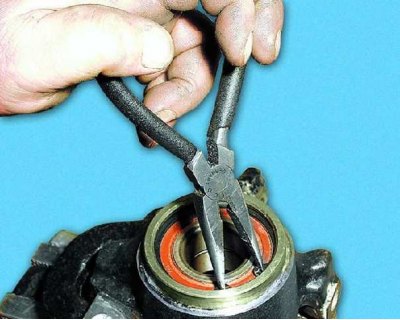
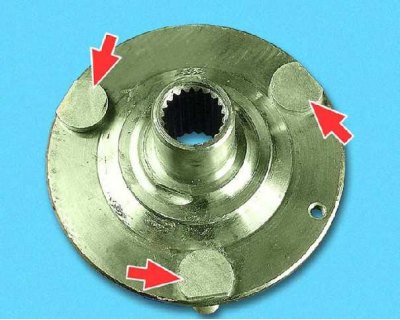
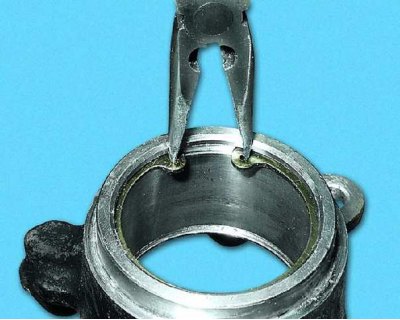
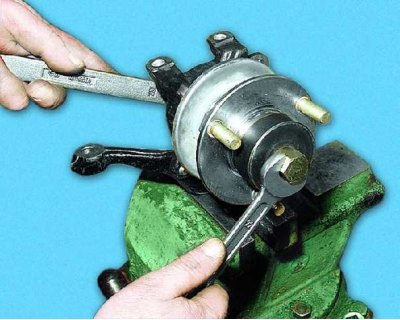
20. Remove the circlips from both sides of the steering knuckle.
21. Having installed the device with the appropriate mandrel, press the bearing out of the knuckle.
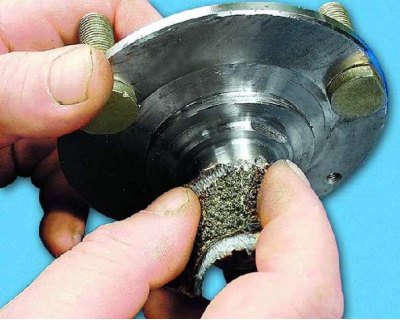
22. Clean off dirt from the hub and...
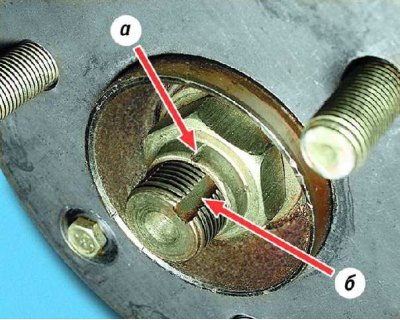
23....rounded fist.
24. Knock out the damaged wheel studs with a hammer and press in new ones.
25. When replacing the steering knuckle, remove the swing arm from it by unscrewing the fastening bolt, and install the lever on the new knuckle.
26. Install the outer circlip into the groove on the steering knuckle.

27. Using a suitable mandrel, press the new bearing into the steering knuckle, applying pressure only to the bearing outer race from the inside of the knuckle. Do not hammer the bearing - it may collapse.
28. Install the inner circlip.
29. Press in the inner dirt ring using the cup of the tool.
30. Press in the outer dirt ring using a suitable drift.
31. Install the hub and tool with the appropriate mandrel into the steering knuckle (to apply force to the inner race of the bearing) And...
32.... press the hub into the inner ring of the bearing.
33. Install the steering knuckle in the reverse order of removal. At the same time, turn the adjusting bolt so that the previously made marks coincide, and, holding it in this position from turning, tighten the nut of its fastening.
34. When assembling, use a new hub nut or a nut from another wheel (so that the old jammed part a of the nut shoulder does not fall into the groove b of the outer CV joint shank when punching).
35. After placing the vehicle on the ground, finally tighten the hub nut, lock it and install the decorative cap.