
Remove the corresponding wheel.
If there are knocks and noises in the front suspension, uneven wear of the tire tread, check the extension and its rubber pads. Replace deformed stretch (slightly deformed can be straightened).
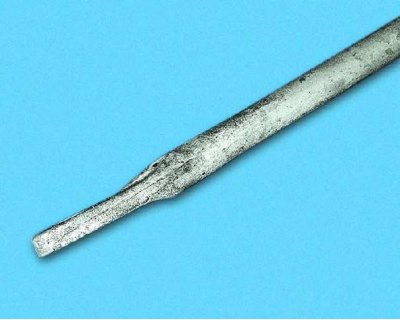
Attention! The end of the extension, which is attached to the lever, is slightly bent - it does not need to be straightened.
When removing the brace, for example, to replace the pillows, do not change the position of the inner nut on the brace, so as not to disturb the wheel alignment. Before removing the brace, mark the position of the inner nut on the brace. If you accidentally turn the nut, it will help set it back to its original position.
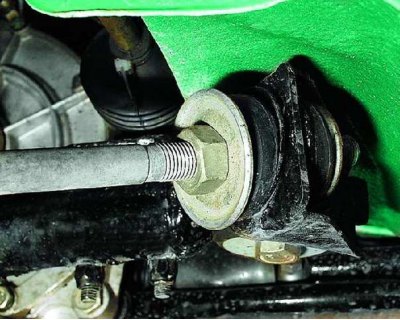
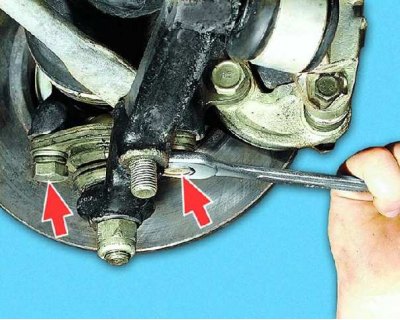
1. Remove dirt from the nuts securing the extension to the bracket.
2. Loosen the outer fastening nut.
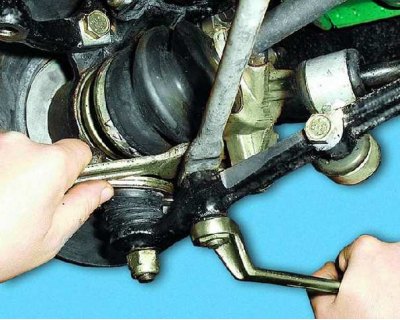
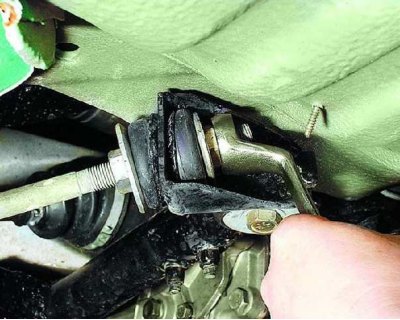
3. Holding the second wrench from turning the bolt securing the extension to the lever, unscrew the nut.
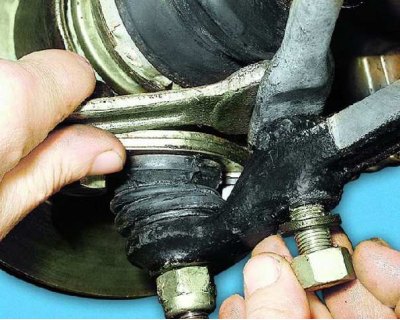
4. Please note: there is a spring washer under the nut.
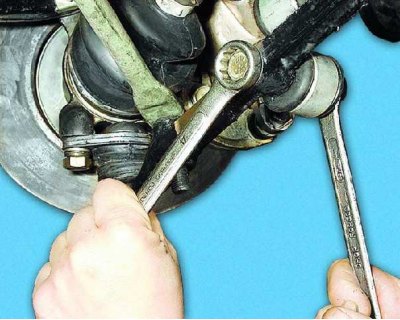
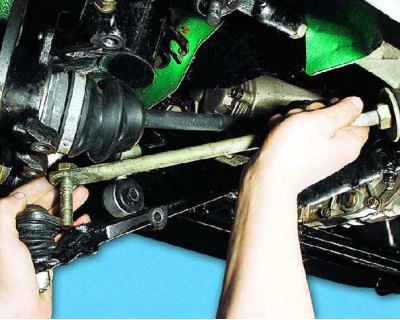
5. While holding the stabilizer strut to the arm against turning with the second wrench, unscrew the nut.
6. Remove the bolt. Please note: there is a spring washer under the nut.
7. Remove the two bolts securing the ball joint to the steering knuckle (spring and flat washers are installed under each bolt).
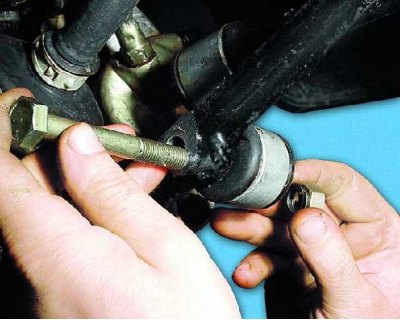
8. Press the lever down, remove the extension bolt from it.
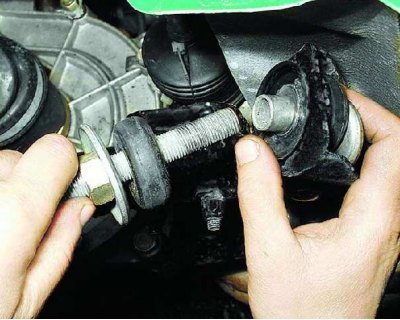
9. Remove the other end of the brace from the bracket.
10. Remove the outer cushion from the bracket (she usually "takes a liking" to him) and spacer bushing.
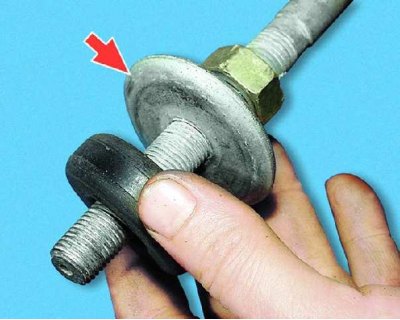
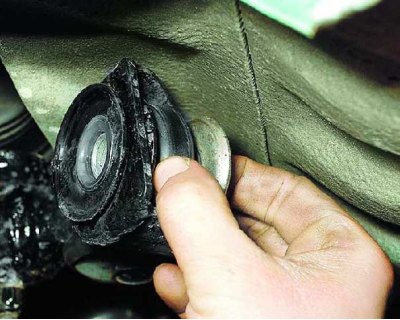
11. Remove the inner cushion with the clip from the stretch (if she stayed on the stretch). At the same time, note that the cage of the inner cushion is larger than the cage of the outer one.
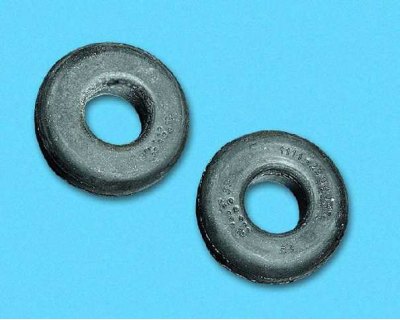
12. Replace torn or loose cushions.
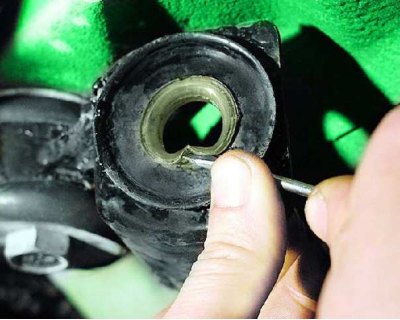
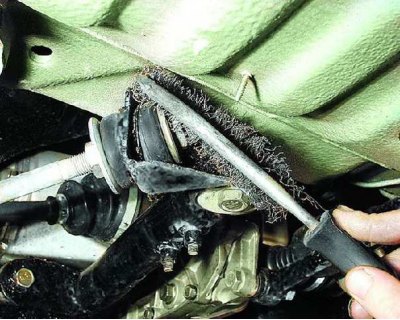
13. Replace worn bushing. Pry it off with a screwdriver, remove it from the bracket and install a new one.
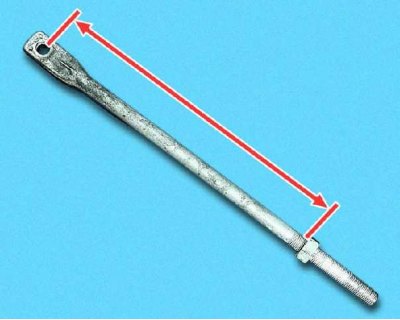
14. Measure the distance from the center of the hole of the old brace to the inner nut and tighten it on the new brace by the same amount.

15. Install the brace in the reverse order of removal. In this case, the rib on the stretch should be directed upwards. Finally tighten the nuts with the vehicle on the ground by rocking the front of the vehicle several times beforehand. Check and, if necessary, adjust the wheel alignment.