
English Русский
Български
Беларускі
Український
Српски
Hrvatski
Română
Polski
Slovenský
Magyar
| Articles | Contacts | Sitemap |   
Repair and maintenance Lada Repair and maintenance Mazda Repair and maintenance Mitsubishi Repair and maintenance Toyota Repair and maintenance Land Rover Repair and maintenance Hyundai Repair and maintenance Nissan
VAZbook.ru


Main     1111   2101   2105   2106   2107   2109   2110   2115   2121  
VAZ-2114 (2004-2013) VAZ-2115 (1997-2012)
  • Main
  • «Samara-2»
  • VAZ-2115
  • Chassis
  • Front suspension
  • Replacing the ball joint

Replacing the ball joint (VAZ-2115)

            0

You will need: 19 mm and 17 mm wrenches, and a tool for removing the ball joint.

1. Raise and support the front of the vehicle. Remove the wheel.

Warning! Brake the car with the parking brake and install the anti-rollback stops ("shoes") under the rear wheels.


Helpful Hint: Loosen and tighten wheel bolts only when the vehicle is on the ground. Bolt tightening torque 65–95 N·m (6.5–9.5 kgf·m).


2. Unscrew the ball joint mounting nut.
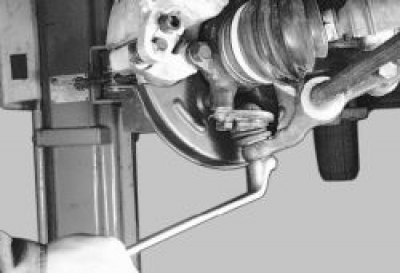
3. Press the ball joint pin out of the lever using a puller.


3. Press the ball joint pin out of the lever using a puller.

(The original can be found on the website vazbook.ru)
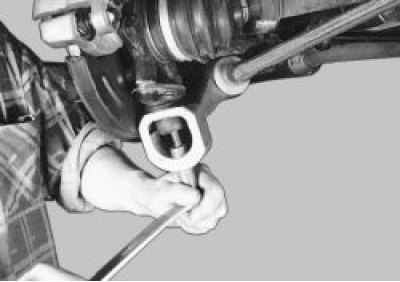
Note: This is what a control arm ball joint puller looks like.


Note: This is what a control arm ball joint puller looks like.


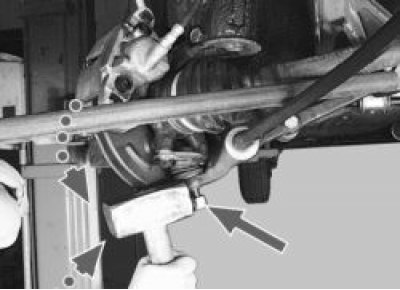
4. If you don't have a puller, don't unscrew the nut completely. Press the lever with a crowbar and use a hammer to press the support pin out of the lever by hitting it along the axis of the lever. Then unscrew the nut completely.


5. Unscrew the two bolts securing the ball joint to the steering knuckle.
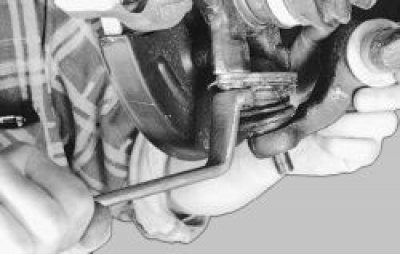

5. Unscrew the two bolts securing the ball joint to the steering knuckle.

6. Press the lever down and remove the ball joint.
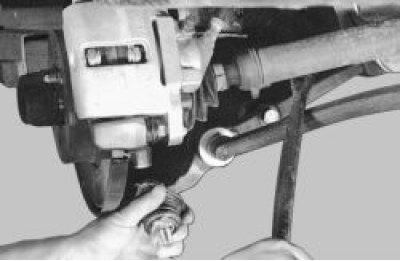

6. Press the lever down and remove the ball joint.

7. Rock the ball pin in the support. The pin should not move with the force of your hand (play of…


7. Rock the ball pin in the support. The pin should not move with the force of your hand (play of no more than 0.7 mm is allowed).
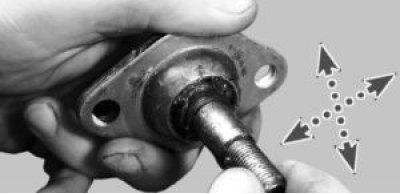
8. If the pin moves in the support with slight force, replace the ball joint.
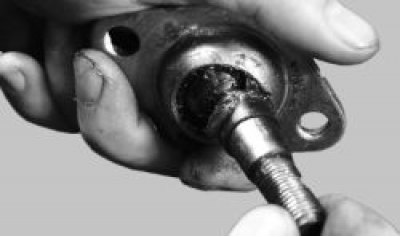

8. If the pin moves in the support with slight force, replace the ball joint.


9. If the protective cover has been torn, remove the top dirty layer of grease (if you notice that…


9. If the protective cover has been torn, remove the top dirty layer of grease (if you notice that dirt has gotten inside the hinge, it will have to be replaced) and apply new grease.
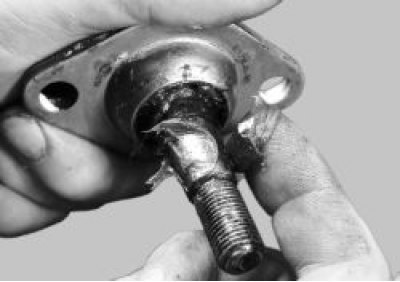
10. Install the spacer sleeve until it stops.
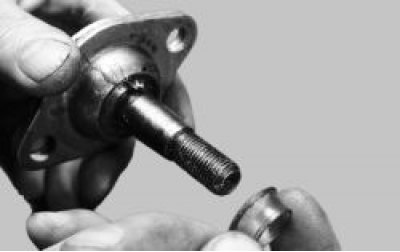

10. Install the spacer sleeve until it stops.

11. Fill the new protective cover halfway with consistent grease.
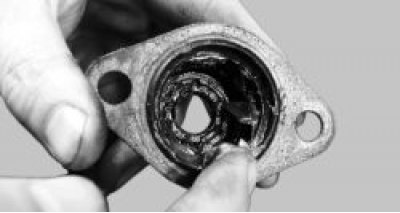

11. Fill the new protective cover halfway with consistent grease.

12. Install the ball joint in the reverse order of removal. Before installing the mudguard, it is…


12. Install the ball joint in the reverse order of removal. Before installing the mudguard, it is recommended to apply sealant to the surface of the support.
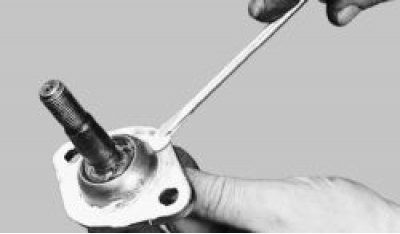
Warning! When installing, do not damage the protective cover of the ball joint. If the cover is…


Warning! When installing, do not damage the protective cover of the ball joint. If the cover is damaged, be sure to replace it.


This article is available at russian, bulgarian, belarusian, ukrainian, serbian, croatian, romanian, polish, slovak, hungarian
The text was reviewed by the specialist: Grigory Vologodtsev

Share with friends:

Previous articles
VAZ-2115: Front suspension
Next articles

Replacing the upper support of the telescopic stand
Repair of telescopic stand
Removal and installation a telescopic stand
Checking the technical condition of suspension parts on a car
Possible faults of the front suspension
Replacing the front suspension arm
Replacing the stretch
Replacement of anti-roll bar components
Replacing the front hub bearing

More articles from other manuals on VAZ cars:
➠ Replacing the ball joint VAZ-11113 (1996-2003)
➠ Replacing the ball joint of the suspension arm VAZ-21099 (1990-2004)
➠ Replacing ball joints VAZ-21061 (1976-2006)
➠ Ball joint of the rack — removal, installation, replacement VAZ-2110 (1995-2007)
➠ Replacing the bearing and seal of the inner drive joint housing VAZ-21214 (1994-2006)
Link in different formats to this page


Visitor comments

No comments yet


How much will 27 + 12 ?


VAZ-2114 (2004-2013) 
  • General information
  • Operation and maintenance
  • Power unit
  • Engine repair
  • Cooling system
  • Supply system
  • Control system
  • Exhaust system
  • Transmission
  • Clutch
  • Car gearbox
  • Front wheel drives
  • Chassis
  • Wheels and tires
  • Front suspension
  • Rear suspension
  • Steering
  • Brake system
  • Body
  • Exterior
  • Interior
  • Doors and glass
  • Tailgate
  • Ventilation and heating
  • Electrical equipment
  • Equipment and devices
  • Headlights and lighting
  • Engine electrics
  • Electrical circuits


VAZ-2115 (1997-2012) 
  • General information
  • Vehicle device
  • Operation manual
  • Vehicle malfunctions
  • Car care
  • Power unit
  • Engine repair
  • Cooling system
  • Supply system
  • Control system
  • Exhaust system
  • Transmission
  • Clutch
  • Car gearbox
  • Front wheel drives
  • Chassis
  • Front suspension
  • Rear suspension
  • Steering
  • Brake system
  • Body
  • Exterior
  • Interior
  • Doors, covers and windows
  • Electrical equipment
  • Equipment and devices
  • Headlights and lighting
  • Engine electrics
  • Anti-theft system


VAZbook.ru © 2017 · Mobile version · Contact with administration · Sitemap: EN BG BY UA RS HR RO PL SK HU · Site search · News and articles VAZ-1111 · VAZ-11113 · VAZ-2101 · VAZ-21011 · VAZ-2104 · VAZ-2105 · VAZ-21051 · VAZ-2106 · VAZ-21061 · VAZ-2107 · VAZ-21099 · VAZ-2109 · VAZ-2108 · VAZ-2110 · VAZ-2112 · VAZ-2114 · VAZ-2115 · VAZ-2121 · VAZ-21213 · VAZ-21214 ·
The site stores technical data using cookies to improve the service.