
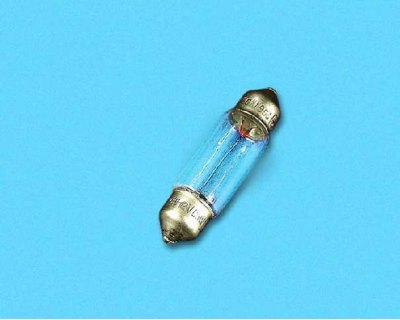
In the interior dome light, an AC12-5 type lamp is used.
Before starting work disconnect the wire from the terminal "–" battery.
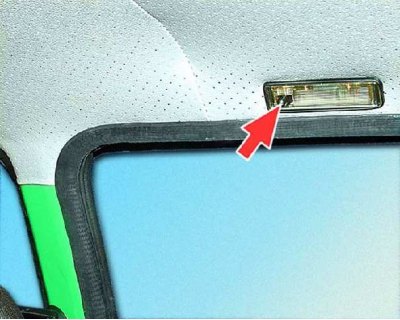
The interior light is located above the left doorway and is equipped with a two-position switch (shown by arrow).
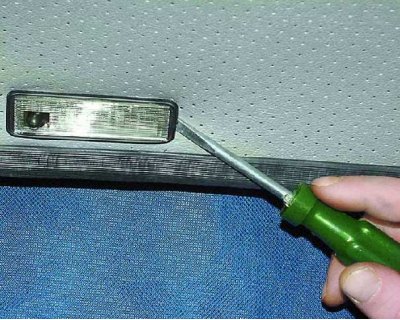
1. Carefully pry off the cover with a screwdriver (on the opposite side of the switch) And...
2....take it out of the hole in the body.
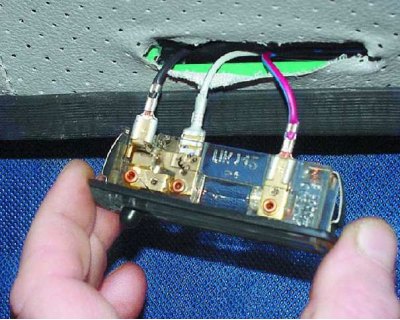
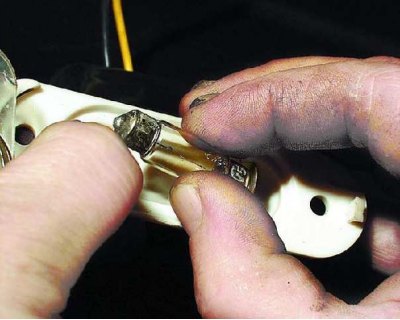
3. Remove the defective bulb from the lampshade.
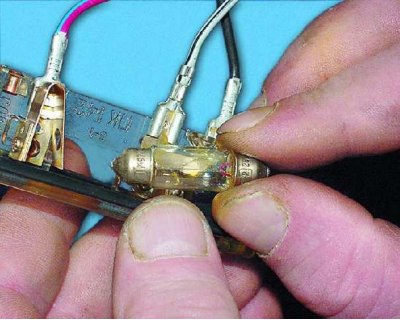
4. Install a new bulb in the dome light.
Replacing the low and high beam lamp
Before starting work disconnect the wire from the terminal "–" battery.
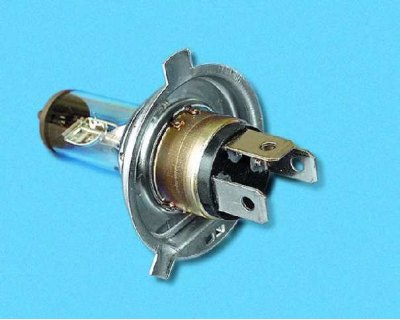
The car uses a low and high beam lamp type AKG12-60 55.
Attention! Halogen lamps heat up to a high temperature during operation. Do not touch the lamp bulb with your hands: grease marks will remain on it, as a result of which the lamp bulb will darken and, possibly, the lamp will burn out. If you accidentally touch the bulb, wipe it with a clean cloth dampened with alcohol.
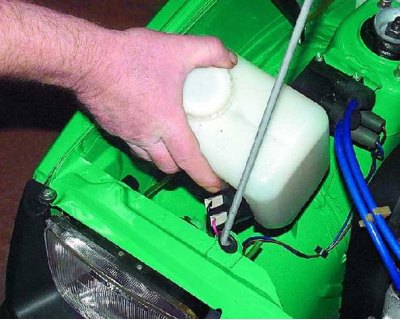
5. To replace the bulb in the right headlight, remove the washer reservoir and...
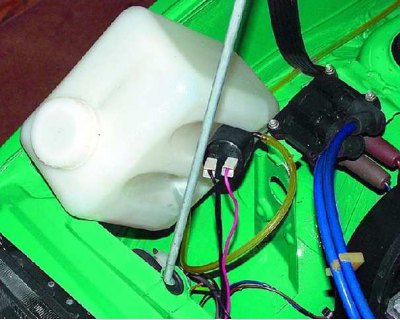
6....take him aside. To replace the bulb in the left headlight, remove the spare wheel (see subsection 2.18.).
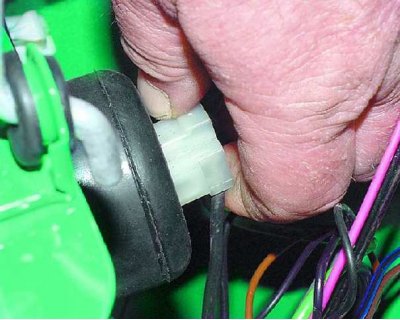
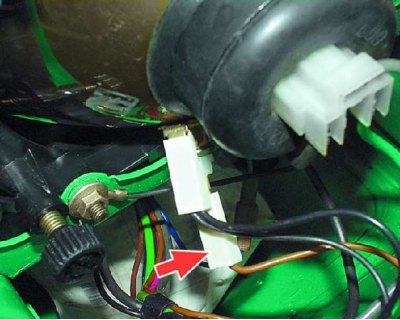
7. Disconnect the connector from the headlight bulb contacts.
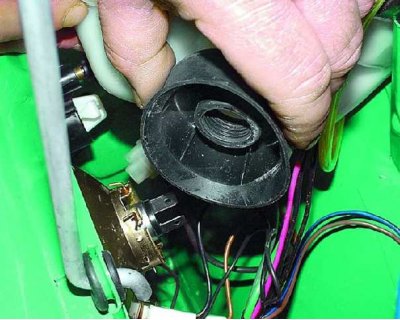
8. Remove the protective cap from the headlight.
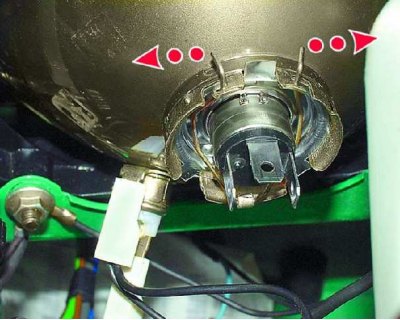
9. Spread the antennae of the spring latch of the lamp base to the sides, remove them from the grooves of the headlight reflector and...
10.... turn the spring latch down.
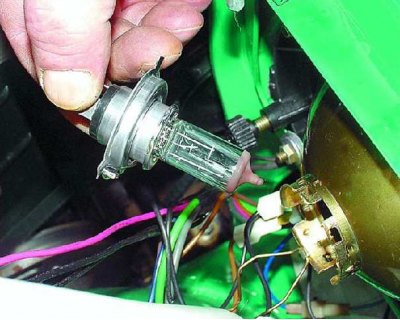
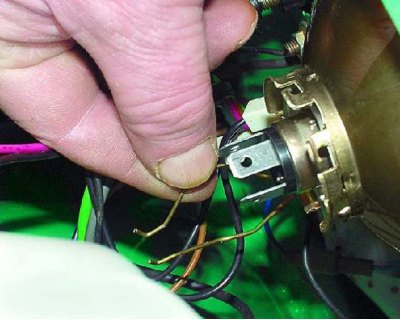
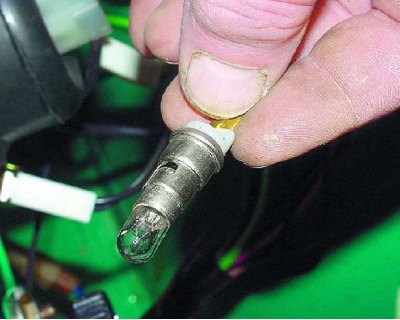
11. Remove the lamp from the reflector (see warning).
12. Install the new bulb in the reverse order of removal. Check and, if necessary, adjust the headlight beams (see subsection 3.39.).
Replacing the parking light bulb
Before starting work disconnect the wire from the terminal "–" battery.
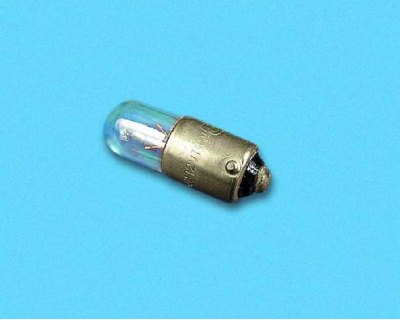
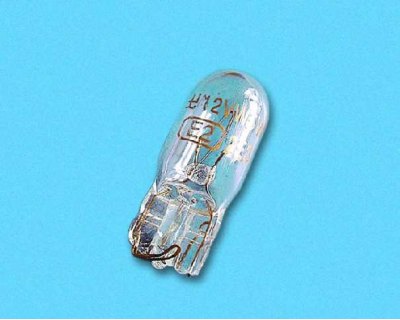
The car uses a side light lamp type A12-4.
13. Disconnect the wire end from the contact on the lamp socket.
14. Remove the bulb with socket from the headlight reflector.
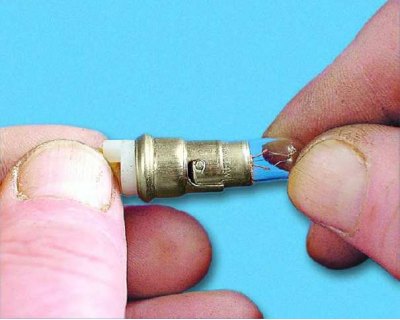
15. Press the lamp, turn it counterclockwise until it stops and remove it from the socket.

16. Insert the guide tabs of the new lamp base into the grooves of the socket, press the lamp and turn it clockwise (while the lamp is fixed in the socket).
17. Install the new bulb and socket assembly to the vehicle in the reverse order of removal.
Replacing the front turn signal bulb
You will need: screwdriver.
Before starting work disconnect the wire from the terminal "–" battery.
The front turn signal is located on the front bumper under the headlight.
The car uses a turn signal lamp type A12-21-3.
18. Loosen the two screws securing the turn signal lens.
19. Remove diffuser.
20. Press the lamp, turn it counterclockwise until it stops and remove it from the socket.
21. Insert the guide tabs of the new lamp base into the grooves of the socket, press the lamp and turn it clockwise (while the lamp is fixed in the socket), install the turn signal lens.
Replacement of a lamp of the lateral repeater of the index of turn
You will need: screwdriver.
Before starting work disconnect the wire from the terminal "–" battery.
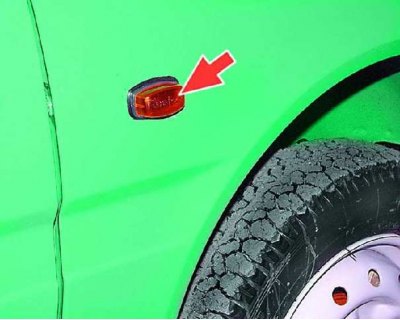
The side turn signal repeater is located on the front fender of the car.
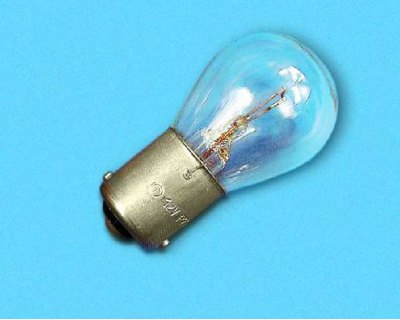
The car uses a side repeater lamp type A12-3-1.

22. Slide the repeater housing forward of the vehicle...
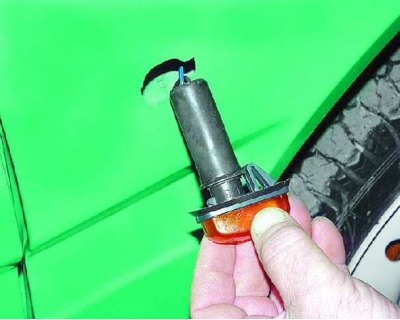
23.... remove the side turn signal repeater assembly from the front wing hole.
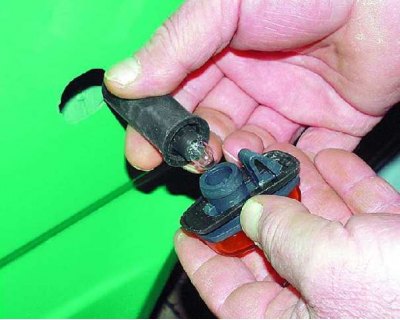
24. Remove the socket with the lamp and the rubber cap from the repeater body.
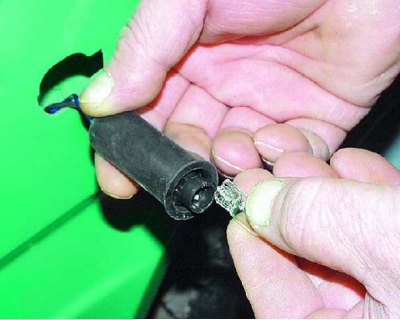
25. Remove the lamp from the socket.
26. Install a new lamp in the socket, assemble the repeater and install it on the car.
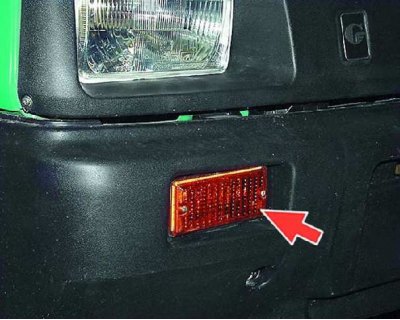
Replacing taillight bulbs
You will need: screwdriver.
Before starting work disconnect the wire from the terminal "–" battery.
The following types of lamps are used in the rear light:
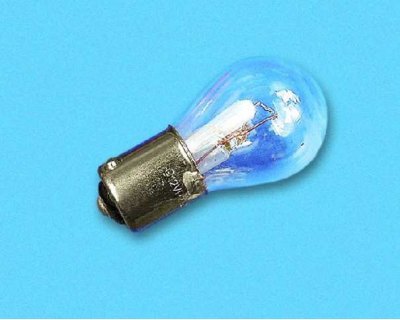
- brake signal and side light lamp - A12-21 5 (has two filaments);
- direction indicator lamp - A12-21-3;
- reversing light lamp - A12-21-3.
The replacement is shown on the example of the left lamp reversing light bulb. The right lamp can be left on for changing lamps.
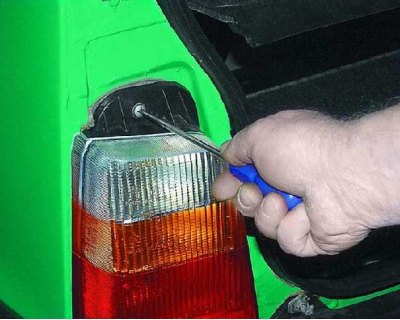
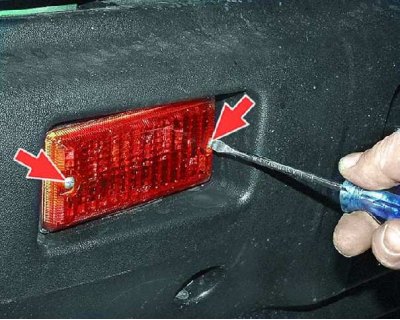
27. Loosen the rear light bolt and...

28.... remove the rear light from the body.
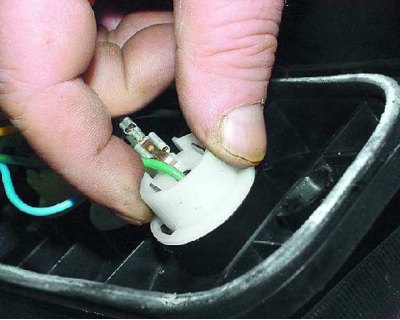
29. Turn the lamp socket counterclockwise and remove it from the lamp.
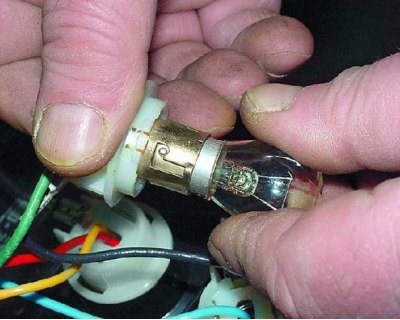
30. Press the lamp, turn it counterclockwise until it stops and remove it from the socket.
31. Install the new bulb and headlight in the reverse order of removal. In this case, the fixing protrusions of the lamp housing must enter the openings of the body.
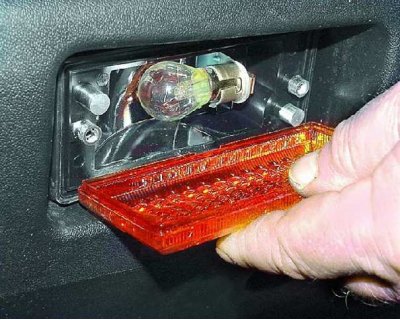
Replacing the license plate lamp
You will need: screwdriver.
Before starting work disconnect the wire from the terminal "–" battery.

The license plate light uses an AC12-5 type lamp.
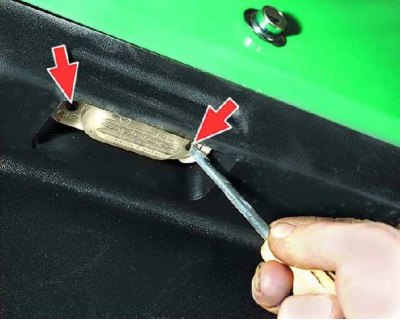
32. Remove the two screws securing the license plate light to the rear fender and...
33.... remove the light from the opening of the rear buffer.
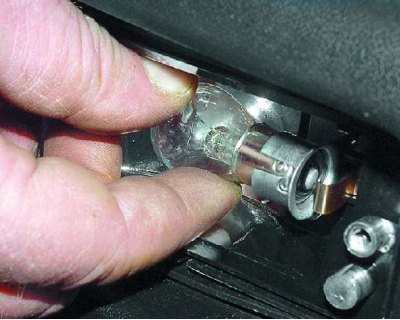
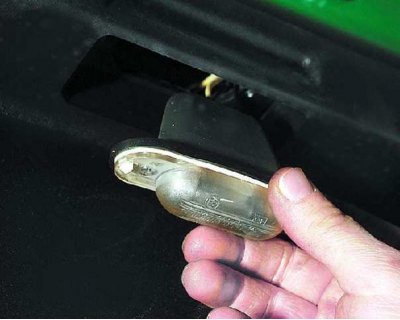
34. Pry off the latch on the lamp housing with a screwdriver and...
35.... remove the diffuser from the lamp housing.
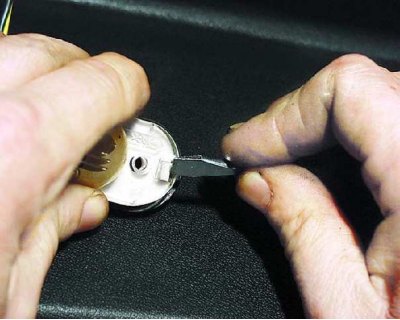
36. Remove the bulb from the lamp housing holders. Install the new bulb and headlight in the reverse order of removal.