
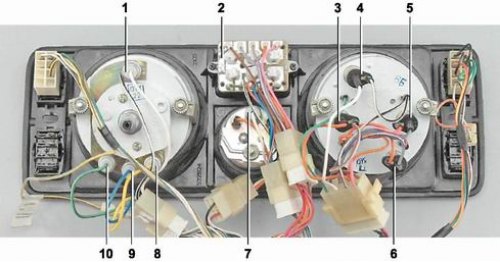
The location of the lamps on the instrument panel: 1 - speedometer illumination lamp (AMH 12-3-1 (T3W); 2 - block of signaling devices (A 12-1,2 (W1,2W); 3 - battery charge control lamp (AMH 12-3-1 (T3W); 4 - instrument cluster illumination lamp (AMH 12-3-1 (T3W); 5 - control lamp of insufficient oil pressure (AMH 12-3-1 (T3W); 6 - fuel reserve control lamp (AMH 12-3-1 (T3W); 7 - voltmeter illumination lamp (AMH 12-3-1 (T3W); 8 - control lamp for switching on external lighting (AMH 12-3-1 (T3W); 9 - control lamp for turning on the direction indicators (AMH 12-3-1 (T3W); 10 - control lamp for switching on the high beam (AMH 12-3-1 (T3W)
Removing
1. We prepare the car for operations (see "Vehicle preparation for maintenance and repair").
2. Disconnect the wire from the negative battery terminal (see "Battery - removal and installation").
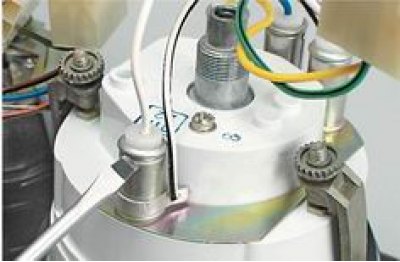
3. Prying with a thin screwdriver, remove the two plugs of the shield mounting screws.
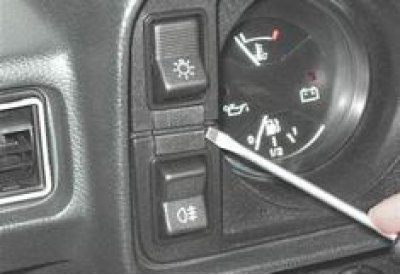
4. Using a Phillips screwdriver, unscrew the two screws.
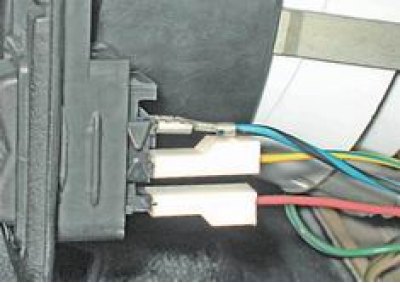
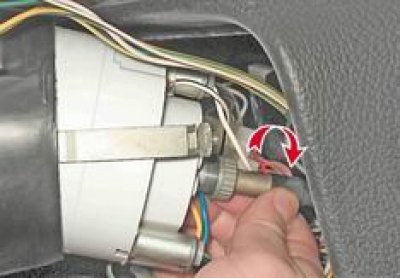
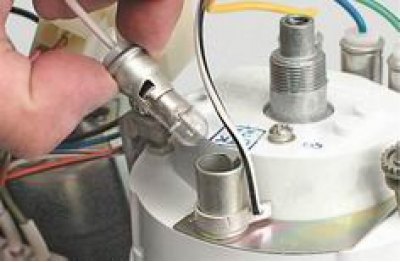
5. Disconnect the wires from the fan switch terminals. The top wire is blue/black, the middle wire is yellow/blue, and the bottom wire is red.
Advice. To avoid injury from the protruding plugs of the switch, when disconnecting the speedometer drive cable, we recommend that you remove the switch by squeezing its latches.
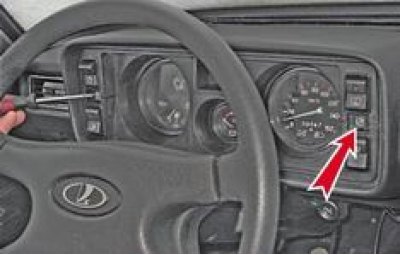
6. Having shifted the instrument panel as far as possible to the left, unscrew the corrugated nut fastening the speedometer cable by hand and disconnect the cable.
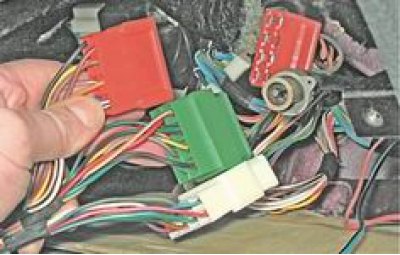
7. Disconnect the three colored blocks of the instrument panel wiring harness (red, green and white) from the instrument panel wiring harness.
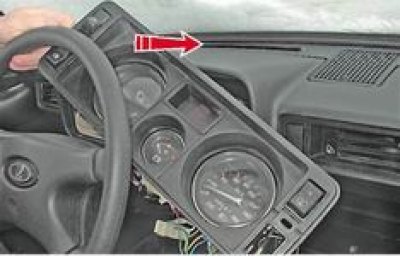
8. Moving to the right, remove the instrument panel.
Replacing indicator lamps
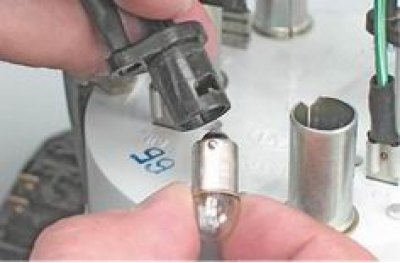
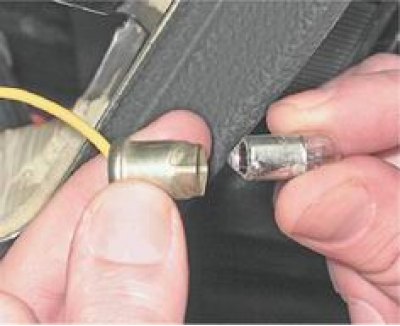
1. We take out the cartridge with the lamp from the housing.

2. Pressing and turning counterclockwise, remove the lamp from the cartridge and install a new one.
Replacing the illumination lamps of the instrument cluster of the speedometer and voltmeter
1. Using a screwdriver, remove the lamp socket from the lamp housing.
2. By pressing and turning counterclockwise, we take out the lamp from the cartridge.
Replacing the lamps of the signaling unit
1. Turning the lamp socket by 90°until its protrusion coincides with the slot in the board, remove the socket with the lamp from the hole in the board.

2. We replace the lamp together with the cartridge.
Replacing the cigarette lighter lamp
We replace the cigarette lighter lamp with the instrument panel removed.
1. Squeezing the walls of the lamp housing, disconnect it together with the lamp from the cigarette lighter housing.

2. Remove the lamp holder from the casing.
3. By pressing and turning counterclockwise, we replace the lamp.
Installation
Install all removed parts in reverse order.