




Contents: Removal ↓ Installation ↓
Removal
1. Place the vehicle on an inspection pit or overpass (see "Preparing a car for maintenance and repair").
2. Drain the coolant (see "Coolant - Checking Level and Replacing").
3. Remove the inlet pipe from the exhaust manifold studs (see "Intake pipe - removal and installation").
4. Remove the air filter housing (see "Air filter housing - removal and installation").
5. Disconnect the air damper drive rod and the throttle drive cross rod from the carburetor (see "Carburetor - removal and installation").
6. For ease of work, remove the battery (see "Battery - Removal and Installation").
7. With a socket wrench by 13 mm unscrew the nut of the lower air intake mount.
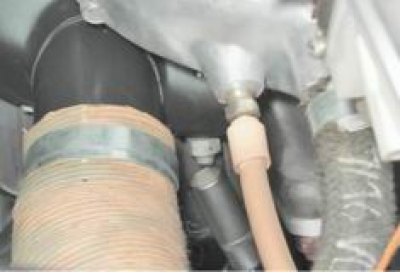
8. Using the same tool, unscrew the nut of the upper air intake mount and remove it.
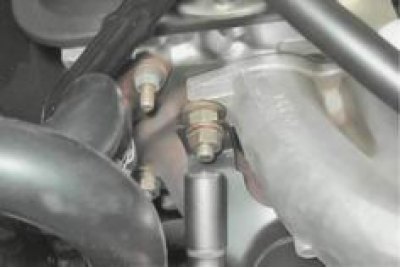
9. Unscrew the nut of the upper fastening of the starter heat shield (see "Starter - removal and installation")
10. With a socket wrench by 13 mm we unscrew the nut securing the eye and remove it.
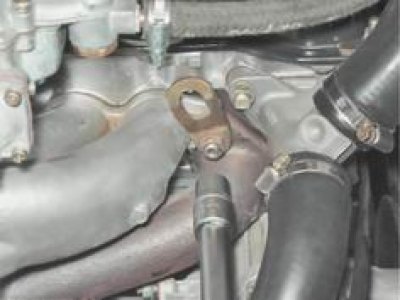
11. Using the same tool, unscrew the nut securing the ground wire and remove it from the stud (for clarity, the chain tensioner has been removed).
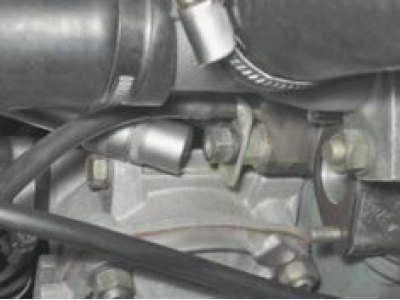
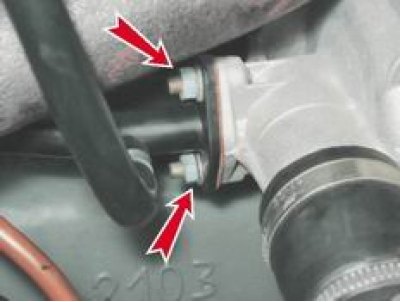
12. Key by 10 mm we unscrew the two nuts securing the coolant supply pipe to the pump and disconnect the pipe. A sealing gasket is installed at the connection point.
13. With a socket wrench by 13 mm with an extension, unscrew the seven nuts securing the intake manifold and the exhaust manifold. Thicker washers are installed under the nuts securing the intake manifold and the exhaust manifold together.
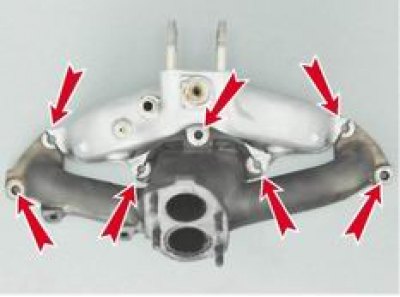
Intake manifold and exhaust manifold mounting points
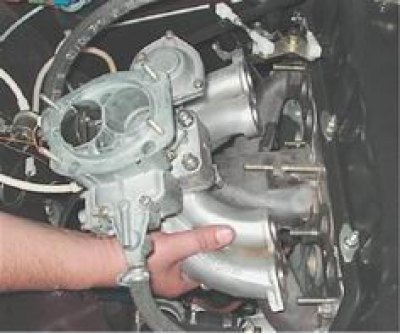
14. Remove the intake manifold from the cylinder head studs and move it to the side.
15. Remove the manifold from the cylinder head studs.
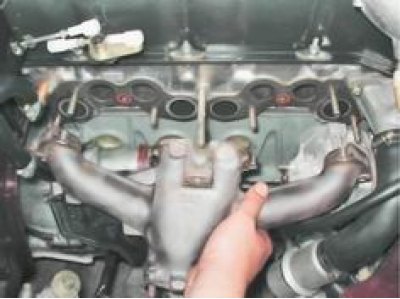
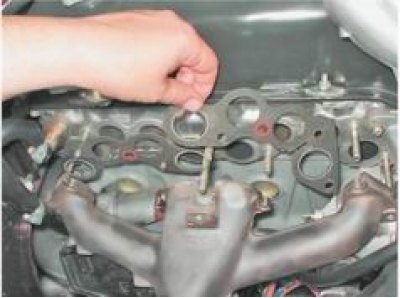
16. Remove the gaskets from the studs.
Installation
1. Installation of all removed parts is carried out in reverse order.
2. Fill the system with coolant (see "Coolant - Checking Level and Replacing").