




Contents: Removal ↓ Installation ↓
Removal
1. Place the vehicle on an inspection pit or overpass (see "Preparing a car for maintenance and repair").
2. Disconnect the wire from the negative terminal of the battery (see "Battery - Removal and Installation").
3. On a vehicle with an injection system, remove the additional mudguard (see "Mudguard - Removal and Installation").
4. With a socket wrench by 10 mm using an extension, unscrew the lower bolt securing the starter shield.
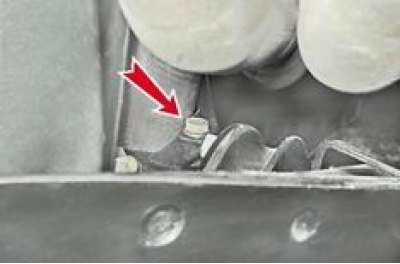
5. With a socket wrench by 13 mm with an extension and a cardan, unscrew the three bolts securing the starter to the clutch housing and move the starter forward. On an injection engine, the upper bolt securing the starter also secures the intake manifold brace, and the middle bolt secures the bracket securing the oxygen concentration sensor wiring harness.
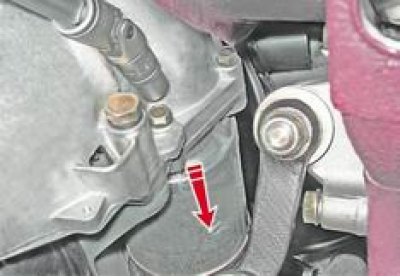
6. On a carburetor engine, remove the air filter housing (see "Air filter housing - removal and installation") and a warm air intake with an air duct (see "Carburetor Engine Intake Manifold and Exhaust Manifold Gaskets - Replacement").
7. On the injection engine, remove the two intake manifold spacers (see "Intake manifold and exhaust manifold gaskets of the injection engine - replacement").
8. With a socket wrench by 13 mm unscrew the nut (there are two nuts on the injection engine) fastenings of the starter shield and remove the shield.
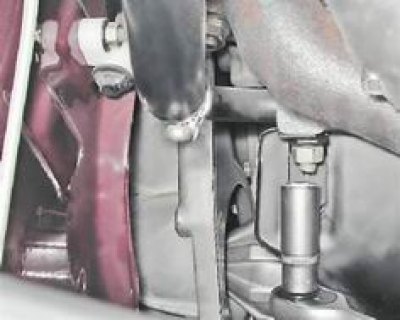
9. With a socket wrench by 13 mm we unscrew the nut securing the wire tip connecting the starter to the positive terminal of the battery and remove the tip from the contact bolt.
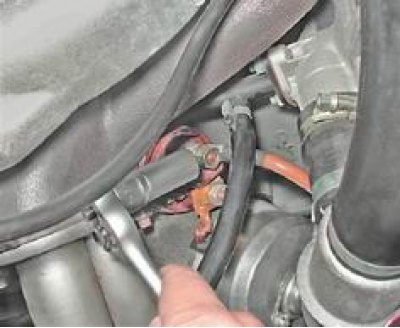
10. Disconnect the wire from terminal "50" of the traction relay.
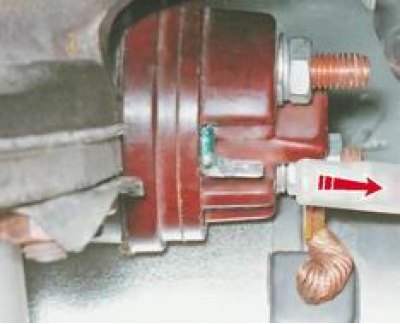
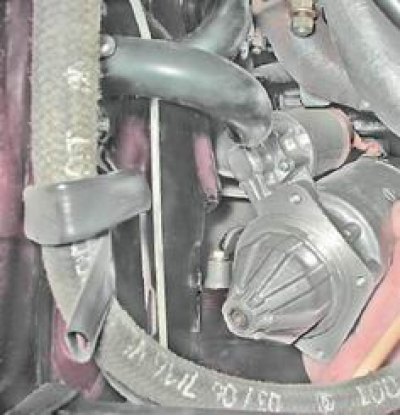
11. Remove the starter from the engine compartment bulkhead.
Installation
The starter is installed in the reverse order.