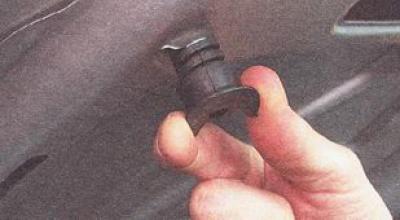
Helpful advice: It is better not to remove the gas struts or to do this after removing the hood.
Removal
1. Prepare the car for repair work.
2. Open the hood of the car. To simplify assembly, use a marker to mark the position of the four washers installed under the hood mounting nuts on the hood hinges.
The source is on the website: VAZBOOK.ru
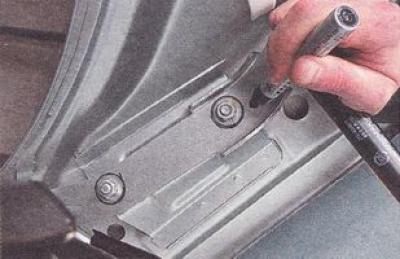
Note. The following work is shown on the left hood hinge. The assistant performs similar actions on the right hood hinge. When removing the hood, do not damage the paintwork of the body with its corners.
3. Using a 13 mm open-end wrench, unscrew the two hood mounting nuts and remove the washers from the studs (in this case, you need to put your shoulder under the hood and support the hood from below with your free hand).
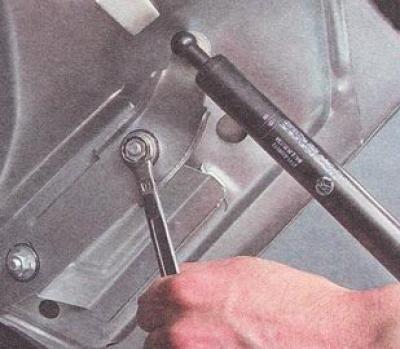
4. Using a large slotted screwdriver, push the hinge away from the hood and remove the pins from the hinge holes.
5. Remove the hood from the car.
Installation
We install the hood and all the removed parts in the reverse order. When installing the hood, we align the position of the washers of the fastening nuts with the marks on the hinges.
When installing a new hood on a vehicle, it is necessary to adjust its position.
Adjusting the hood
Oval holes in the hood hinges allow the hood position to be changed in the longitudinal direction.
1. Slightly loosen the hood mounting nuts (so that the hood can be moved with little effort).
2. Having closed the hood, we adjust its position according to the gaps. The gaps between the front doors and the hood should be the same and equal to the gap between the front wings and the front doors.
3. Open the hood slightly and tighten the nuts that secure it.
4. After making sure that the hood has not shifted, tighten the nuts completely. If necessary, repeat the hood adjustment.
5. After screwing the rubber stops back into place, adjust the height of the hood.