




Contents: Removal ↓ Installation ↓
To perform repair work on replacing the driven disk and clutch basket, you will need a mandrel for centering the driven disk of the clutch (see item 35 "Special tools and devices").
Removal
1. Remove the gearbox from the car (see "Gearbox - removal and installation").
Helpful Hint: If replacing the clutch basket assembly (pressure plate) if this is not planned, then we use a center punch to mark the position of the clutch basket on the flywheel.
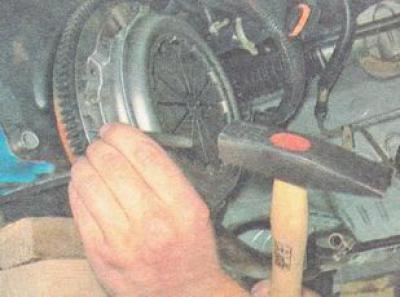
2. Using an 8 mm socket or open-end wrench, unscrew the six bolts securing the clutch basket to the flywheel, holding the flywheel from turning with a mounting blade or large slotted screwdriver.
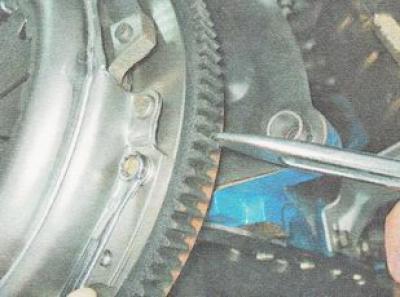
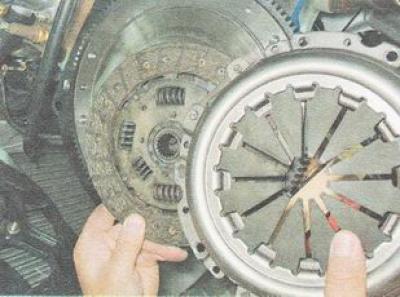
3. Remove the basket and driven disk.
Installation
1. Clean the splined part of the gearbox primary shaft from dirt and old grease. Apply a thin layer of SHRUS-4 grease to the splines.
2. Insert the centering mandrel into the hole in the end of the crankshaft.
3. Place the driven clutch disc on the mandrel, orienting it so that the side where the clutch disc hub protrudes more faces the gearbox.
4. Install the basket.
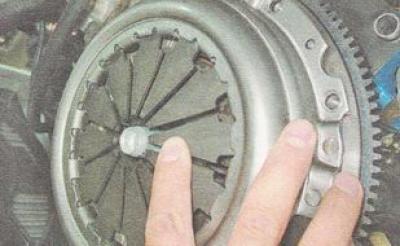
5. Having aligned the previously made marks, use an 8 mm socket wrench to evenly tighten the clutch basket mounting bolts. Finally tighten the bolts to a torque of 19.1-30.9 N·m (1.9-3.2 kg·m).
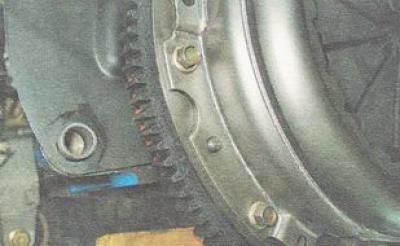
6. Remove the centering mandrel.
7. Perform further work in the reverse order of removal. After installing the gearbox, check the operation of the clutch release drive and adjust the length of the cable (see "Clutch release drive - adjustment").