




Contents: Removal the CV joint ↓ Installing CV joints ↓
To carry out repair work you will need:
- special pliers for installing clamps for fixing the anther joints (see point 9 "Special tools and devices") or sliding pliers;
- sliding circlip pliers;
- cV joint grease 80 cc.;
- new CV joint boot;
- new retaining and thrust rings of the hinge.
Removal the CV joint
1. Remove the front wheel drive assembly from the vehicle (see "Drive wheel - removal and installation").
2. Secure the drive assembly in a vice and use special pliers or sliding pliers to remove the large and small clamps of the boot.
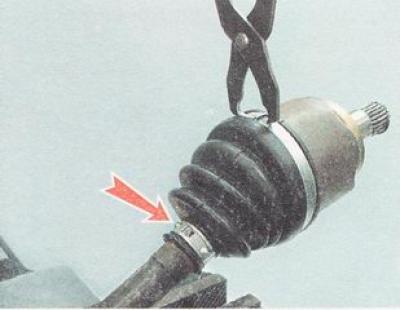
3. Using a knife, cut off the CV joint boot (internal hinge).
4. Using a hammer and a soft metal punch, strike the inner race of the joint to knock the joint off the drive shaft.
Warning: If the CV joint is to be reused, it is prohibited to strike the separator, balls or CV joint housing.
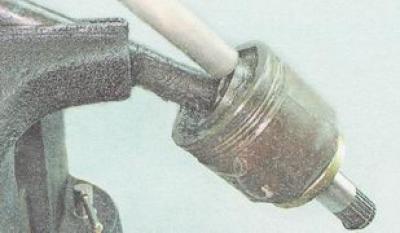
5. Remove the locking and stop rings from the shaft slots (see points 8 and 9 "CV joint (outer joint of front wheel drive) - removal, replacement of the boot and installation").
6. Wash the joint in kerosene, wipe with a clean cloth and let dry.
Installing CV joints
1. Fix the drive shaft in a vice in a vertical position.
2. Wind the insulating tape onto the shaft splines, put the new CV joint boot onto the shaft and move the boot towards the middle of the shaft.
Note: On the right drive, turn the CV joint boot inside out onto the shaft.
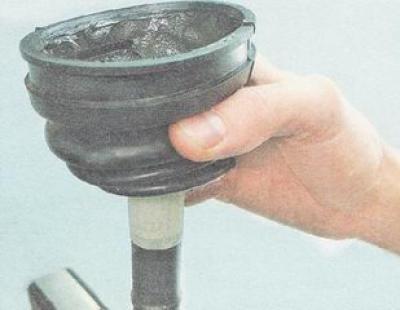
Helpful Hint: Do not use a socket head to install the thrust washer. The internal chamfer found on almost all sockets will compress the washer, preventing it from being installed on the shaft.
2. Using a 24 mm open-end wrench as a mandrel, install a new thrust ring onto the splined end of the shaft.
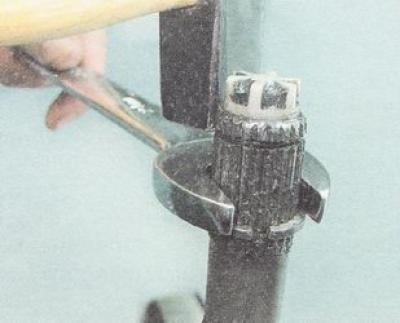
3. Using a slotted screwdriver, install a new retaining ring onto the shaft.
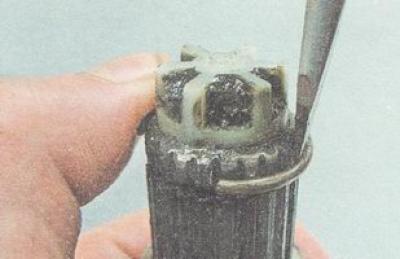
4. Apply CV joint grease to the shaft splines.
5. Place the inner ring of the joint on the splined end of the shaft. Align the joint housing with the shaft axis. Using a hammer through a wooden pad, press the joint onto the shaft until the retaining ring is fully installed.
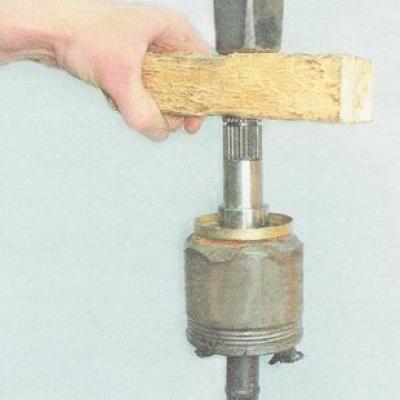
6. Fill the hinge housing with grease (80 cm³ for the entire hinge), and we put the remaining part into the CV joint boot.
7. Place the large sealing belt of the boot on the hinge housing, and install the small sealing belt of the boot in the groove of the shaft. Raise the small sealing belt of the boot with a thin slotted screwdriver to release excess air from the inner cavity of the boot.
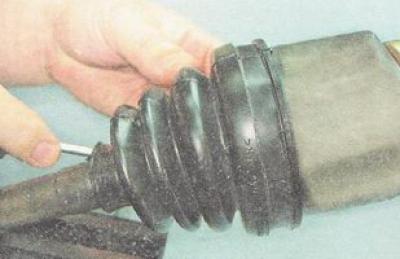
8. Using special pliers or sliding pliers and a slotted screwdriver, install the large and small boot clamps.
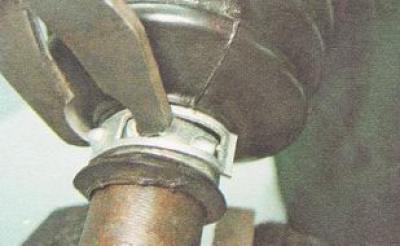
Recommendation: Before installing the assembled drive on the vehicle, be sure to install a new retaining ring on the splined tailpiece of the inner joint.
9. Install the front wheel drive on the vehicle (see "Installation", p. 1-5 "Drive wheel - removal and installation").