




Contents: Removal ↓ Installation ↓
To perform the work of removing the drive wheel, you will need:
- inspection pit or overpass;
- new hub nut;
- inner joint shank retaining ring.
Removal
1. Prepare the vehicle for repair work (see points 1 and 2b, "Preparing a car for maintenance and repair").
2. Remove the engine protection from the car (see "Engine protection - removal and installation").
3. Drain the oil from the gearbox (see "Gearbox - Oil change").
4. Remove the decorative wheel cap, remove the hub cap and loosen the hub nut.
5. Loosen the wheel mounting bolts.
6. Place the car on a secure stand and remove the front wheel.
7. Loosen the three self-locking nuts securing the upper support of the suspension strut and unscrew the nuts a few turns.
8. Using a 17 mm socket wrench, unscrew the two bolts securing the ball joint to the steering knuckle.
9. Using a 30 mm socket wrench, unscrew the wheel hub nut.
10. If necessary, using a universal three-jaw puller, press out the splined end of the outer joint from the hub.
Note: When removing the left drive, turn the steering wheel on the car all the way to the right; when removing the right drive, turn the steering wheel all the way to the left.
11. Remove the brake hose from the bracket on the suspension strut. Carefully, without allowing strong tension on the brake hose, pull the lower part of the strut outward, remove the splined tail of the outer joint from the hub and carefully lower the drive onto the transverse suspension arm.
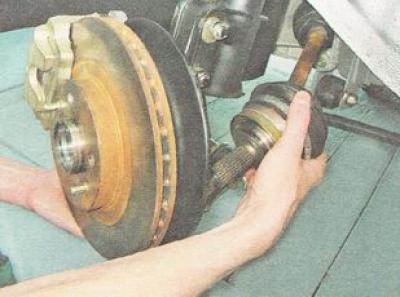
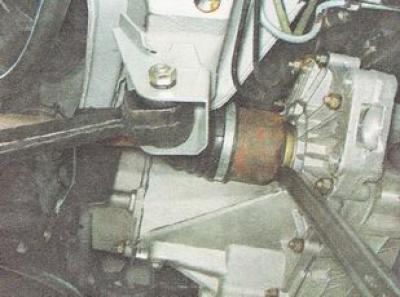
12. Using a mounting blade as a lever (resting its end against the end face of the inner hinge housing) we move the hinge to the outside, removing the internal retaining ring of the hinge spline connection from the groove.
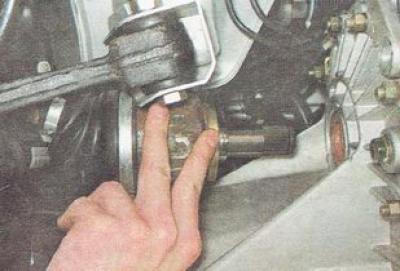
13. While supporting the inner hinge, carefully, (being careful not to damage the splines of the hinge pin, the gearbox seal) we remove the joint from the gearbox and remove the drive assembly from the car.
Installation
1. Replace the retaining ring of the splined shank of the inner joint with a new one.
2. Apply plastic grease to the splined and smooth surfaces of the shank.
3. Carefully insert the shank into the seal, trying not to damage the working edge of the seal with the shaft splines. In doing so, direct the retaining ring with the gap upwards.
4. Vigorously insert the drive into the gearbox and make sure that the retaining ring of the inner joint tailstock is securely fixed and the drive does not extend out of the gearbox housing.
The article is taken from the website (vazbook.ru)
5. We carry out further work in reverse order.
Warning: When assembling, install a new hub nut.