




Contents: Disassembly ↓ Assembly ↓
Disassembly
1. Remove the gear shift drive from the vehicle (see "Gear shift mechanism drive - removal, installation and adjustment").
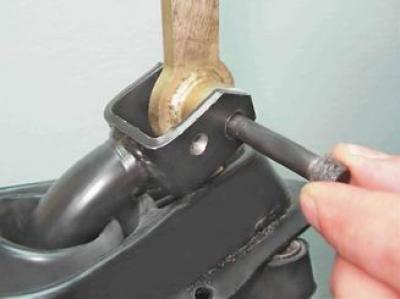
2. Key by 13 mm we unscrew the nut of the gear shift lever axle.
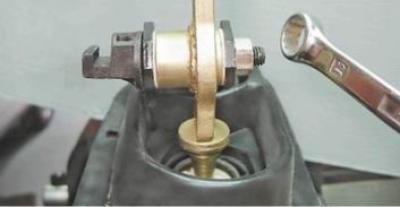
3. Using a Phillips screwdriver, unscrew the mounting screw and remove the axle.
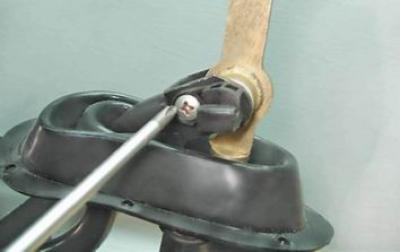
Note. There is a plastic limiter welded onto the gearshift lever axle. It happens that when you unscrew the nut, the axle starts to spin in the limiter. In this case, using a screwdriver, remove the plastic limiter from the axle.
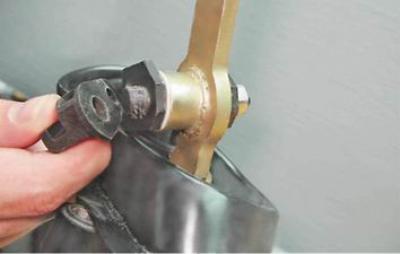
Holding the axle with pliers, unscrew the axle nut.
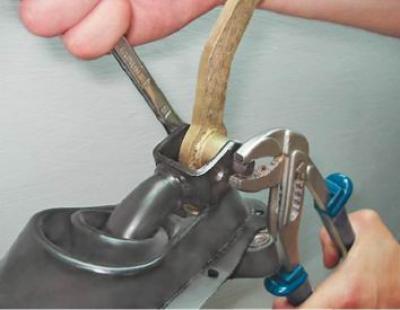
We take out the axle. We use a new axle for assembly.
[Original source is on the resource: vazbook.ru]
4. Having sunk the plastic support of the clip, we take out the retaining ring with thin pliers (indicated by the arrow).
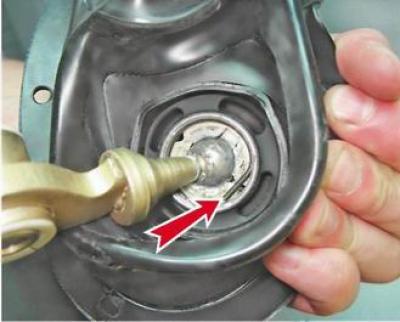
5. Remove the lever with the support and the spring.
6. Remove two remote controls from the lever...
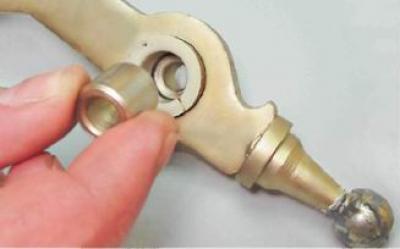
...and two plastic bushings.
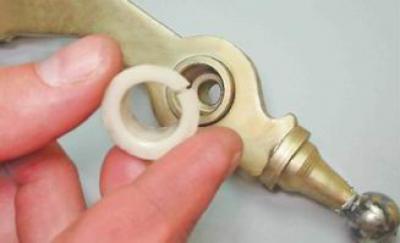
7. Using a screwdriver, remove the cover from the support.
Assembly
We replace worn parts and assemble the gear shift drive in the reverse order. When installing the gear shift lever, lubricate its ball joint with technical petroleum jelly.
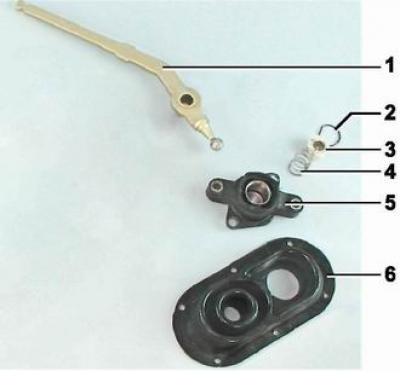
Gear shift lever ball joint parts: 1 - gear shift lever; 2 - retaining ring; 3 - support; 4 - support spring; 5 - support collar; 6 - support cover