




- inspection pit or overpass;
- assistant;
- roulette.
Removal
1. Prepare the car for work (see "Preparing the car for maintenance and repair").
2. Remove the floor tunnel cover (see "Floor Tunnel Overlay - Removal and Installation").
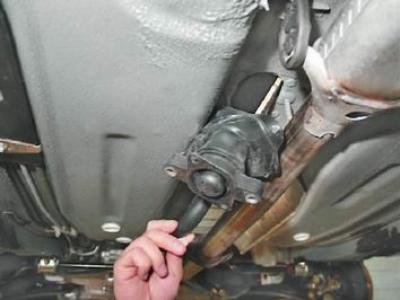
3. With a spanner by 10 mm we unscrew the screw and two nuts securing the plastic cover that blocks the reverse gear.
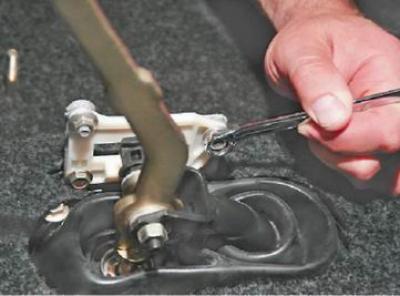
4. Remove the cover from the bracket.
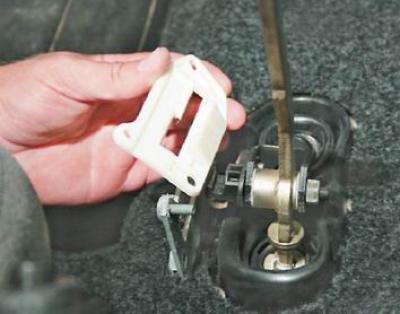
5. With a socket wrench by 10 mm we unscrew the six nuts securing the pressure plate.
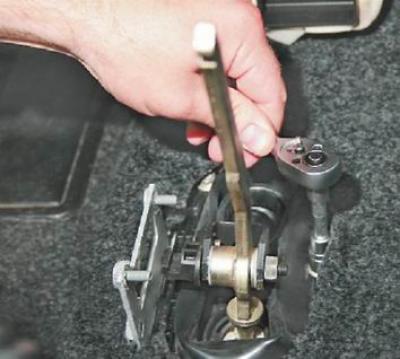
6. Remove the pressure plate from the studs.
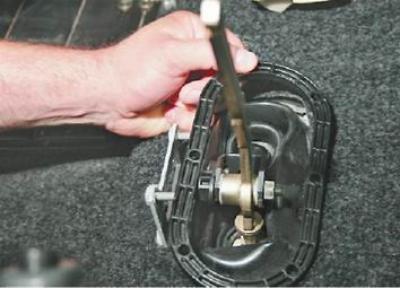
7. Remove the rubber cover.
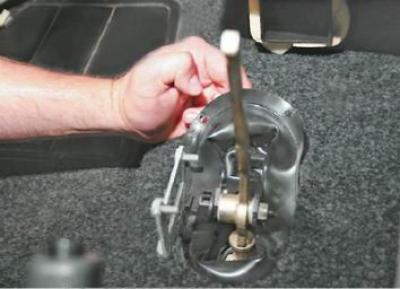
8. Remove the jet thrust (see "Jet thrust - removal and installation").
9. Mark the relative position of the drive rod and the hinge.
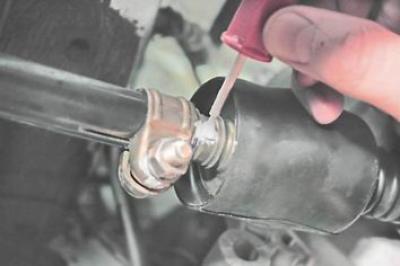
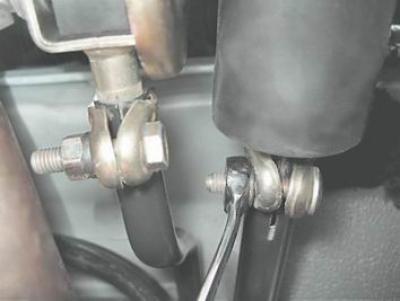
10. With a spanner by 13 mm we unscrew the nut of the tie bolt and loosen the clamp.
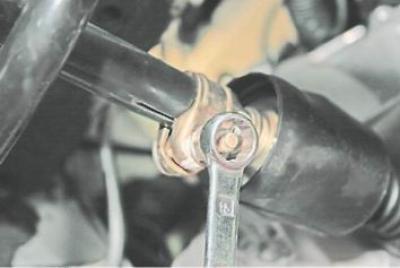
11. Disconnect the rod from the gear selection mechanism hinge.
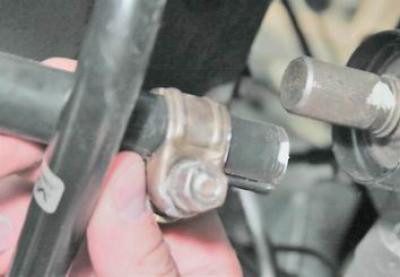
12. Remove the rod assembly with the lever and collar from the car.
Installation
We install the rod in the reverse order and apply plastic grease to the threaded part of the rod mounting bolts, aligning the marks made before disassembly.
Adjustment
Note: A special template is required to adjust the drive, but if you don't have one, the drive can be adjusted with the help of an assistant
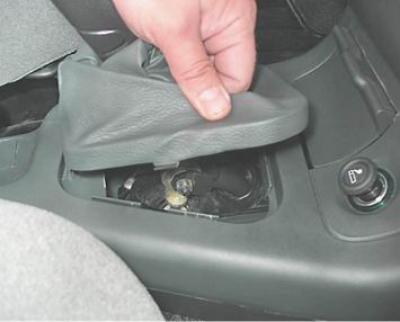
1. Using a slotted screwdriver, remove the decorative cover of the gear shift lever from the floor tunnel trim and lift the cover up.
2. Disconnect the gear shift drive rod from the hinge (see above, pp. 8-10).
3. Turn the gear selector mechanism hinge slightly counterclockwise to engage first gear (do not confuse with reverse gear).
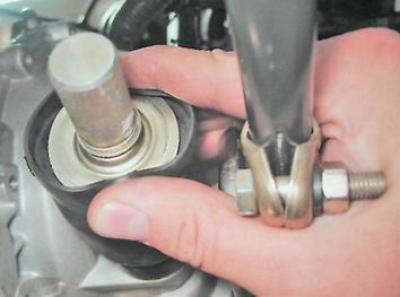
4. Connect the rod to the hinge and make sure that:
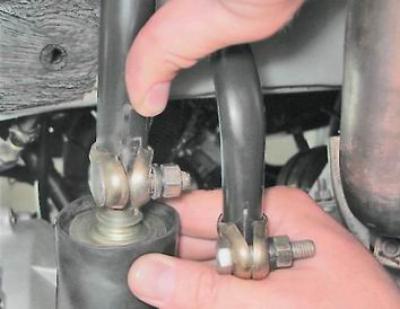
a) the assistant holds the gear shift lever in the first gear engaged position; in this case, the reverse gear engagement limiter touches the plastic bracket cover;
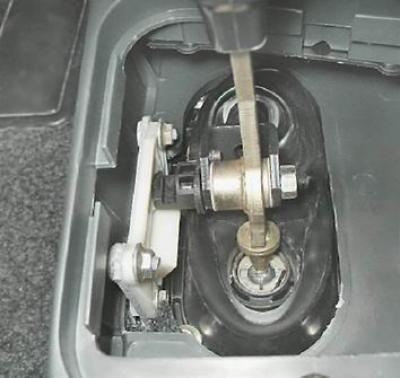
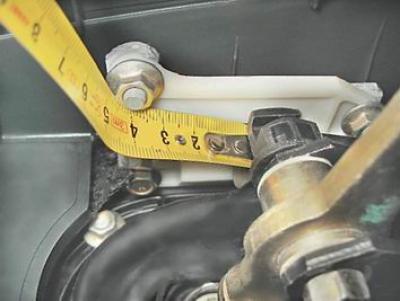
b) the distance from the axis of the rear mounting pin of the pad to the limiter is approximately four centimeters.
5. Tighten the nut of the rod clamp.
6. Make sure that all gears can be engaged, including reverse gear; repeat the adjustment if necessary.