

You will need: socket wrench (head) «at 17», large screwdriver.
1. Disconnect the wire from the terminal «-» battery.
2. Remove the gearbox from the car (see «Removal and installation of a transmission»).
3. Remove the clutch from the flywheel (see «Clutch repair»).
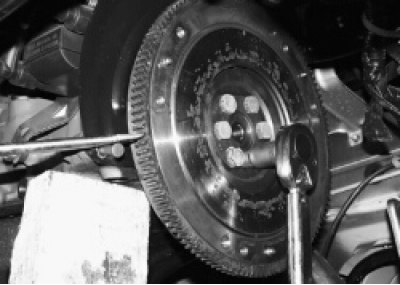
4. Turn out six bolts of fastening of a flywheel. At the same time, use a screwdriver to keep the flywheel from turning by first screwing in one of the gearbox mounting bolts.
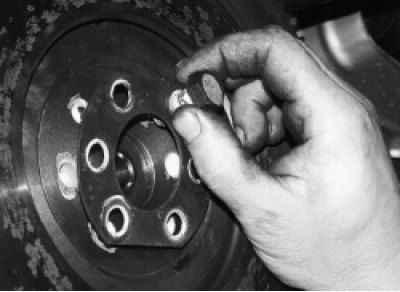
5. Together with the last bolt, while holding the flywheel, remove the bolt retainer plate.
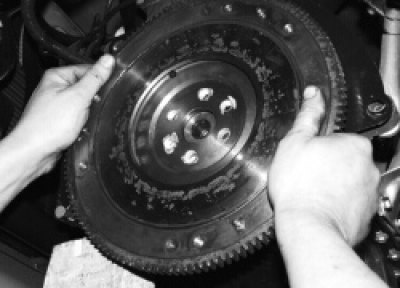
6. Remove the flywheel from the crankshaft flange.
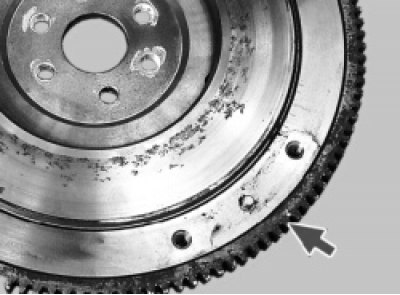
7. Check the condition of the flywheel rim teeth and replace the flywheel if damaged.
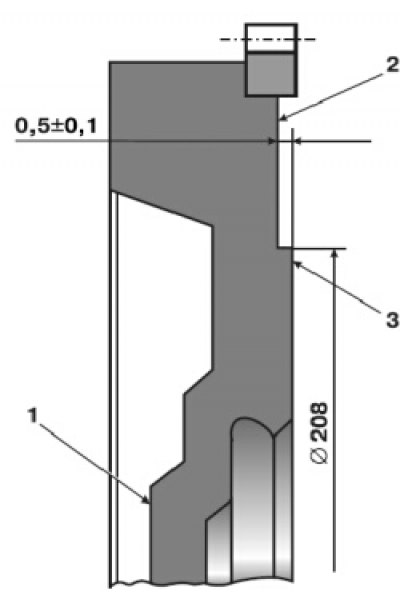
4.7. Flywheel: 1 - surface adjacent to the crankshaft flange; 2 - a place to check the surface for attaching the clutch; 3 - place for checking the runout of the bearing surface of the clutch driven disk
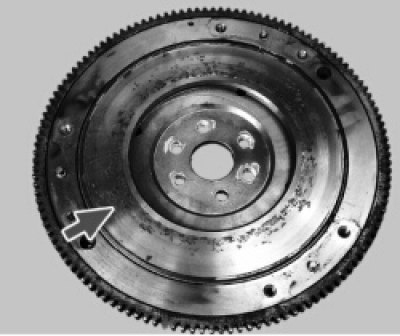
8. Replace or repair the flywheel if on mating planes with the clutch disc..
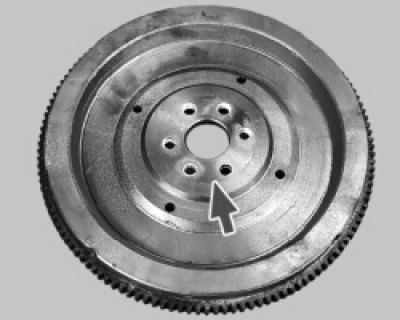
9.... or the crankshaft flange found marks and scuffs.
10. Check and, if necessary, repair the flywheel (pic. 4.7) in a workshop with special equipment. The flatness of the surface 3 of the fit of the clutch driven disk should not exceed 0.06 mm.
The non-parallelism of the contact surfaces of the clutch driven disk and surface 2 for fastening the clutch must not exceed 0.1 mm.
The runout of the flywheel on surfaces 3 and 1 must not exceed 0.1 mm.
To remove deep scratches and scuffs, surface 3 of the flywheel can be machined, the layer of removed metal should not exceed 1 mm. Simultaneously with surface 3, it is necessary to machine surface 2, maintaining the size between them (0,5±0,1) mm. When turning, keep surfaces 3 and 1 parallel.
Note. Before installing the flywheel, apply sealant to the threads of the bolts of its fastening, having previously degreased the bolts and the threaded holes for them.
11. Install the flywheel in the reverse order of removal, aligning the holes on the flywheel and the crankshaft flange (they are arranged asymmetrically).