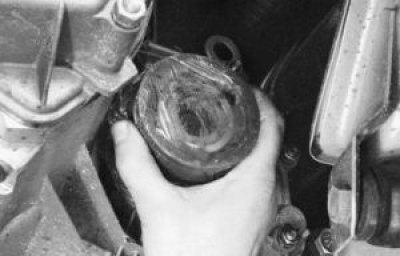
2. Disconnect the wire from the terminal «–» battery, drain the oil from the gearbox by unscrewing the plug and unscrew the bolt securing the ignition module to the clutch housing.
3. Remove the mounting bolts and remove the crankcase protection (see «Removal and installation of the engine»).
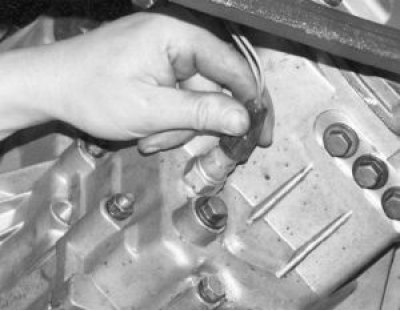
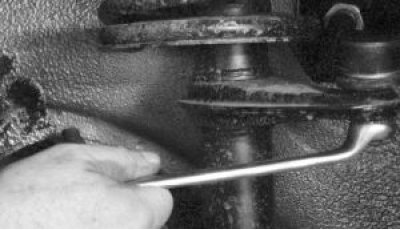
4. Turn out a bolt and disconnect a wire «masses» from the clutch housing.
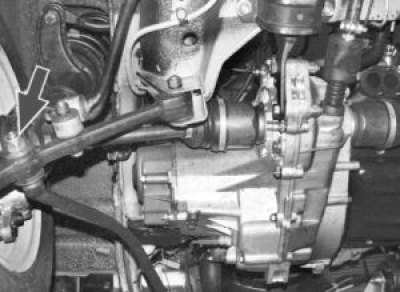
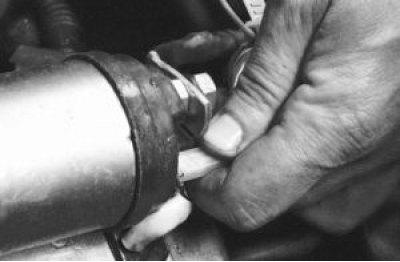
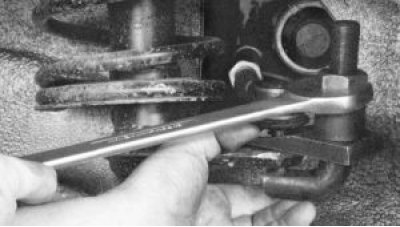
5. Loosen the nuts on the end of the clutch cable.
6. Remove the cable end from the clutch lever.
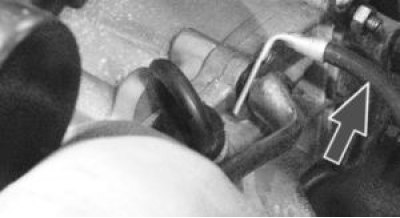
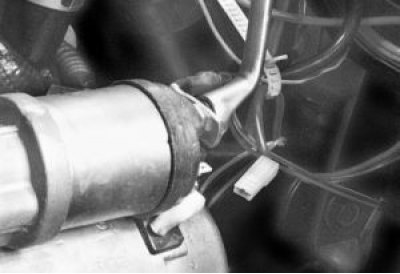
7. Disconnect a block with a wire from the plug of the traction relay of a starter.
8. Turn away a fastening nut and disconnect a wire from a contact bolt of the traction relay of a starter.
9. Remove three nuts (third on the other side of the starter) fasteners and remove the starter.
10. Loosen the clamp and disconnect the gear shift rod from the hinge tip.
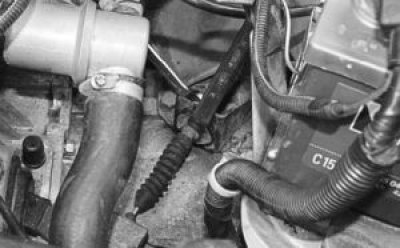
11. Disconnect the harness connector from the speed sensor mounted on top of the gearbox housing.
12. Disconnect the wiring harness connector from the reversing light switch.
13. Loosen the nuts securing the stretch marks to the suspension arms.
14. Turn away nuts of fastening of extensions to arms or turn out on three bolts of fastening of arms to a body and part the left and right extensions in the parties.
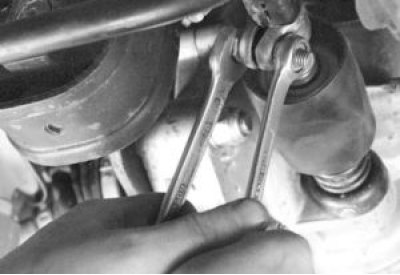
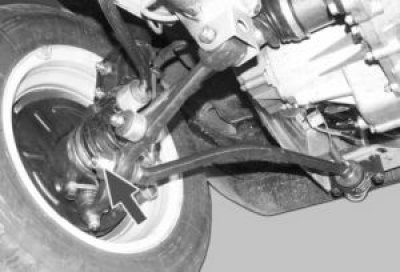
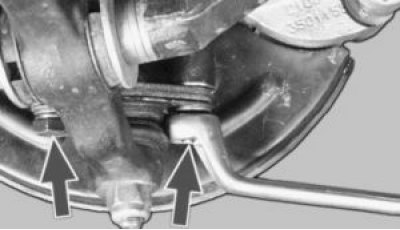
15. Remove the cotter pin of the nut that secures the tie rod ball joint to the swing arm.
16. Turn away a nut of fastening of the spherical hinge of steering draft.
17. Using a puller, press the tie rod ball joint pin out of the rack pivot arm. Disconnect the second tie rod in the same way.
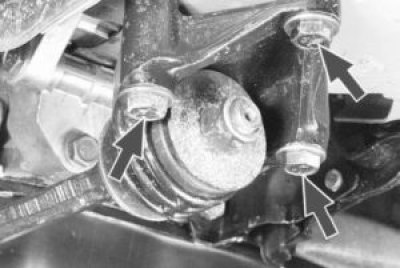
18. Turn away on two bolts and disconnect spherical hinges of levers of a suspension bracket from rotary fists.
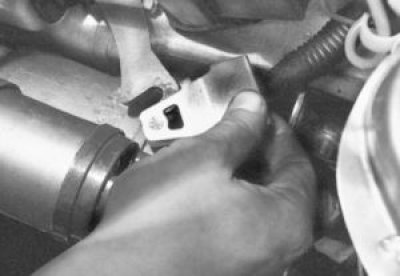
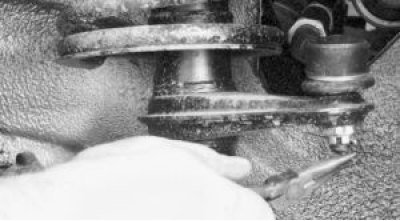
19. Squeeze out the shank of one of the internal hinges of the front wheel drive from the gearbox with a mount and take the drive aside.
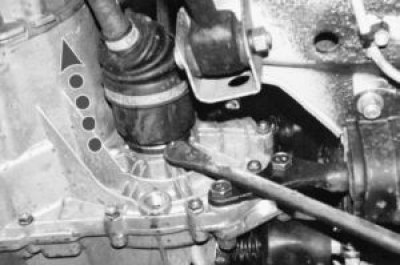
20. Insert a process plug in place of the drive pivot (e.g. old inner hinge). Then disconnect the second drive.
Warning! Do not disconnect both drives at the same time without installing a technological plug, otherwise the gears of the axle shafts will move inside the differential box and it will not be possible to install the drives without disassembling the gearbox.
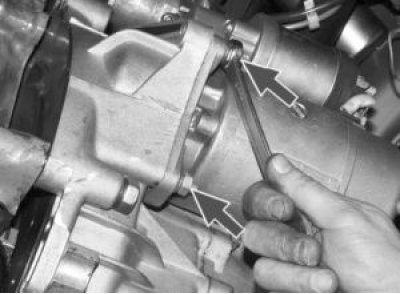
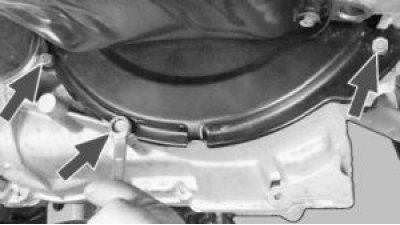
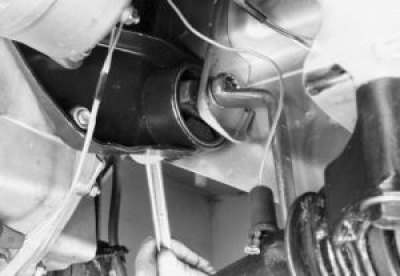
21. Turn away three bolts of fastening and remove a guard of a crankcase of coupling.
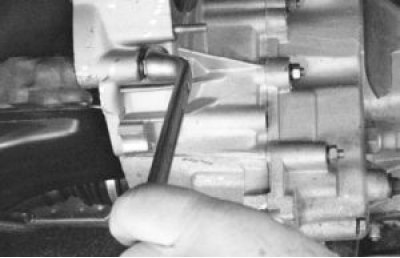
22. Loosen the three bolts and nuts securing the clutch housing to the cylinder block.
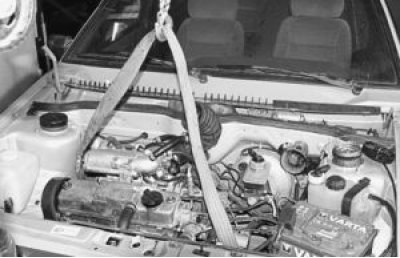
23. Hang the engine by the lifting eyes (for the convenience of photographing the hood is removed).
24. Turn away two nuts of fastening of a back support of the power unit to a body.
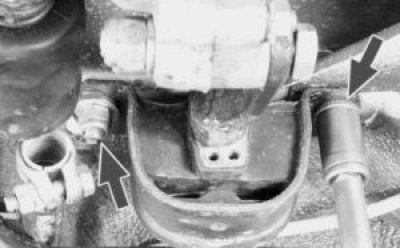
25. Turn away a nut and take out a bolt of the left support of the power unit.
26. Turn away three nuts of fastening of the left support of the power unit to a transmission and remove a support.
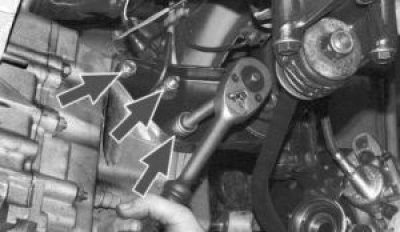
27. Completely remove the three bolts and nut (on the other side of the gearbox). When removing the gearbox, first move it away from the engine in a horizontal plane to disengage the input shaft from the clutch. Do not damage the petals of the clutch diaphragm spring when removing the box.
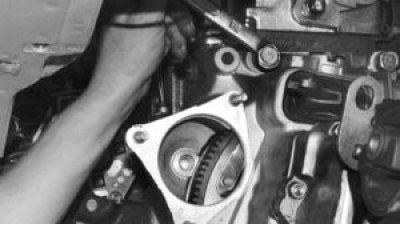
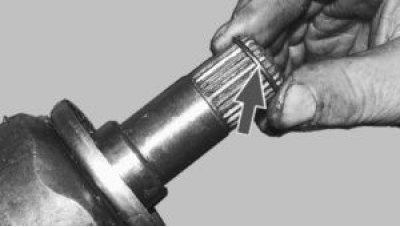
Helpful Tips: Before installing the gearbox, it is recommended to lubricate the splines of the input shaft and the outer surface of the clutch release bearing guide bush with a thin layer of grease.
Center the clutch disc with a special mandrel (see «Clutch repair»).
Establish a transmission upside-down taking into account the following.
28. See «Tightening torques for threaded connections».
29. When connecting the front wheel drives to the gearbox, replace the circlips on the splined ends of the inner hinges of the front wheel drives, otherwise the drives may disconnect from the gearbox while driving.
30. Finally tighten the nut securing the extension to the arm with a loaded suspension, when the car is on the ground.