
- wrench or interchangeable head "on 7"
- knob
- screwdriver
Disconnect the wire from the terminal "-" battery.
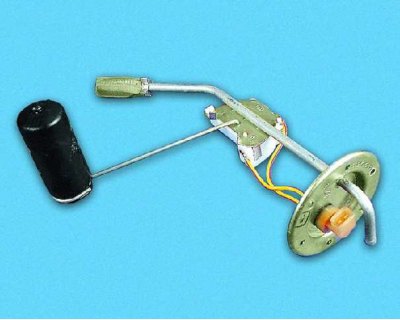
You can check the health of the sensor using an ohmmeter by measuring its resistance in three positions of the float: (full tank) - should be no more than 7.0 Ohm; average (half tank) - 108-128 Ohm; lower (empty tank) - 315-345 Ohm.
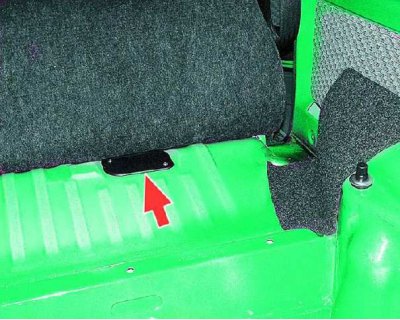
The fuel gauge sensor is located under the floor hatch (under the back seat). A defective fuel gauge sensor must be replaced.

1. Open the back door.

2. Remove the luggage compartment shelf.
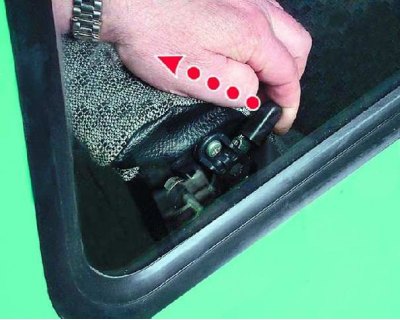
3. Push up two latches (one is shown) backrest of the rear seat, fold the backrest forward and fold the rear seat down.

4. Raise the luggage compartment floor mat.
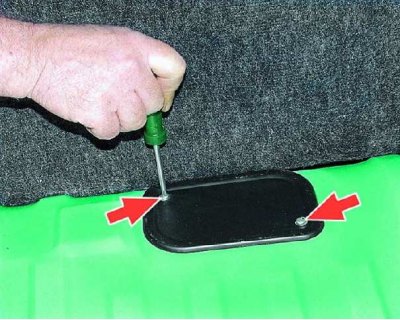
5. Loosen the two screws securing the floor hatch and...
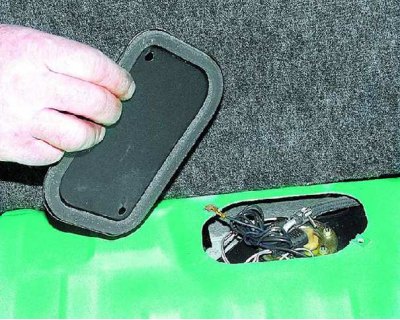
6.... remove the hatch with the gasket.
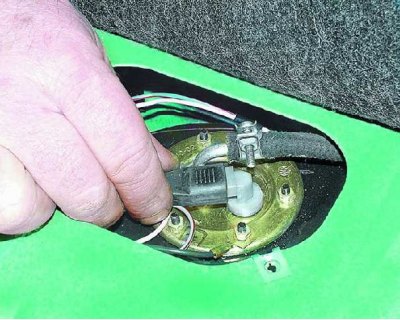
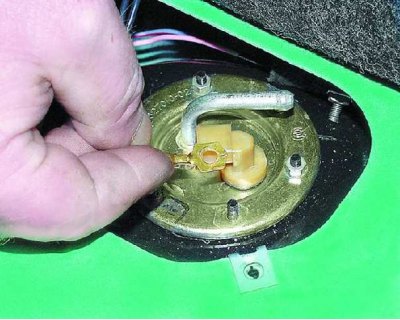
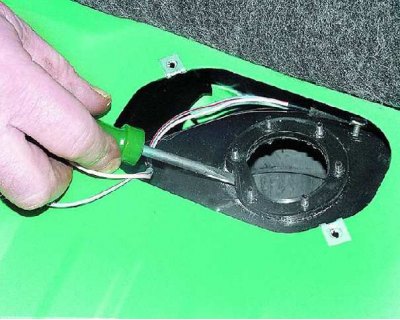
7. Disconnect the wiring harness from the fuel gauge sensor.
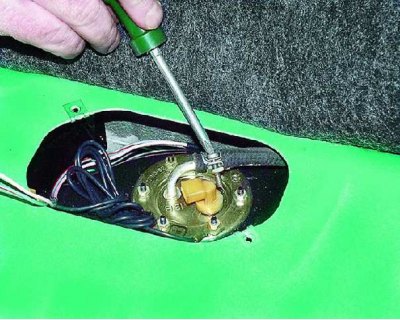
8. Loosen the clamp and...
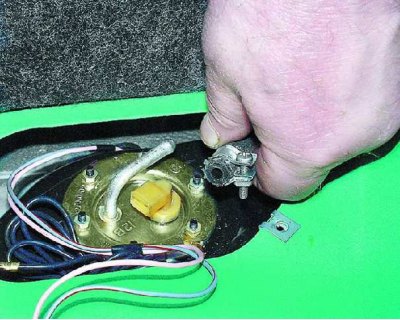
9.... remove the hose from the fuel intake fitting.
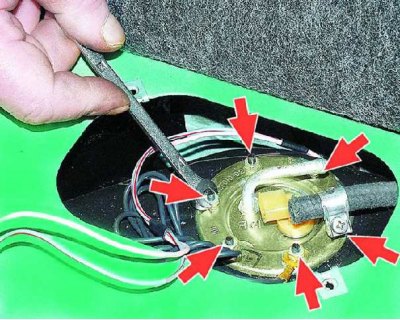
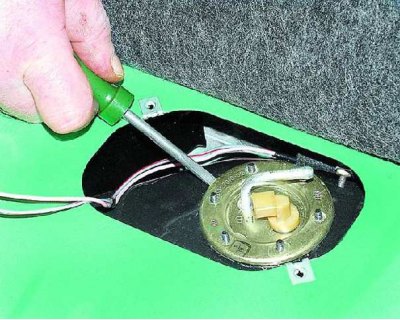
10. Unscrew the six nuts securing the flange of the fuel gauge sensor to the fuel tank studs, remove the spring washers and...
11...."mass" wire from one of the pins. Be sure to connect it when installing.
12. Pry off the sensor flange with a screwdriver and...
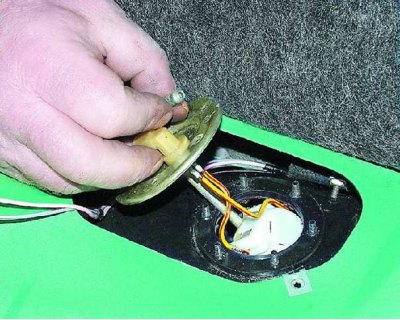
13....remove the sensor from the tank...
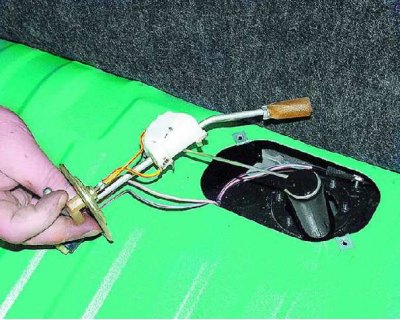
14.... removing the sensor float and fuel intake from it.
15. Pry with a screwdriver and remove the sensor flange gasket from the fuel tank studs.
16. Install the sensor in the reverse order of removal.