
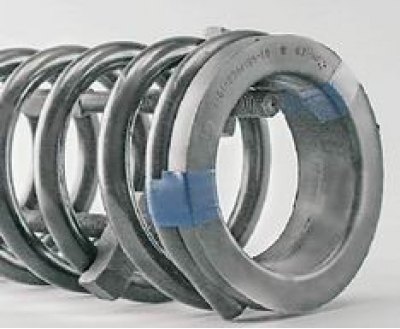
To do the job, you will need ties to compress the springs.
Warning: Use only reliable factory-made ties to compress the spring, and strictly follow the tie-wrap manufacturer's instructions. The suspension spring has a lot of force. Breaking the spring from the tie rods can cause serious injury.
Removing
1. We prepare the car for operations (see "Vehicle preparation for maintenance and repair").
2. Remove the front wheel (see "Wheel - replacement").
3. Remove shock absorber (see "Front suspension shock absorber - replacement").
4. Loosen the two nuts securing the lower suspension arm to the axle (see "Rubber-metal joints of the lower arms - replacement on the car").
5. Disconnect the clip of the stabilizer cushion and remove the cushion (see "Pillows and bars of the anti-roll bar - replacement").
6. We press out the finger of the lower ball joint from the steering knuckle (see "Ball joints - replacement").
7. We install the jack under the lower arm, without loading the suspension, and unscrew the pin fastening nut.
8. Carefully unload the suspension (lowering the jack) and at the same time, with a mounting blade, we translate the stabilizer through the upper stud of its bracket.

9. Remove the jack.
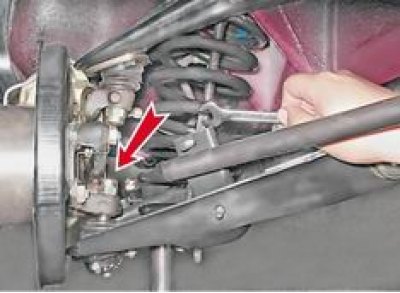
10. Having hooked the spring from below with a mounting blade, remove it from the support cup of the lower arm.
11. Remove the spring and insulating rubber gasket from the upper support cup.

Installation
1. Before installing the spring, we attach the upper rubber gasket to it with an insulating tape, ensuring that the end of the helical surface of the gasket coincides with the end of the coil of the spring. We install two ties on the spring, without hooking them on the last turns, and tighten the spring to a height of no more than 280 mm.
2. We install the spring on the support cup of the lower lever and orient the spring so that its end coincides with the helical surface of the support cup of the lever.
3. We substitute the jack under the lower arm and lift it, making sure that the rubber gasket is installed on the upper support cup.
4. Raise the lever with a jack and direct the finger of the lower ball joint into the hole in the steering knuckle.
5. We wrap the self-locking pin fastening nut by 4-5 turns.
We loosen the ties and remove them through the technological hole in the lower arm.
6. Raising the lever, we press in the pin of the lower ball joint and tighten the self-locking nut.
7. Install the remaining parts in the reverse order of their removal.
8. Having installed the car on the wheels, finally tighten the nuts securing the lower suspension arm to its axle and securing the stabilizer cushion clip.
9. Similarly, we replace the second spring.