




Recommendation. It is necessary to adjust the throttle valve drive after replacing the drive cable, after removing and installing the throttle assembly, and also after performing work related to dismantling the receiver. Adjustment may also be required if the engine does not develop maximum power due to incomplete opening of the throttle valve
An assistant will be needed to complete the job.
Sequence of execution
1. Prepare the car for work (see "Preparing the car for maintenance and repair").
Note: The operation is shown on a car with engine 21114, on cars with other engines it is performed similarly.
2. On engines 2112, 21124 and 21114 remove the decorative engine cover (see "Engine trim - removal and installation").
3. After loosening the three clamps, remove the air supply hose to the throttle valve.
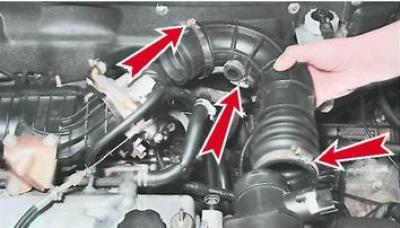
4. Check the position of the throttle valve: with the "gas" pedal pressed (all the way to the floor) the damper must be fully open...
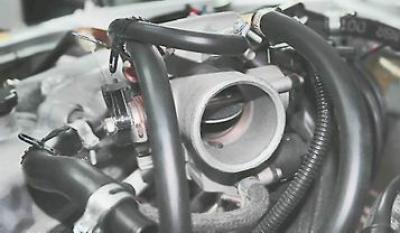
...and when the pedal is released, it is completely closed.
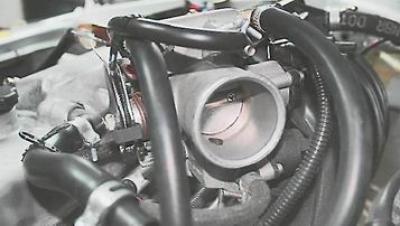
5. The position of the closed damper is adjusted with the stop screw, turning it with a slotted screwdriver with a thin blade. The damper should close completely, without jamming.
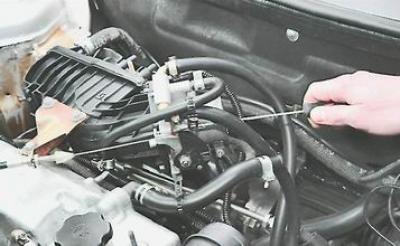
The position of the open throttle valve is adjusted by changing the tension of its drive cable.
Warning! When performing this operation, do not overtighten the cable, as this may damage the drive components
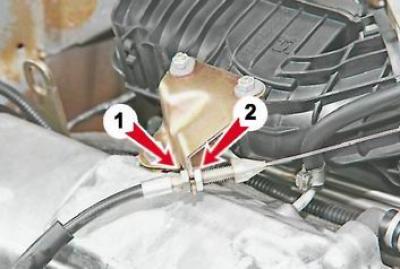
6. On engines 2112, 2111 and 21114 with two keys by 13 mm, by turning the adjusting nuts (1) and (2), we regulate the tension of the cable (a slight sag in the cable is allowed in the area between the throttle drive sector and the end of the casing).
7. On engine 21124:
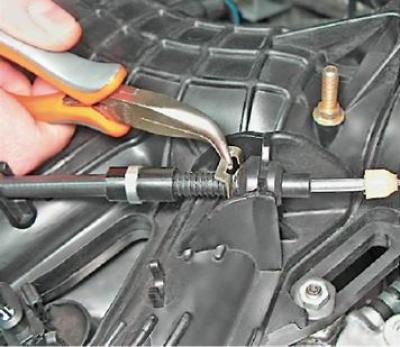
a) Using pliers, remove the locking plate of the throttle cable housing.
b) By moving the cable sheath in the rubber holder, we adjust the cable tension (a slight sag in the cable is allowed in the area between the throttle drive sector and the end of the casing).
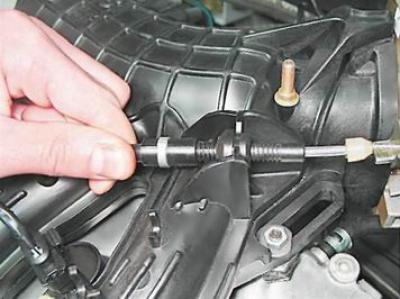
c. Install the locking plate into place.
7. Check the operation of the drive. If necessary, repeat the adjustment.
8. Install the removed parts back into place.
(The article is taken from an online resource: «vazbook.ru»)