
- screwdriver
- pliers
Disconnect the wire from the terminal "–" battery.
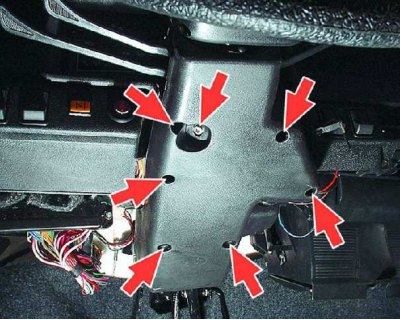
1. Turn away seven screws of fastening of decorative casings of a shaft of a steering column.

2. Remove the top cover and...
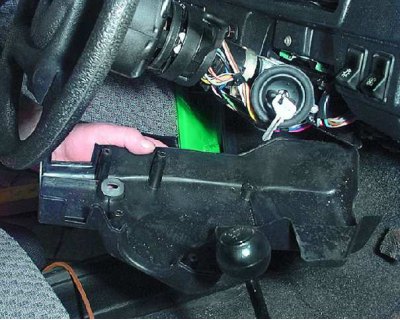
3....lower casing.

4. Press the handle with a screwdriver and remove it from the air intake hatch cover control lever.
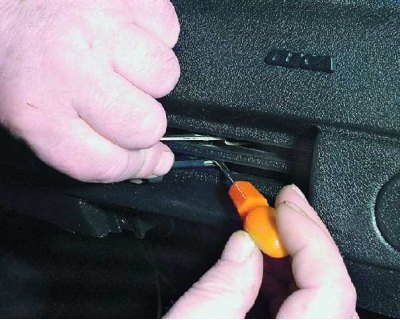
5. In the same way, remove the handle from the heater tap control lever.
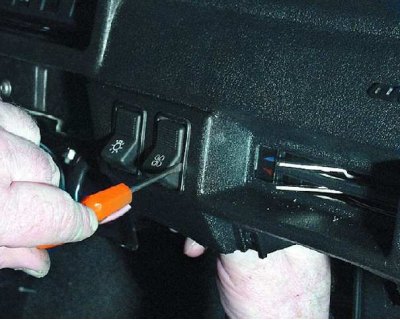
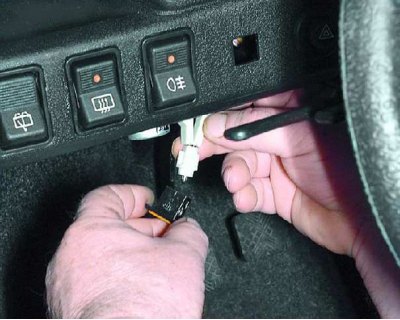
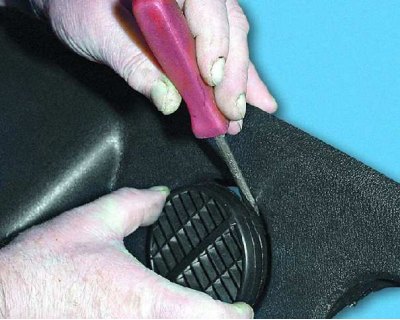
6. Carefully pry with a screwdriver and remove the heater fan switch.

7. Label the wires and corresponding switch contacts.
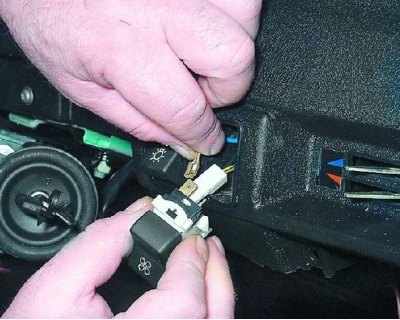
8. Disconnect the wires from the contacts and remove the switch.
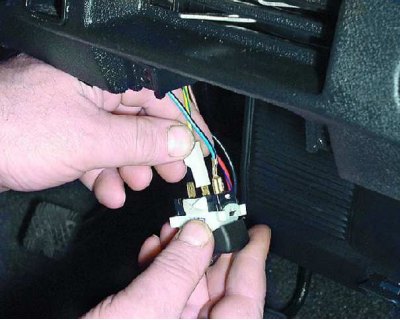
9. Push the wires inside the instrument panel through the switch installation window and connect the switch to the lugs of these wires.
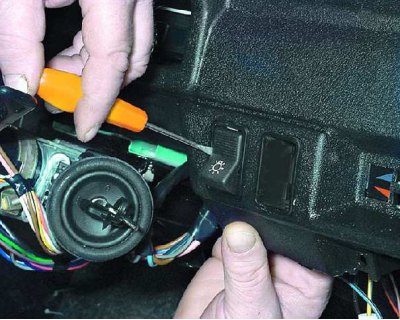
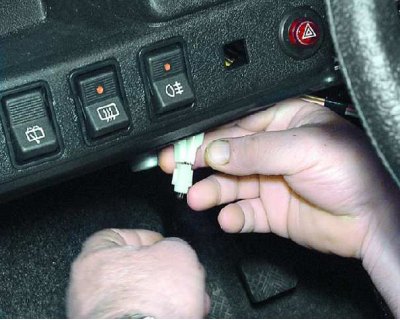
10. Gently pry the outdoor light switch with a screwdriver, remove it from the panel and disconnect the block with wires from it.

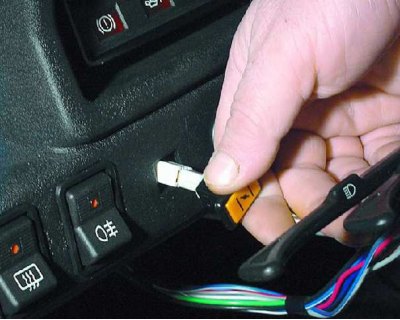
11. Push the block with wires into the instrument panel window and connect the switch to the block, (so as not to mark the pads of switches and switches).
12. Carefully pry with a screwdriver and remove from the instrument panel the holder of the cartridge of the control lamp for covering the carburetor air damper.
13. Remove the lamp socket from the holder. Push the bulb holder through the instrument panel window and...
14.... put the holder on the lamp socket.

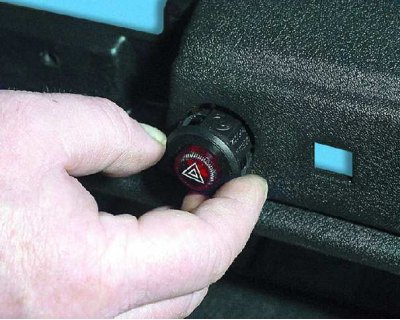
15. Remove the switches for the rear fog lamp, heated glass of the rear door and the switch for the operation of the wiper and washer of the rear window (see steps 10 and 11). Disconnect the block from the alarm switch.
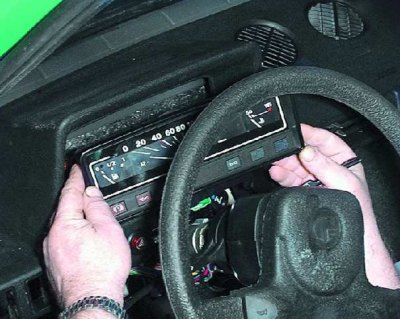
16. Remove instrument cluster (see subsection 8.6.1.).
17. Unscrew the two screws securing the heater control panel, push it inside the instrument panel. The heater control panel will remain hanging on the rods.
18. Carefully pry with a screwdriver and...
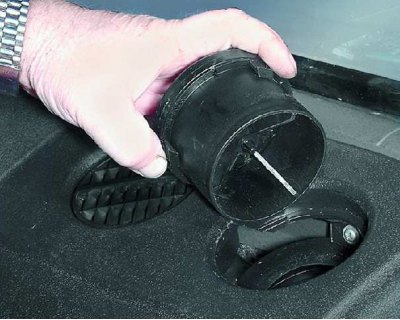
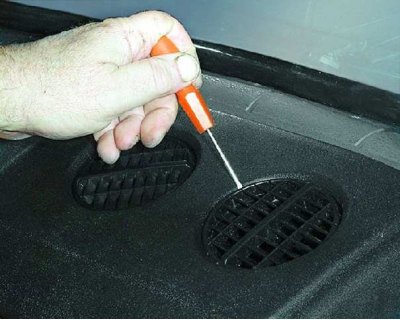
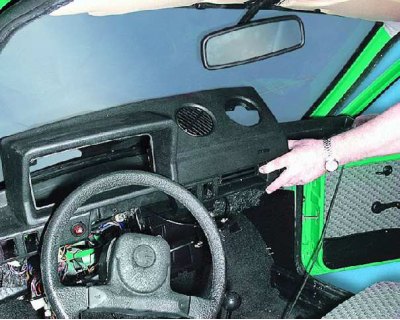
19.... remove the right deflector from the instrument panel.
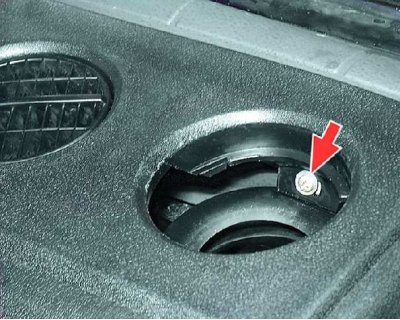
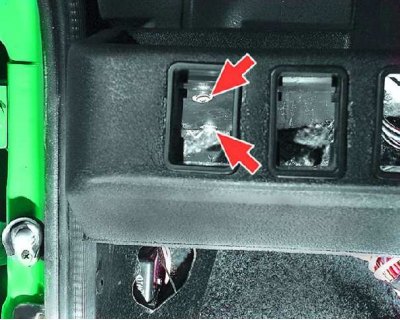
20. Loosen the screw on the upper instrument panel (under the right deflector).
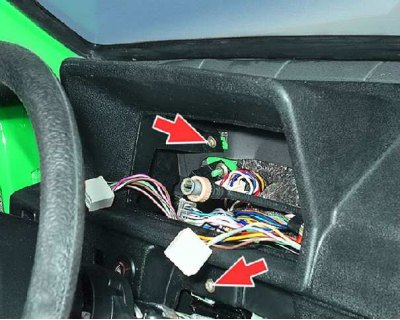
21. Loosen the two screws securing the instrument panel (in a niche under the instrument cluster and above the steering column). The instrument panel mounting screw mounted above the steering column is longer.
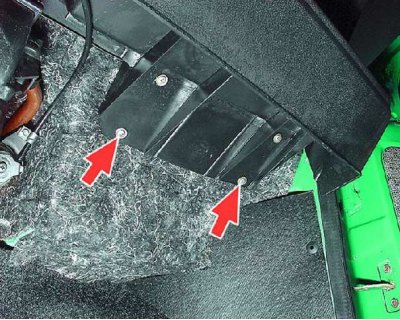
22. Loosen the two screws securing the instrument panel (bottom left under the dash) And...
23.... two screws from the bottom right under the instrument panel.
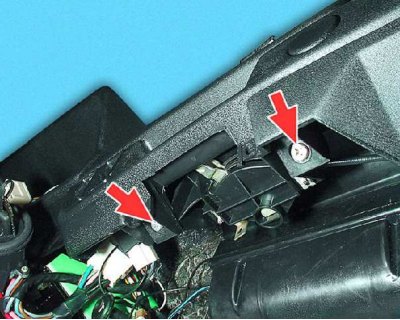
24. Raise the instrument panel and unscrew the screw securing the ignition switch relay. Remove the relay from the instrument panel.
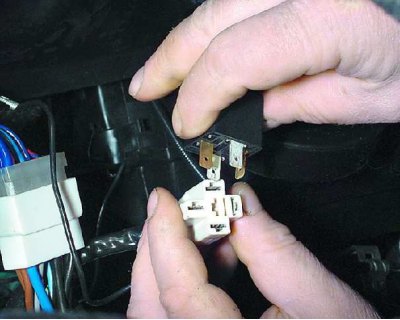
25. Disconnect the relay (if necessary) from the wire block.
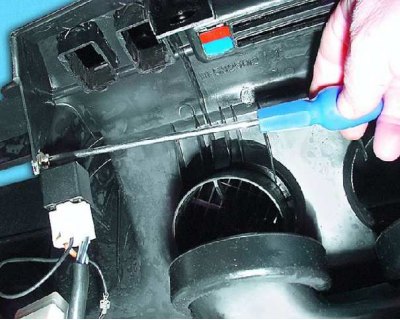
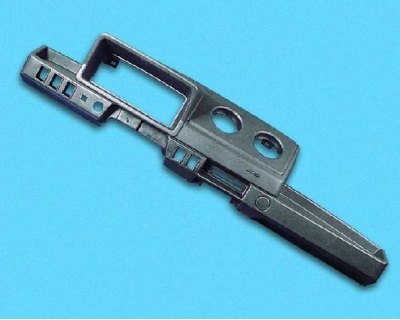
26. Remove the instrument panel from the vehicle.
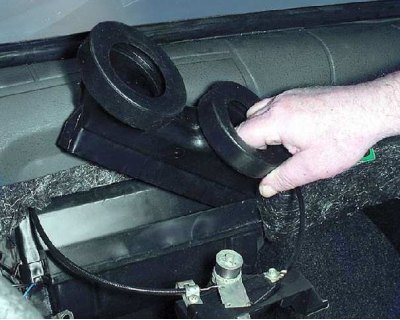
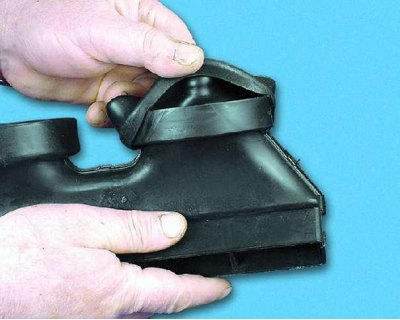
27. Remove the air duct from the heater (if necessary).
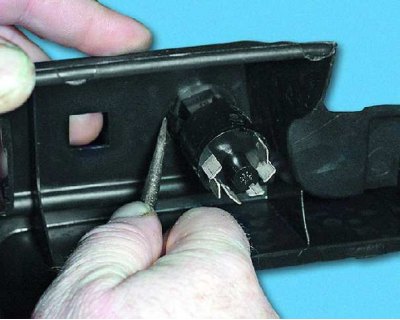
28. To remove the alarm switch, press the spring latches of its housing with a screwdriver and...
29.... remove the switch from the instrument panel.
30. To replace the left deflector, carefully pry it out with a screwdriver and remove it from the hole in the instrument panel.
31. If necessary (for replacement) remove the air duct and deflector seals.
32. Assemble the instrument panel and install it to the vehicle in the reverse order of removal.