




Contents: Removal ↓ Installation ↓
Removal
1. We are preparing the vehicle for repair work (see point 2a "Preparing a car for maintenance and repair").
2. Remove the right one (see "Interior heater - removal, installation, replacement") and left (see p. 4-7 "Windshield wiper - removal and installation") parts of the engine compartment sound insulation.
3. Remove the air intake grille of the interior ventilation system (see "Air intake grille of the ventilation system - removal and installation").
4. Unscrew the two nuts that secure the brake master cylinder to the vacuum booster housing (see point 7 "Master brake cylinder - removal, installation, replacement").
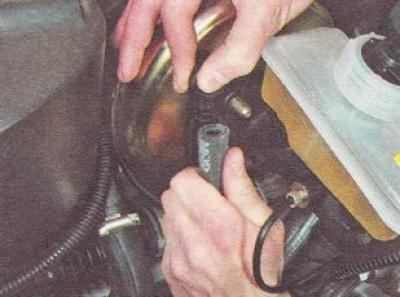
5. Remove the vacuum supply hose from the brake booster check valve branch pipe.
6. Using a 10 mm deep socket wrench, unscrew the nut securing the brake pipe holder on the left mudguard.
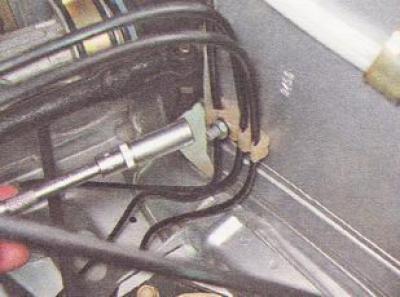
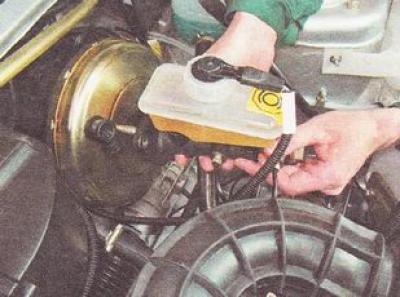
7. Carefully, without bending the brake pipes too much, move the brake cylinder forward and remove it from the vacuum booster studs.
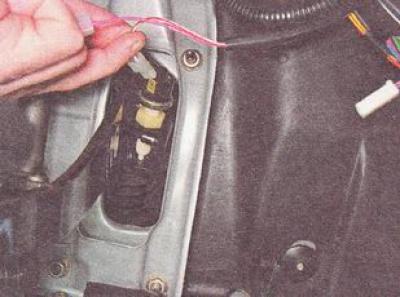
8. Remove the two connectors from the terminals of the brake light switch installed on the pedal assembly.
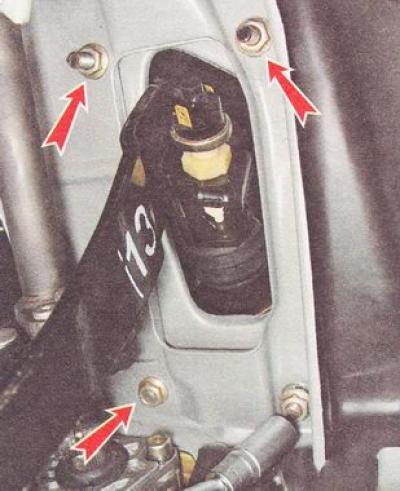
9. Using a 13 mm deep socket wrench, unscrew the four nuts securing the vacuum booster bracket to the car body.
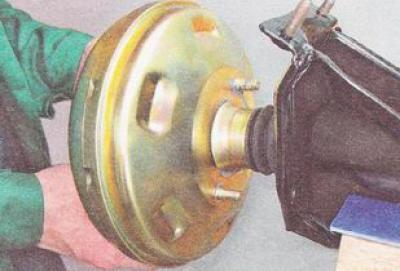
10. Remove the brake booster assembly with the bracket and brake pedal.
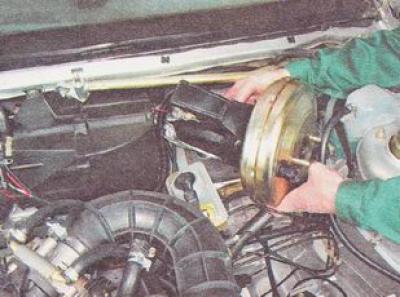
11. Secure the vacuum booster in a vice.
12. Using a slotted screwdriver, remove the retaining clip of the vacuum booster rod fork pin.
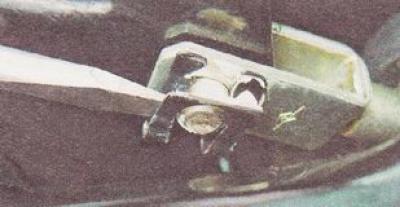
13. Remove the vacuum booster rod fork pin.
14. Using a 17 mm open-end wrench, unscrew the two nuts securing the vacuum booster to the bracket.
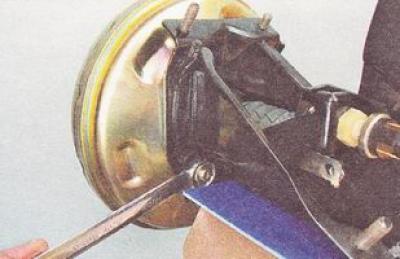
15. Remove the brake booster from the bracket.
Installation
1. Install the brake booster and all removed parts on the vehicle in the reverse order of removal.
2. Install the master brake cylinder in place.
3. Check the operation of the vacuum booster (see "Brake booster - check").