




Note: It is more convenient to check the sensor with an assistant
Examination
1. Prepare the car for work (see "Preparing the car for maintenance and repair").
2. Turn on the starter briefly to make sure that the low brake fluid indicator light is working properly. Leave the ignition on for further checking.
Note: If the brake fluid low indicator lamp is working properly, it should light when the starter is turned on. A faulty lamp must be replaced (see table 16.3) and only after that continue the check.
3. Pressing from above, we sink the float rod of the sensor. At the same time, the control lamp for insufficient brake fluid level should light up on the instrument panel.
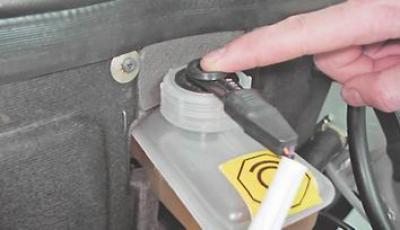
Note. If the indicator lamp does not light, then the terminals in the block itself may have oxidized, there is a break in the wire, or the sensor is faulty. To ensure the integrity of the wires, it is enough to short-circuit the terminals of the connecting block. The indicator lamp should light. The faulty sensor must be replaced.
Removal
1. Turn off the ignition.
2. Disconnect the wiring harness connector from the sensor.
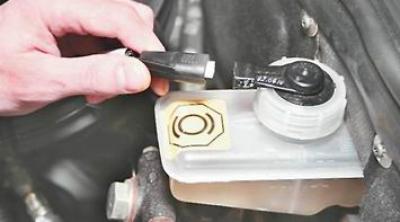
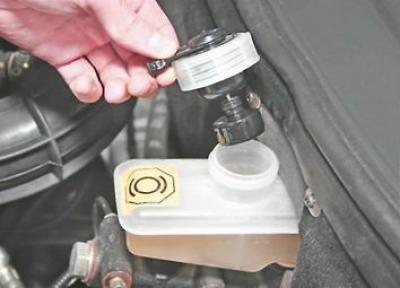
3. Unscrew the cap of the master brake cylinder reservoir.
By removing the sensor float from the tank, we remove the sensor. We replace the faulty sensor as an assembly.
Installation
We install the sensor in the reverse order.