
Removing
1. We prepare the car for work (see "Preparing the car for maintenance and repair").
2. Remove the cable equalizer from the adjusting rod (see "Parking brake cables - removal and installation").
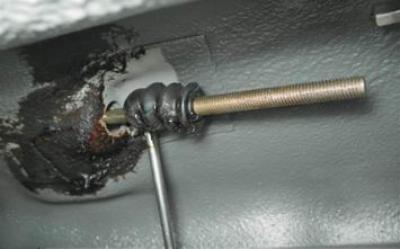
3. Prying with a slotted screwdriver, remove the rubber protective cover from the adjusting rod.
4. Remove the decorative overlay of the floor tunnel (see "Floor tunnel overlay - removal and installation").
5. Using a Phillips screwdriver, unscrew the self-tapping screw of the front fastening of the bracket for the switch of the control lamp for turning on the parking brake.
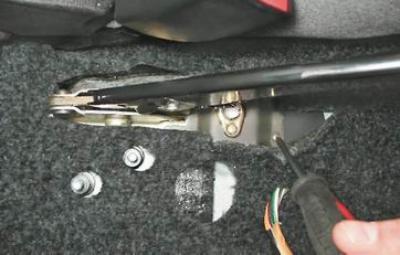
6. socket wrench by 10 mm we unscrew the two bolts of the rear fastening of the bracket for the switch of the control lamp for turning on the parking brake.
7. Remove the bracket and disconnect the wire tip from the switch output.
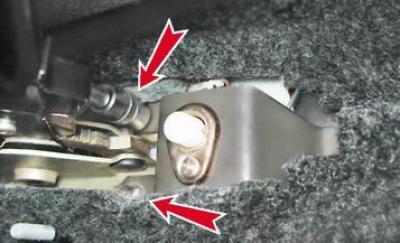
8. socket wrench by 10 mm unscrew the two remaining bolts securing the parking brake lever bracket.
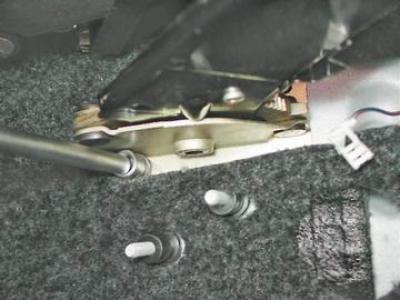
9. Remove the parking brake lever assembly with the bracket and adjusting rod.
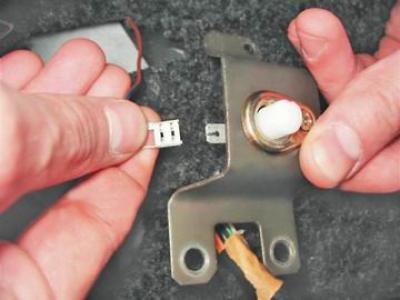
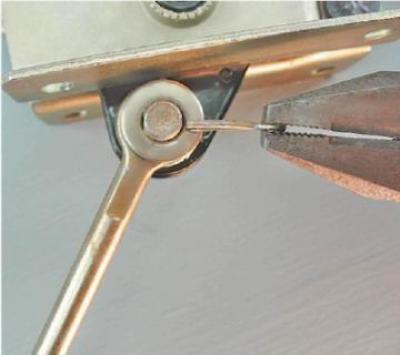
10. To remove the adjusting rod, use pliers to remove the cotter pin from the axle pin. We remove the washer and traction from the finger.
Installation
1. We install the rod, washer on the lever and fix them with a cotter pin.
2. Install the lever and switch bracket in reverse order.
3. Apply grease to the threaded part of the adjusting rod (Litol-24), we install an equalizer, an adjusting nut and a lock nut on the thrust.
4. Adjust the stroke of the parking brake lever (see "Parking brake - adjustment").