
Note. Power to the electrical equipment of the trunk lid is supplied through two wiring harnesses laid along the rear pillars. To remove the trunk lid from the car, you must remove both wiring harnesses from its internal cavities. To do this, you will have to remove the tips of all wires from the connectors. It is more convenient to remove part of the trunk lining and disconnect the harnesses from the car's on-board network, and then disassemble the removed cover.
You need an assistant to carry out repairs.
Removing
1. We prepare the car for repair work.
2. Remove the wire terminal from the negative battery terminal.
3. Remove the luggage rack.
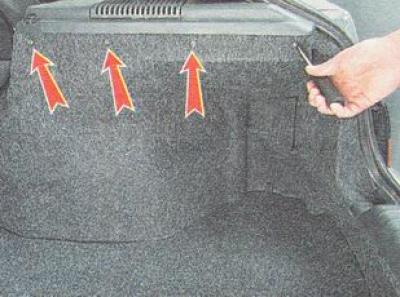
4. Using a Phillips screwdriver, unscrew the four screws securing the right trunk trim and remove the trim.
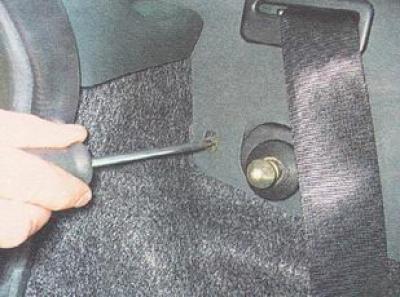
5. With the same screwdriver, unscrew the three screws of the lower mount...

... and one self-tapping screw for the front mounting of the trunk shelf support.
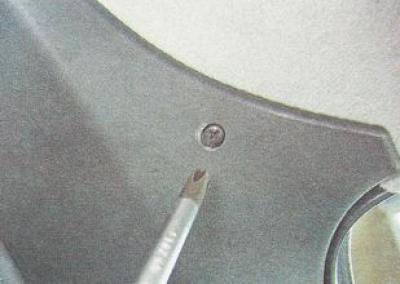
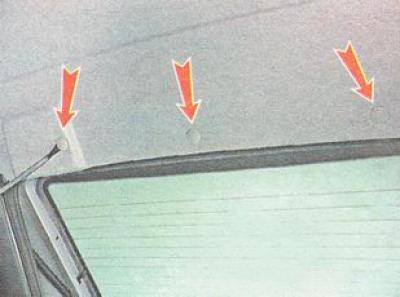
6. Using a Phillips screwdriver, unscrew the self-tapping screw securing the lining of the trunk opening rack.
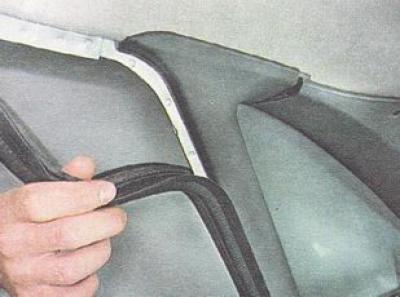
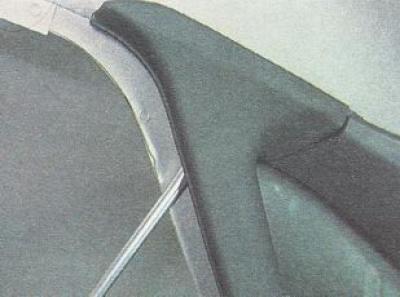
7. Remove the cover seal from the top of the rear rack.
8. Use a slotted screwdriver to hook and remove the rear pillar trim (it is fixed on two holders).
9. With a puller or two slotted screwdrivers, we remove the buttons of the three holders of the rear fastening of the headlining.
10. Use a slotted screwdriver to pry off and remove the lining of the rack opening of the trunk.
Helpful advice. Remember or note how the wiring harness is routed.
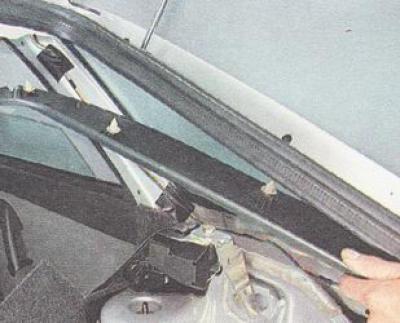
11. Disconnect the wiring harness connectors.
12. On the connector of the wiring harness of the trunk lid, mark the colors of the wires with a marker.
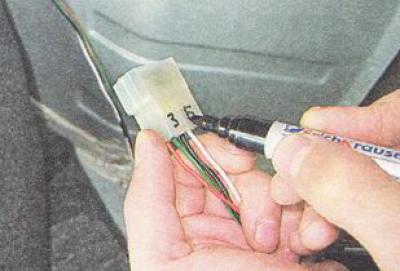
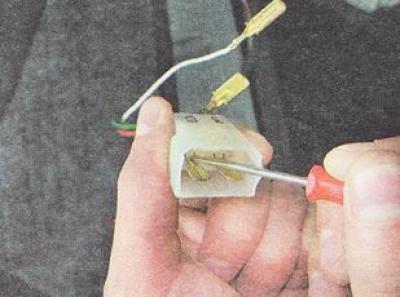
13. With a thin slotted screwdriver, we press the fixing protrusion of the output, and pull the wire tip out of the connector. Disconnect all wires from the connector in the same way.
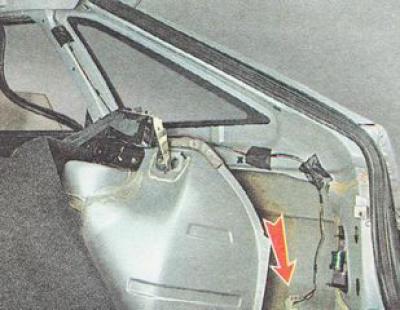
14. We remove the protective cover of the right wiring harness from the hole in the roof panel. Trying not to damage the insulation of the wires with the edges of the hole, we pull the wires out.
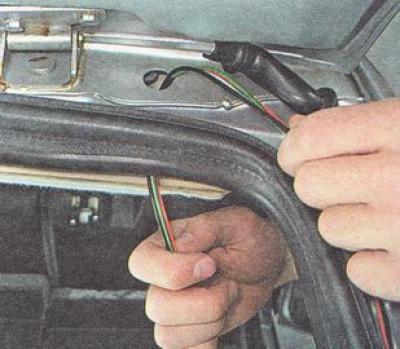
15. Similarly, remove the wiring harness on the left side of the car.
16. Use a slotted screwdriver to remove the washer hose cover.

17. Squeezing the rear edge of the headlining, disconnect the washer nozzle hose from the plastic adapter.
Note. Further operations are carried out with an assistant, who must perform similar actions on the other side of the trunk lid with the same tool.
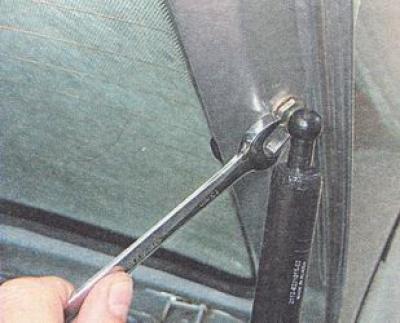
18. Holding the cover, use a 13 mm open-end wrench to unscrew the ball pin of the upper fastening of the gas stop, and disconnect it from the cover.
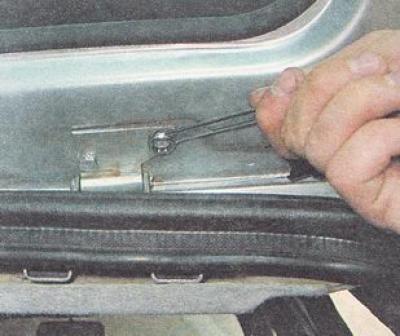
19. Holding the trunk lid, use a 13 mm spanner to unscrew the two bolts securing the lid to the hinge and remove the lid from the car.
20. If necessary, disassemble the trunk lid.
Installation
We install the trunk lid and all previously removed parts on the car in reverse order.